Yaesha is a huge world with lots of areas to explore and bosses to deal with. Players will find themselves in a forest surrounded by roots and trees. This guide will be all about Yaesha’s map and how players can get through it to progress in the storyline.
Key Takeaways
Unlocking Yaesha
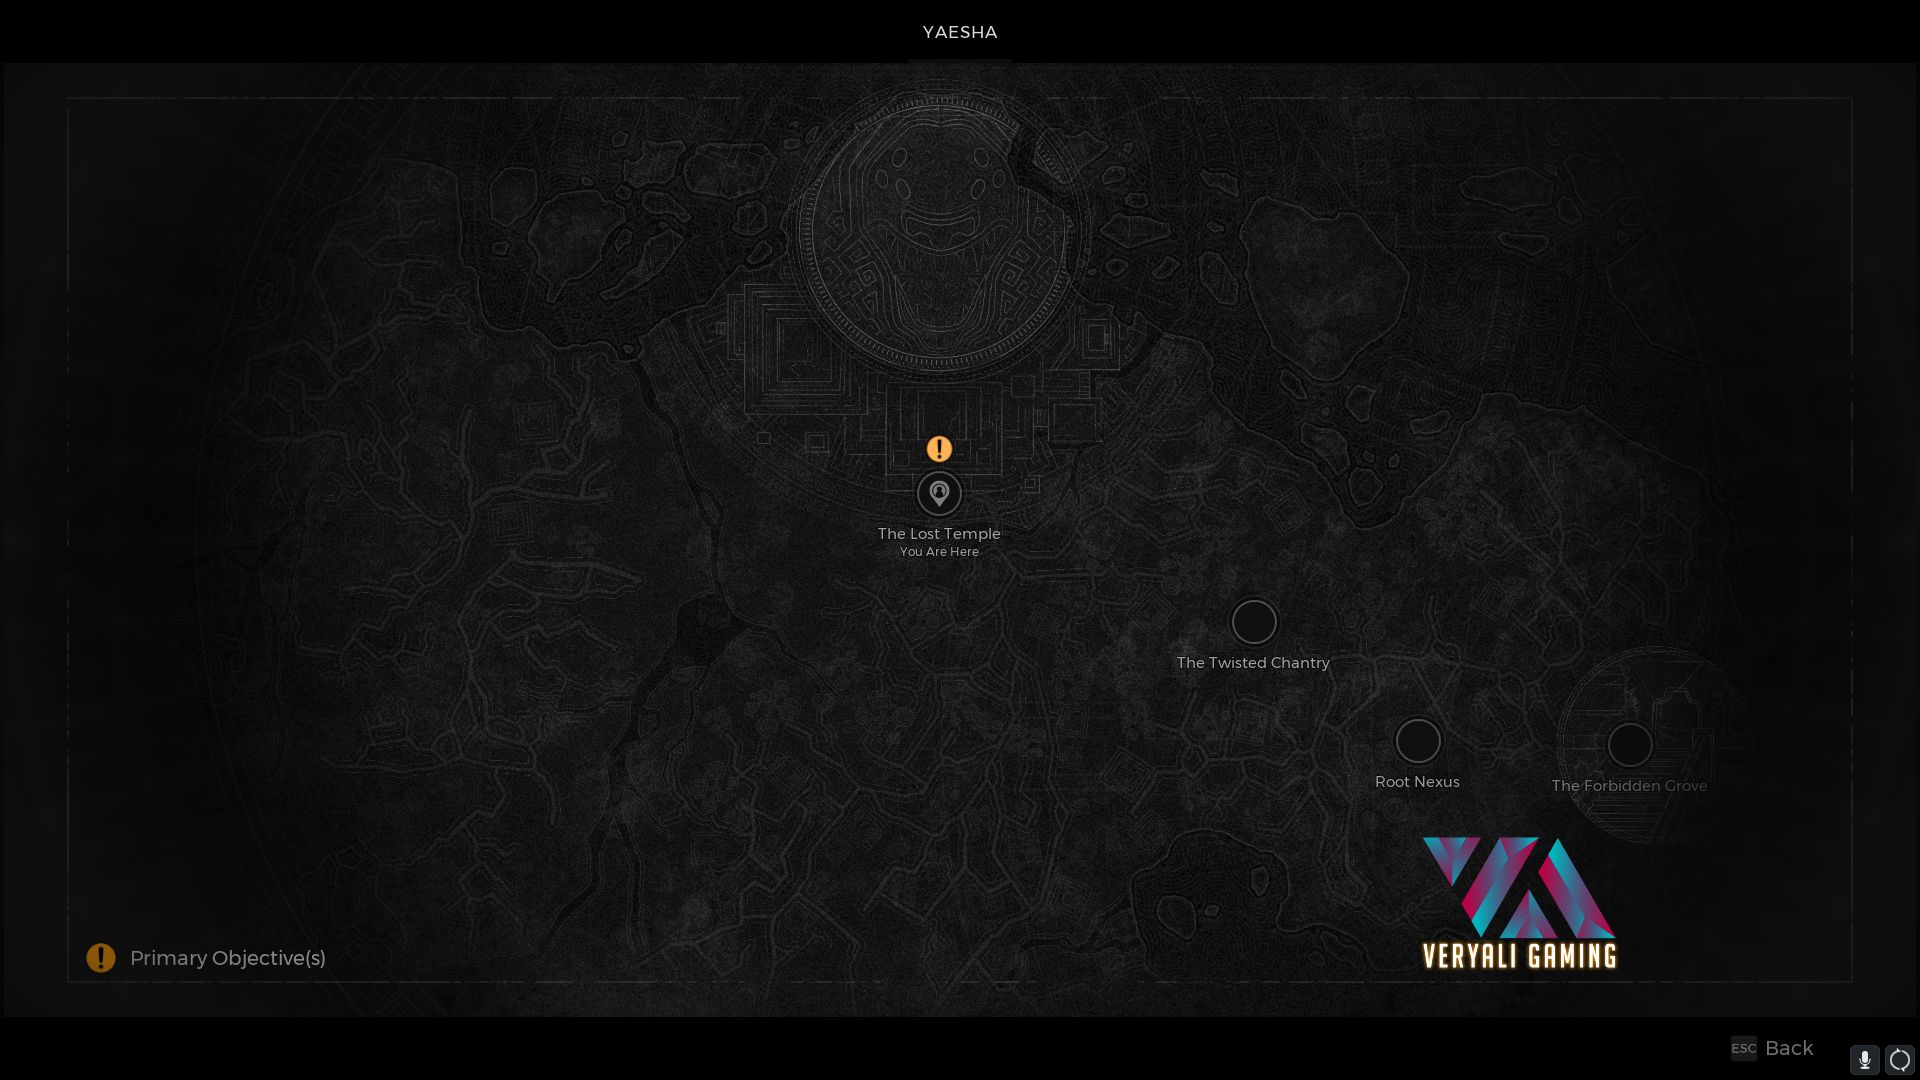
- Its unlocking can occur randomly at the start or before the final phase.
- If not initially unlocked, players obtain Yaesha after the Labyrinth.
- Defeat the Labyrinth Sentinel boss to obtain the Biome Portal Key, necessary for unlocking Yaesha’s portals.
Storyline
In Yaesha, players encounter two distinct storylines, each with its own starting point and final boss. The choice of storyline is random and unrelated to the game’s lore, with both paths converging after defeating the final boss and getting an Index Segment key to travel to the next world.
-
The Red Throne And The Corruptor:
- Starting Point: Red Throne
- Final Boss: Corruptor
- Players interact with an Empress at the Red Throne, where they must decide to fight or support her. Supporting the Empress leads to facing the Corruptor, a challenging boss. The choice affects the rewards received after defeating the boss, with options including the Hollow Heart or Twisted Lazurite for crafting unique weapons.
-
The Ravager And The Doe:
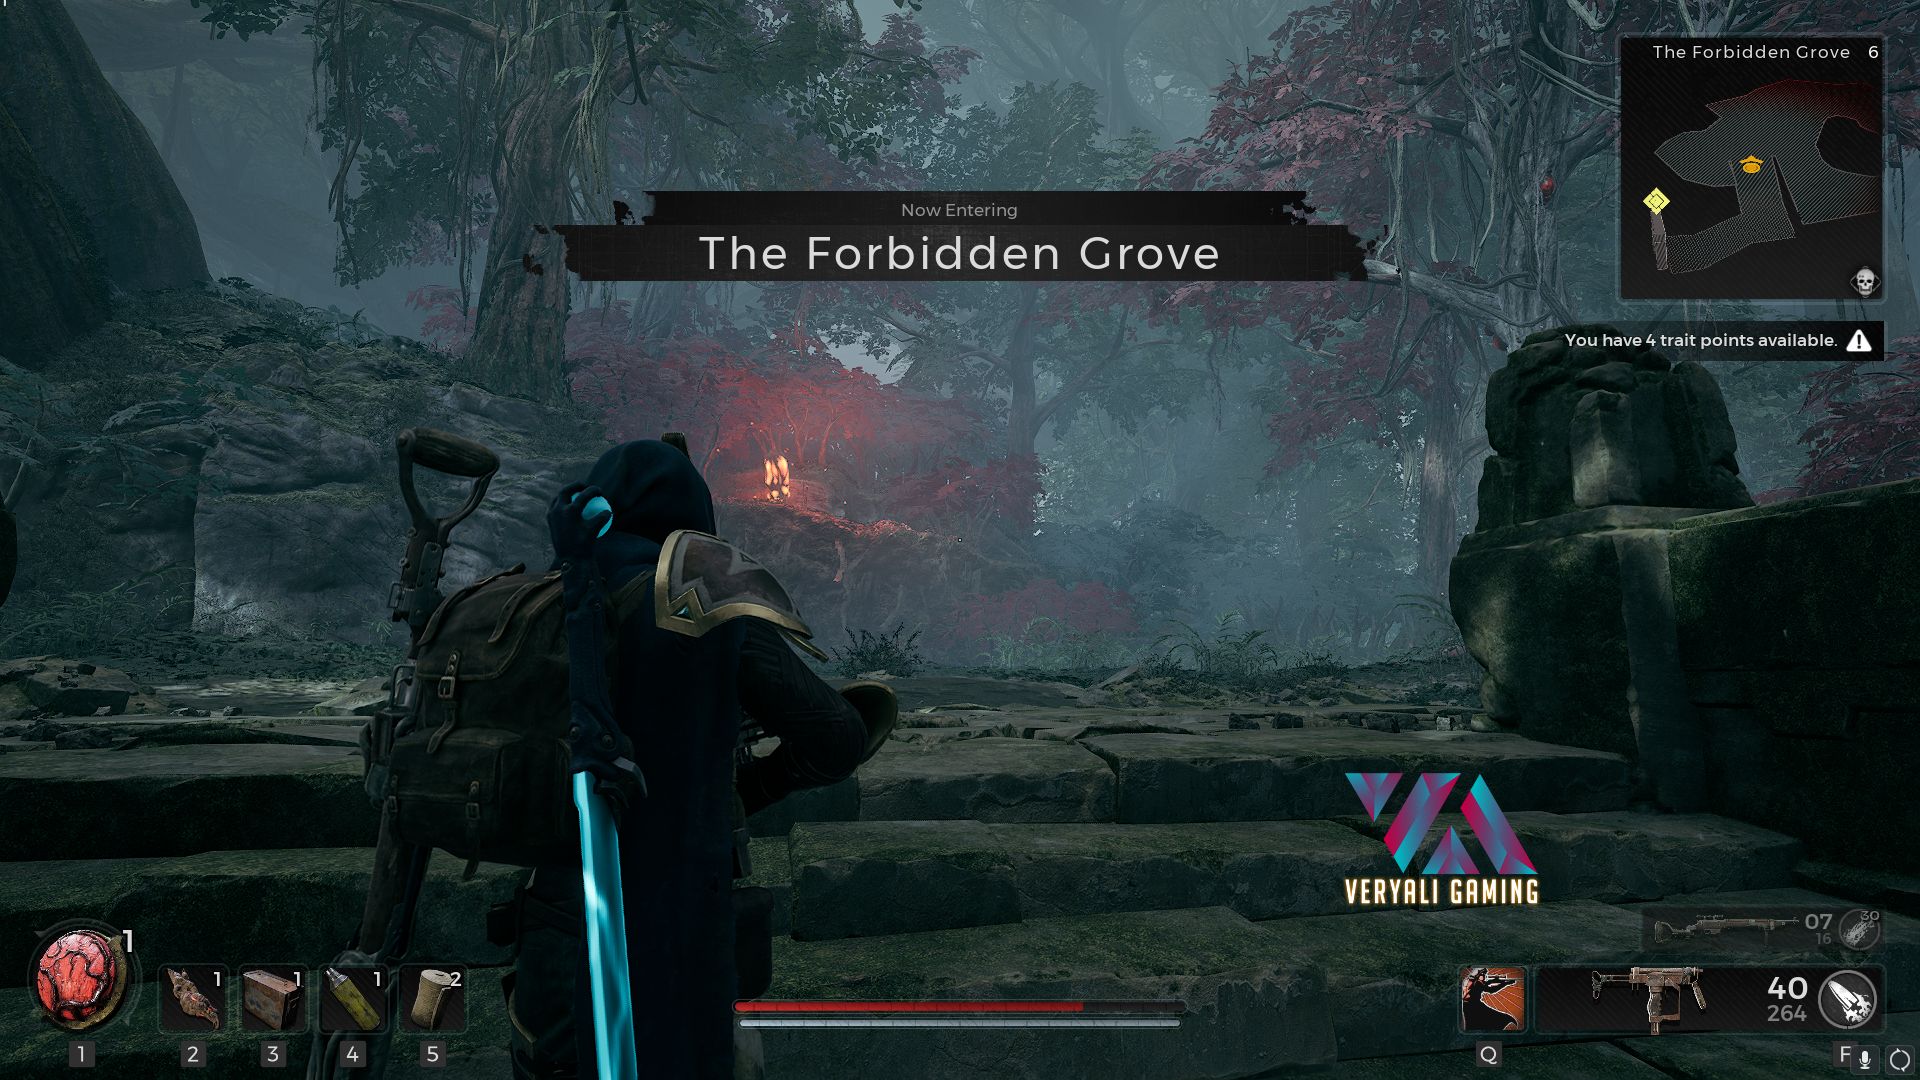
- Starting Point: Forbidden Grove
- Final Boss: Ravager
- Players begin in the Forbidden Grove, a forested area populated by enemies made of tree branches. Progressing through the Grove, players encounter Elite enemies providing valuable Lumenite Crystals. They meet Bedel of the Vaunnt, who tasks them with defeating the Ravager. The storyline involves a choice regarding the fate of the Doe, influencing the rewards received, such as the Stalker’s Claw for crafting a unique weapon.
Regardless of the chosen storyline, both paths ultimately lead to getting an Index Segment key and progressing to the next world.
Enemies In Yaesha
There is a wide variety of enemies in Yaesha that you come across in different areas. They spawn randomly in locations that you expect the least. They assist the Elite enemies and the Bosses to eliminate you. We provide a list of all enemies you will come across in Yaesha so you know what you are facing.
- Root Axeman:
- Weak Spot: Glowing spot on the Head
- Loot Drops: Lumenite Crystal, Scrap, Ammo
- Root Zombie:
- Weak Spot: Head
- Loot Drops: Scrap, Ammo, Iron
- Root Hulk:
- Weak Spot: Glowing areas around the body
- Loot Drops: Lumenite Crystal, Scrap, Ammo, Iron
- Root Horror:
- Weak Spot: The red area between the eyes
- Loot Drops: Lumenite Crystal, Scrap, Ammo, Iron
- Root Sniper:
- Weak Spot: Head
- Loot Drops: Scrap, Ammo, Iron
- Root Wart:
- Weak Spot: The glowing area around the body
- Loot Drops: Scrap, Ammo, Iron
- Root Moth:
- Weak Spot: Head
- Loot Drops: Scrap, Ammo, Iron
- Root Flyer:
- Weak Spot: Eye
- Loot Drops: Scrap, Ammo, Iron
- Root Wisp:
- Weak Spot: One Hit
- Loot Drops: Blood Moon Essence
- Root Slasher:
- Weak Spot: Red glowing regions
- Loot Drops: Lumenite Crystal, Scrap, Ammo, Iron
- Root Shaman:
- Weak Spot: Head
- Loot Drops: Lumenite Crystal, Scrap, Ammo, Iron
- Root Tumbler:
- Weak Spot: None
- Loot Drops: Scrap, Ammo, Iron
- Pan Warrior:
- Weak Spot: Back
- Loot Drops: Scrap, Ammo, Iron
- Infector:
- Weak Spot: Head
- Loot Drops: Scrap, Ammo, Iron
- Empowered Slayer:
- Weak Spot: Head
- Loot Drops: Lumenite Crystal, Scrap, Ammo, Iron
- Stalker:
- Weak Spot: None
- Loot Drops: Lumenite Crystal, Scrap, Ammo, Iron
- Slayer:
- Weak Spot: Head
- Loot Drops: Lumenite Crystal, Scrap, Ammo, Iron
- Stalking Statue:
- Weak Spot: Crystal in between eyes
- Loot Drops: None
Bosses In Yaesha
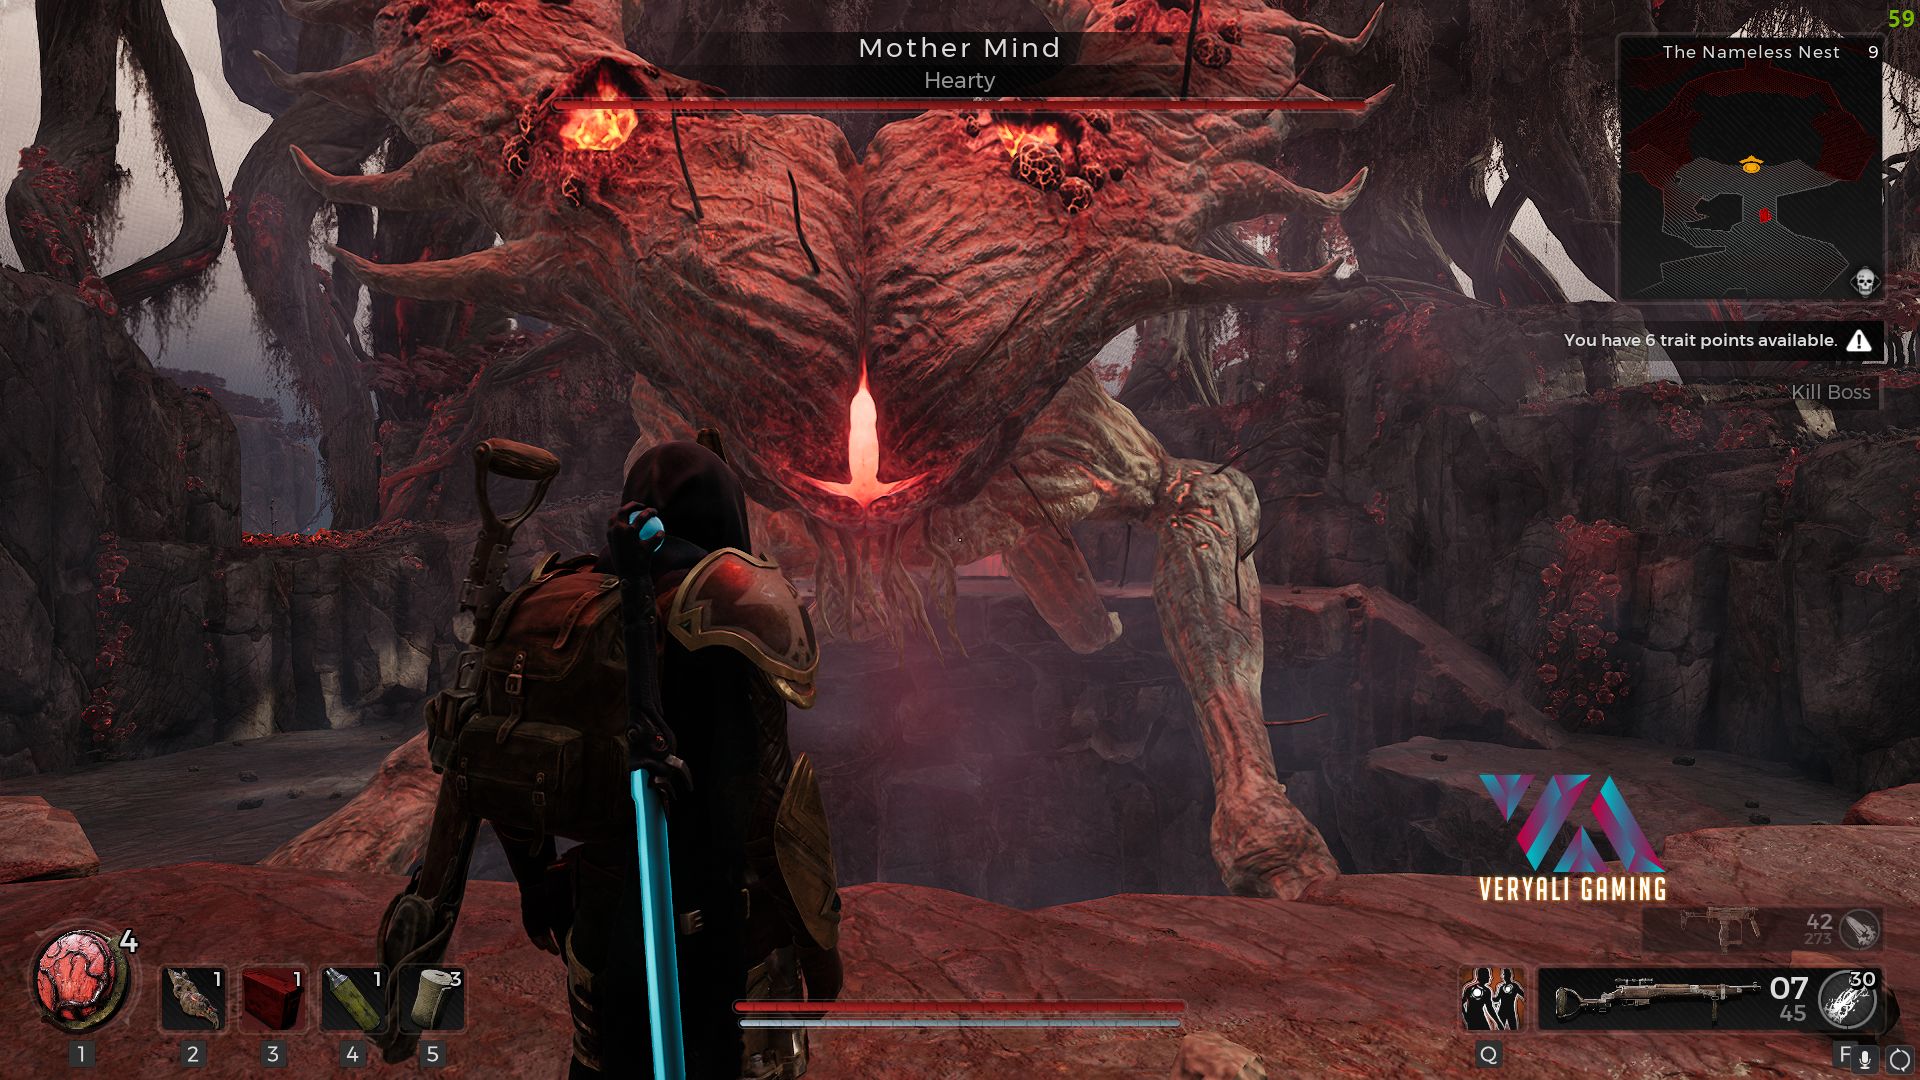
Apart from these enemies, some dungeons and story-related areas in Yaesha have Bosses that have a larger health pool and extended ability set. They test all their abilities on you which you must dodge. Let’s take a look at what Bosses you will face and how to defeat them.
| Boss | Location | Weakness | Rewards |
| Legion | The Twisted Chantry | Shoot eye when it glows |
Agnosia Driftwood
|
| Mantagora | Imperial Gardens | Head | Momentum |
| Rot | The Chimney | Glowing Head region | Extender |
| Wither | The Lament | Chest |
Kolket’s Razor, Overdrive
|
| Atrophy and Rot Stalker | Endaira’s End | None | Bulletweaver |
| Shrewd | The Expanding Glade | Head | Soul Silver |
| Root Nexus | Faithless Thicket | Red Core | Hallowed Egg |
| Mother Mind | The Nameless Nest | Eye in the center, red areas on branches |
Cordyceps Gland
|
| The Weald Stalker and the Gnarled Archer | Forgotten Field | Head | Bandit |
| Defiler | Forgotten Field | Red regions on the body | Reinvigorate |
| Kaeula’s Shadow | Kaeula’s Rest | Fire Damage |
Twilight Dactylus
|
| Corruptor | The Great Bole | Red areas in the center |
Hollow Heart, Twisted Lazurite, Segment
|
| Ravager | Ravager’s Lair | Roots at the back |
Ravager’s Maw, Crimson Membrane, Ravager’s Mark, Broken Antler
|
Items In Yaesha
As there is a lot to explore in Yaesha, players will interact with numerous items that are useful for their Archetype build and upgrading gear. A stronger build will help them survive against tough enemies. Moreover, Upgraded gear can be useful to deal more damage and have higher DPS with strong resistance.
Items, or materials, are of different kinds such as amulets, relics, and other consumables. We will mention all of these in a summary table so you can overlook all of them.
Weapons
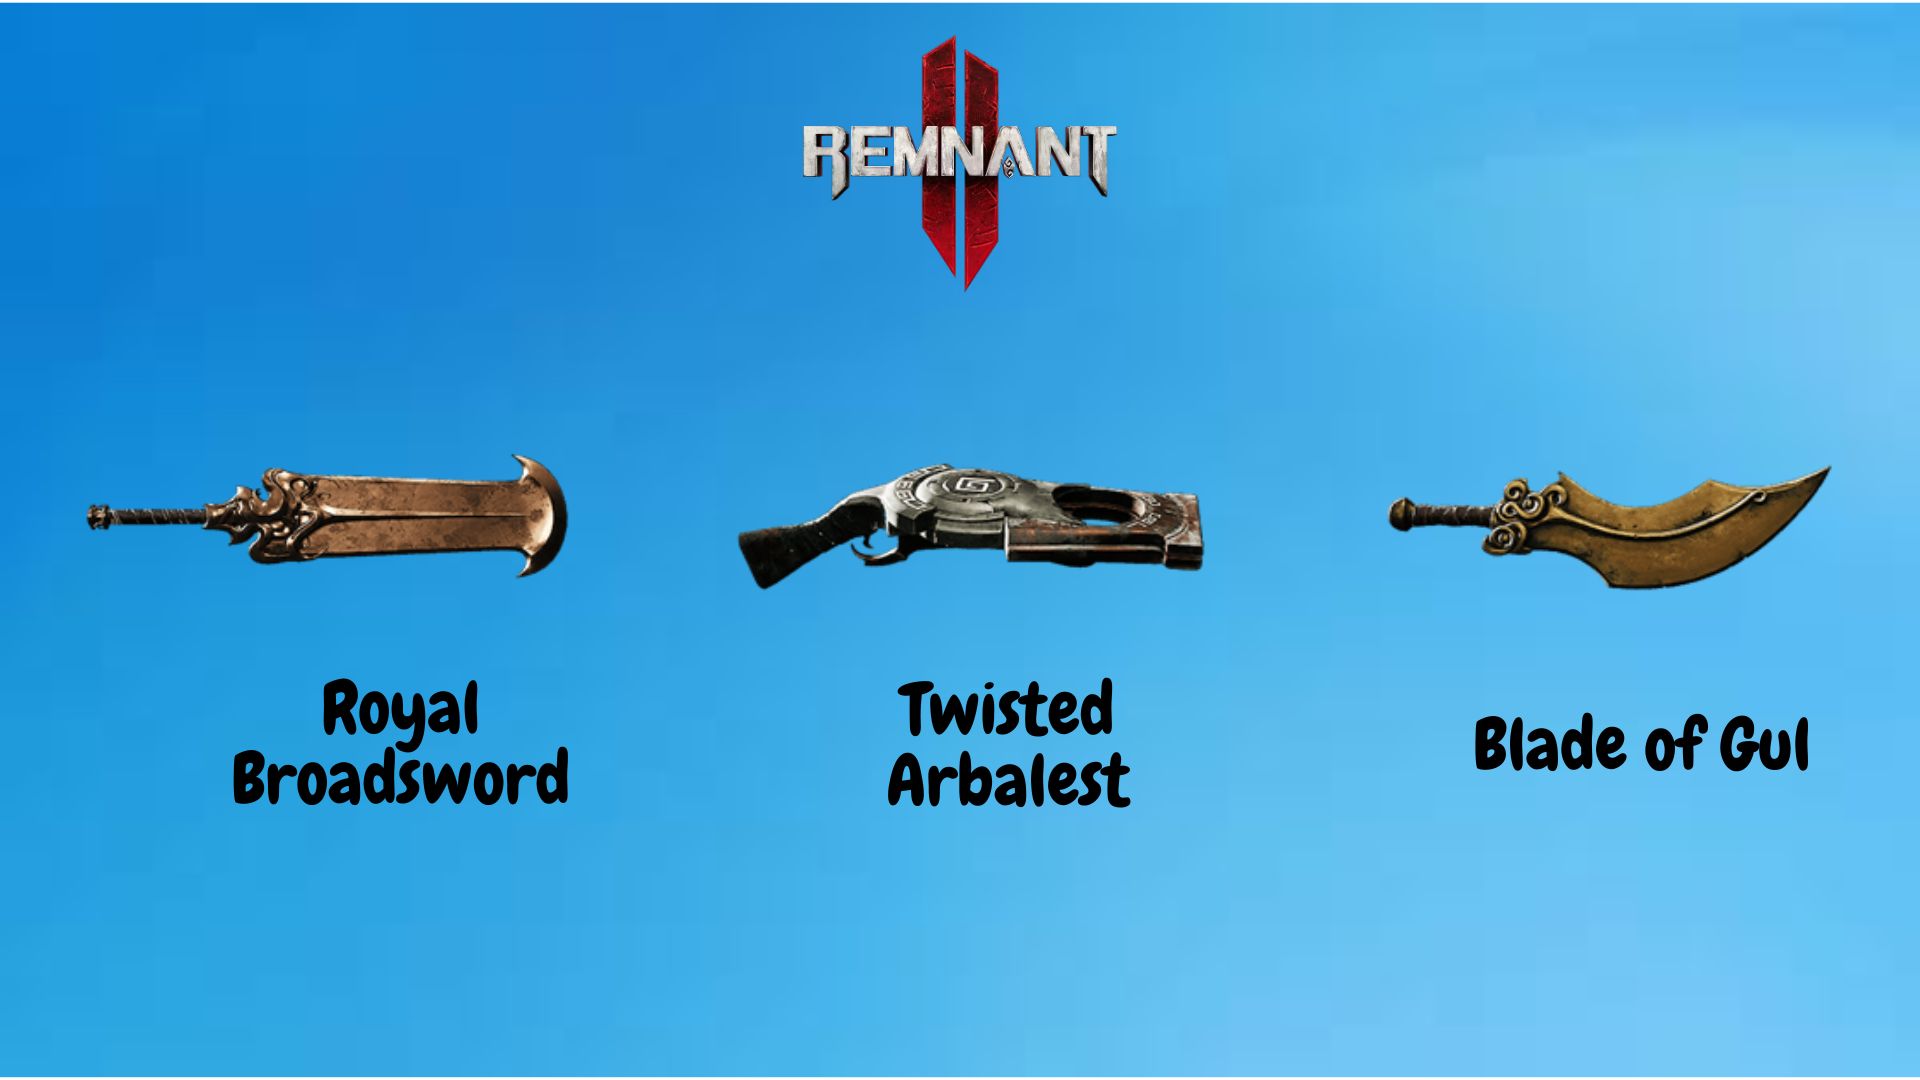
Apart from the base weapons you purchase from Brabus in Ward 13, you can find secret weapons across Yaesha that have powerful stats and can suit your Archetype. To find them all, players must search every hidden place with hopes of finding these weapons.
| Weapon | Location | How to get |
| Bolt Driver | Forbidden Grove |
Solve the music puzzle
|
| Blade of Gul | Bloodmoon Altar |
Craft at the Altar in exchange for 10 Blood Moon Essence
|
| Crossbow | Imperial Gardens | Solve the puzzle |
| Merciless | Ravager’s Lair | Kill the Ravager |
| Edge of the Forest | Imperial Gardens |
Pass the starting world stone. Find the katana on a platform to the left
|
| Red Doe Staff | Ravager’s Lair |
Heal the Doe and kill the Corrupted Ravager to Doe’s Antler. Craft at Ava McCabe
|
| Sorrow | Kaeula’s Rest |
Go to NPC called Meidre and exchange Sorrow with Tear of Kaeula
|
| Royal Broadsword | Red Throne |
Get it during an event
|
| Twisted Arbalest | The Great Bole |
Kill Corruptor to get Twisted Lazurite item. Take it to Ava McCabe for crafting.
|
An Interesting Read: Remnant 2: Vault of the Formless [Rupture Cannon]
Amulets And Rings
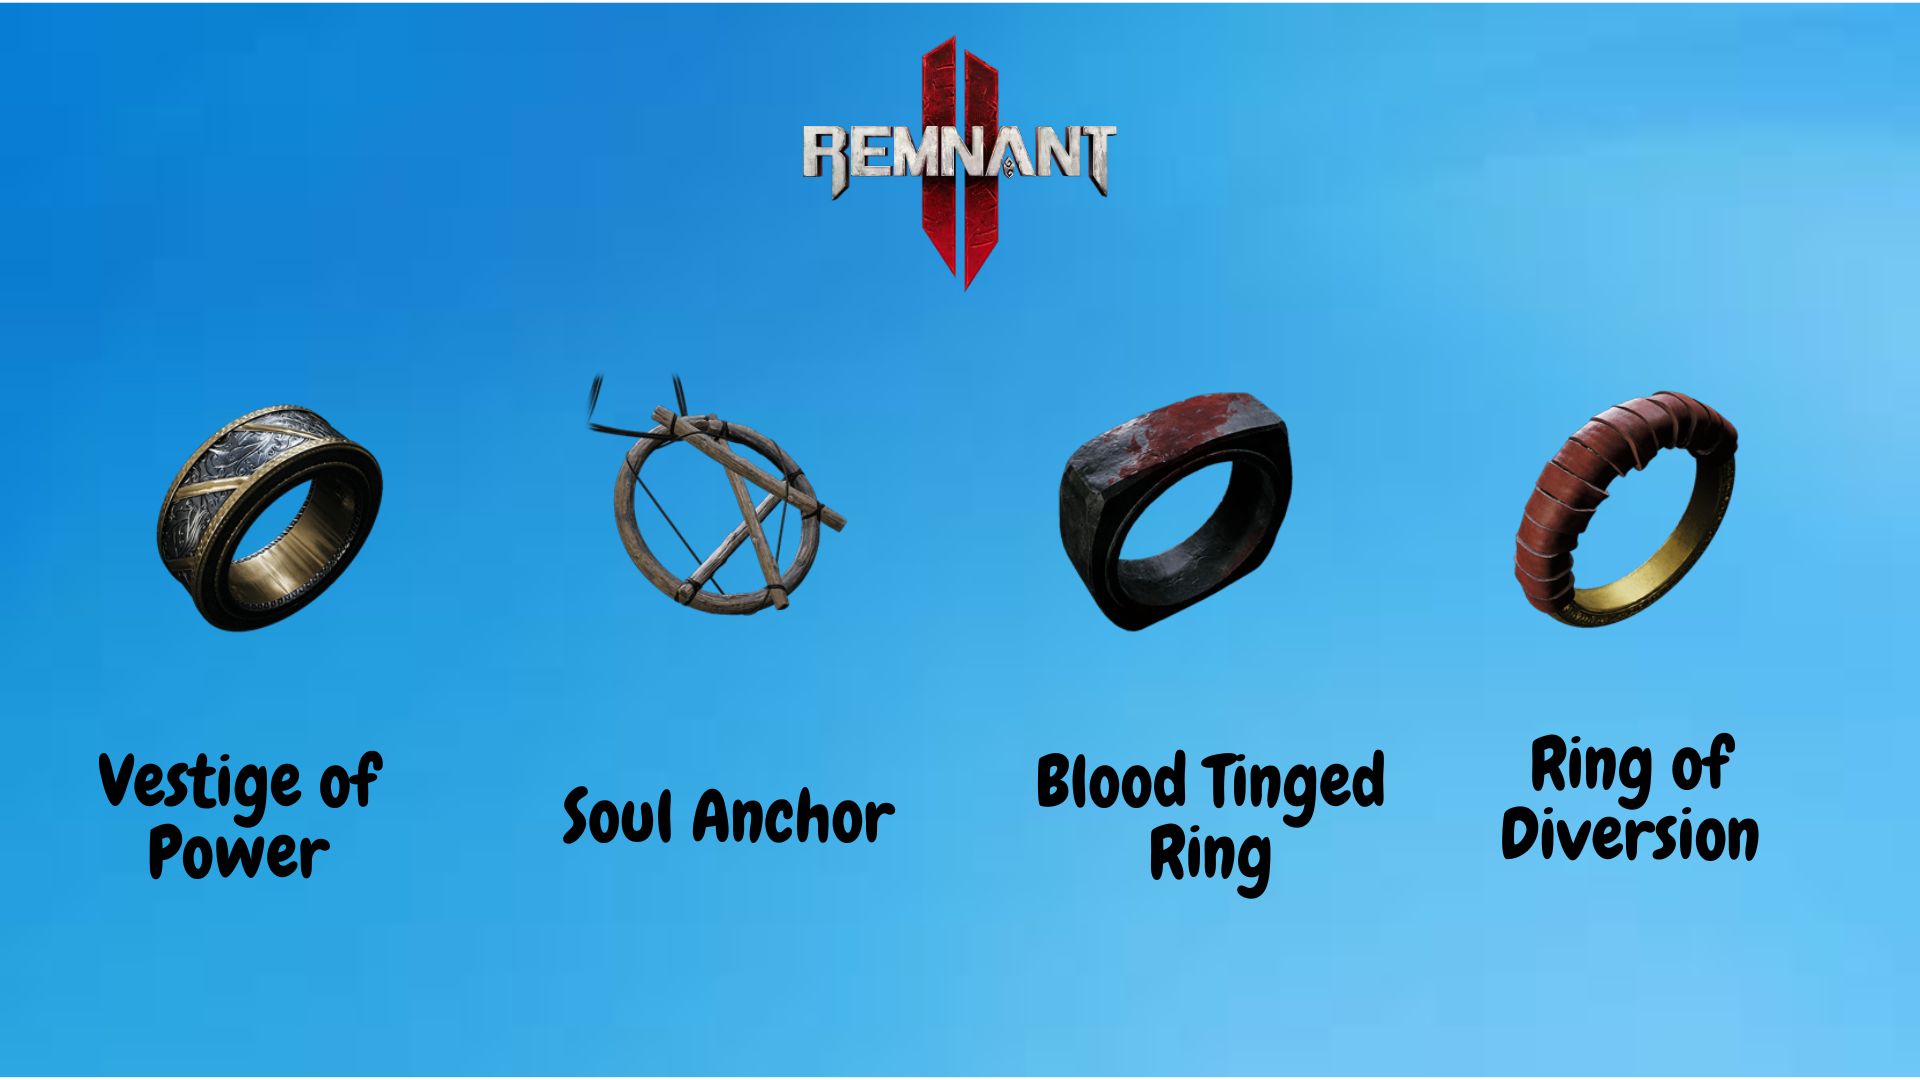
Amulets and Rings can be equipped in the inventory and they provide buffs in your gameplay. A wise choice will be to pick them according to your Archetype and build so these items unleash their full potential. Below is the list of Amulets and Rings you find at Yaesha.
| Item | How to get |
| Seal of the Empress |
Given to you by the Eternal Empress
|
| Soul Guard |
Collect Blood Moon Essence and craft at the Altar
|
| Laemir Censer |
Search the Forgotten Field region to find it
|
| Blood Tinged Ring |
Solve the Plinth puzzle in the Lament dungeon to get it
|
| Vestige of Power |
Explore the Chimney dungeon to find it
|
| Wax Sealed Ring |
Search it in the Far Woods region
|
| Soul Link |
Find it in Kaeula’s Rest on the ground. Players must explore all the hallways.
|
| Matriarch’s Insignia |
Obtained from the Widow’s Court
|
| Downward Spiral |
Explore the Crystal Elevator inside the Chimney Dungeon to find it
|
| Ring of Diversion |
Find it inside a chest in the Lament dungeon after crossing the floating path
|
| Talisman of the Sun |
Search the Expanding Glade area to get it
|
| Soul Anchor |
Gather the required items to craft at the Bloodmoon Altar
|
| Berserker’s Crest |
Collect it during the Coffin event at The Twisted Chantry
|
| Vengeance Idol |
Find it randomly in Yaesha
|
Armor
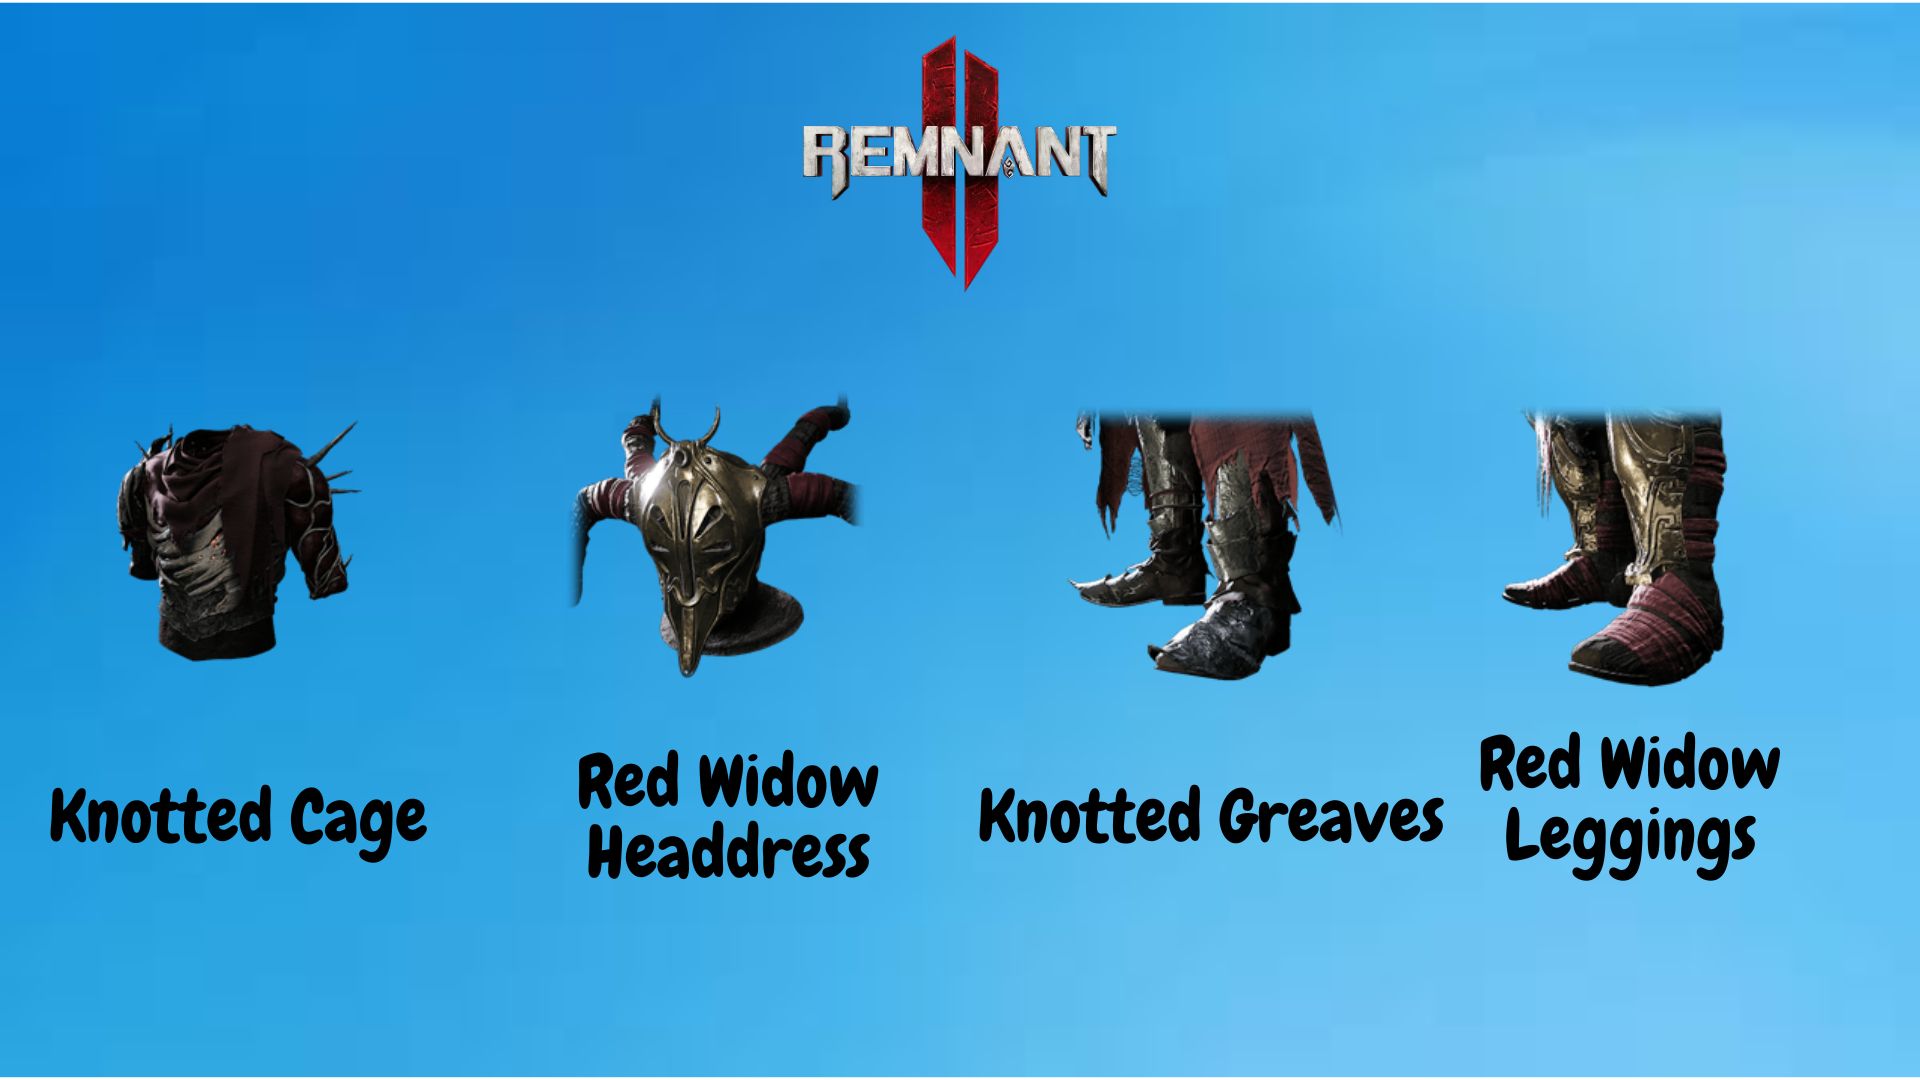
Choosing a good armor for your build is necessary as you have to balance out the strength-to-weight ratio for efficient dodging and running. Yaesha has some good armor picks that you can obtain at different locations. Choose a suitable armor for yourself from the list below.
Note that armor pieces in Yaesha are either crafted at the Bloodmoon Altar by gathering Blood Moon Essence during the event, or inside the Lament dungeon by solving various puzzles and fighting an optional boss, Wither.
| Armor | Location |
| Red Widow Headdress | The Lament |
| Knotted Greaves |
Bloodmoon Altar
|
| Red Widow Leggings | The Lament |
| Knotted Gloves |
Bloodmoon Altar
|
| Red Widow Bracers | The Lament |
| Knotted Helm |
Bloodmoon Altar
|
| Red Widow Raiment | The Lament |
| Knotted Cage |
Bloodmoon Altar
|
Here, our guide on Yaesha comes to an end. We hope that you enjoyed exploring this world in your gameplay. Ensure you cover each aspect of this world so you can grab all the items and weapons it hides. Leave feedback for us in the comments below if you found this helpful.
Up Next:
Good job! Please give your positive feedback 😏
How could we improve this post? Please Help us. 💡
Ehtishaam is an enthusiastic gamer who is never tired of playing games and writing about them. He is pursuing his career in Electrical Engineering while keeping an active interest in CS. I keep myself busy playing football when I am not focused on content writing. My dedication towards gaming knew no bounds, as I started spending hours on my Pentium 4 PC, playing GTA. If you don’t see me posting content, I’ll probably be pushing rank in Valorant or Counter Strike. Connect with me on Steam if you plan on playing some competitive.


