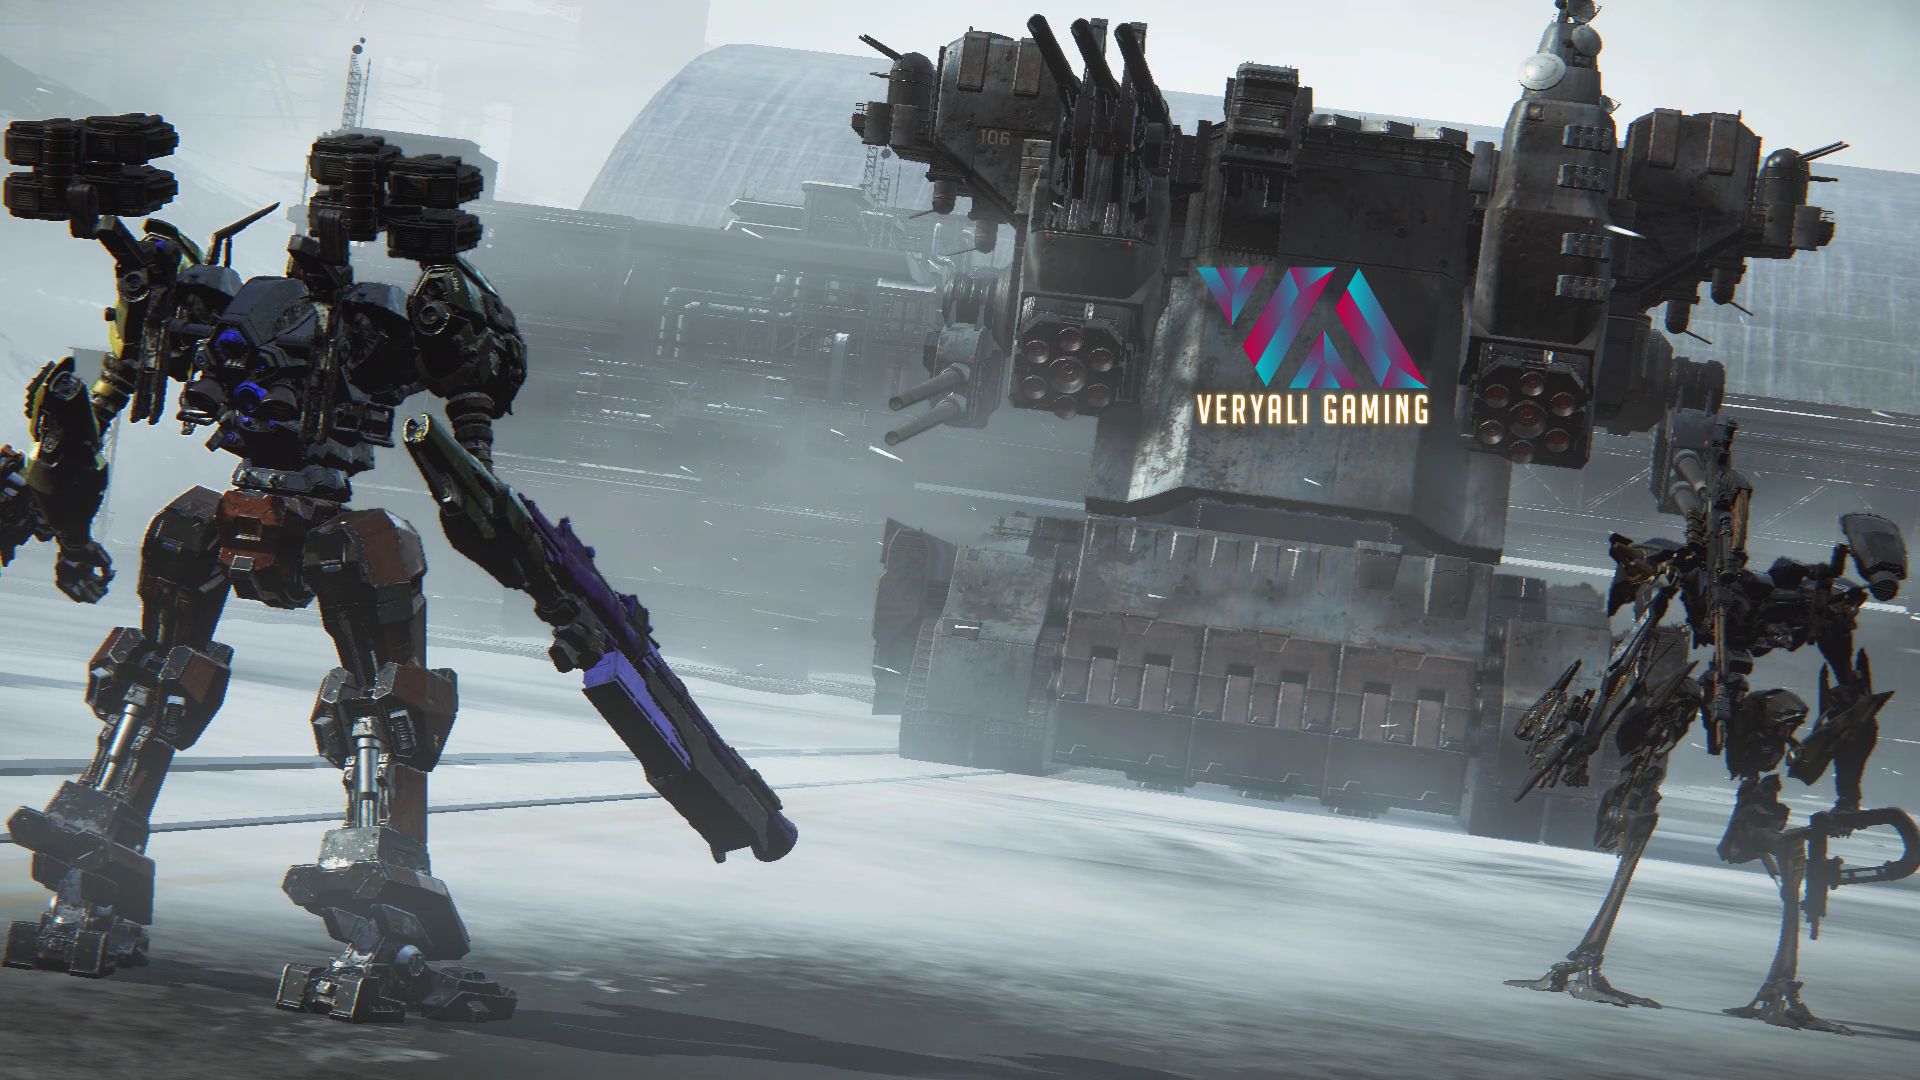
I have seen some of the hardest bosses to beat in Armored Core 6: Fires of Rubicon, and Juggernaut is no less. It is shaped like a truck that is covered with thick armor, so you stay confused. Worry not because this guide will get you through this boss fight in no time!
Key Takeaways
- Juggernaut is a powerful boss in Armored Core 6 who has a thick armor plate in the front to defend himself from incoming attacks.
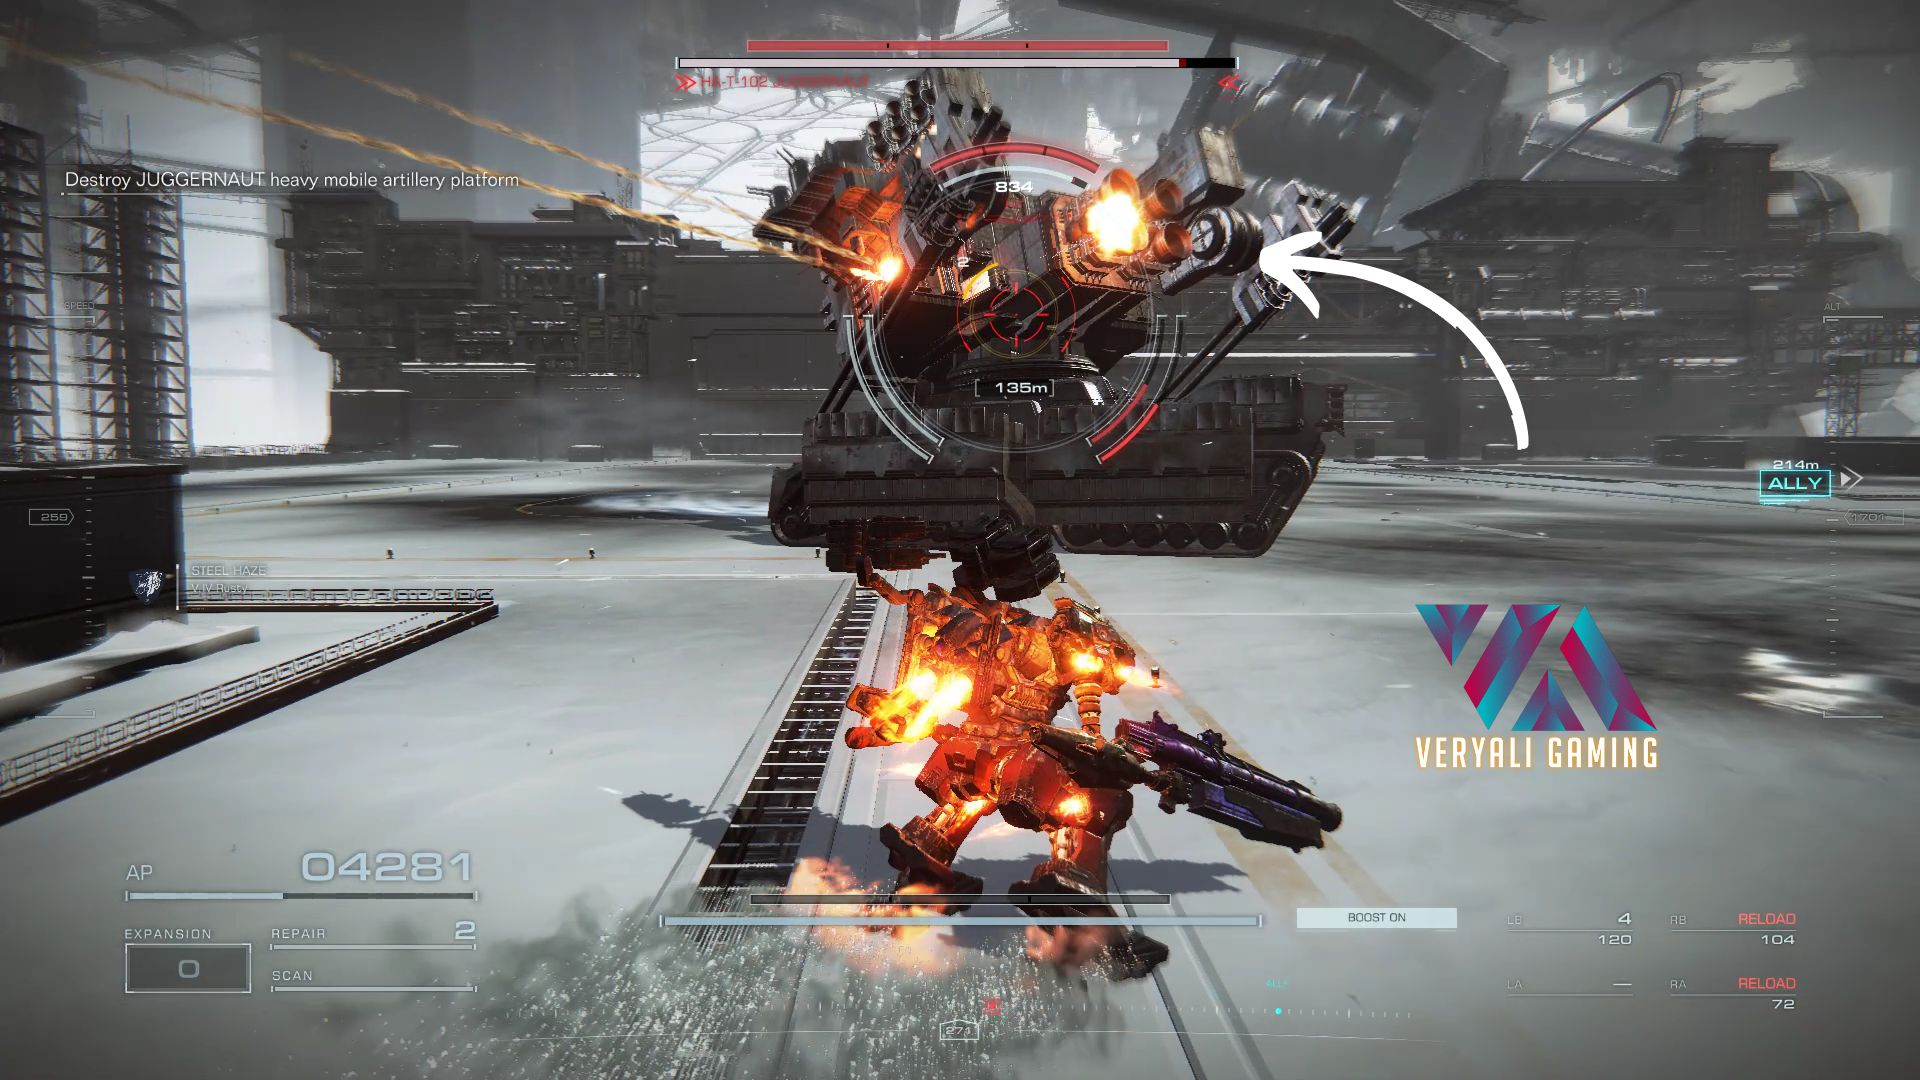
- Its weak spot is at the back, close to where the Booster is.
- To damage Juggernaut, use boosters to get behind and quickly land a few shots. I found this combo useful, as it lets you target the weak spots.
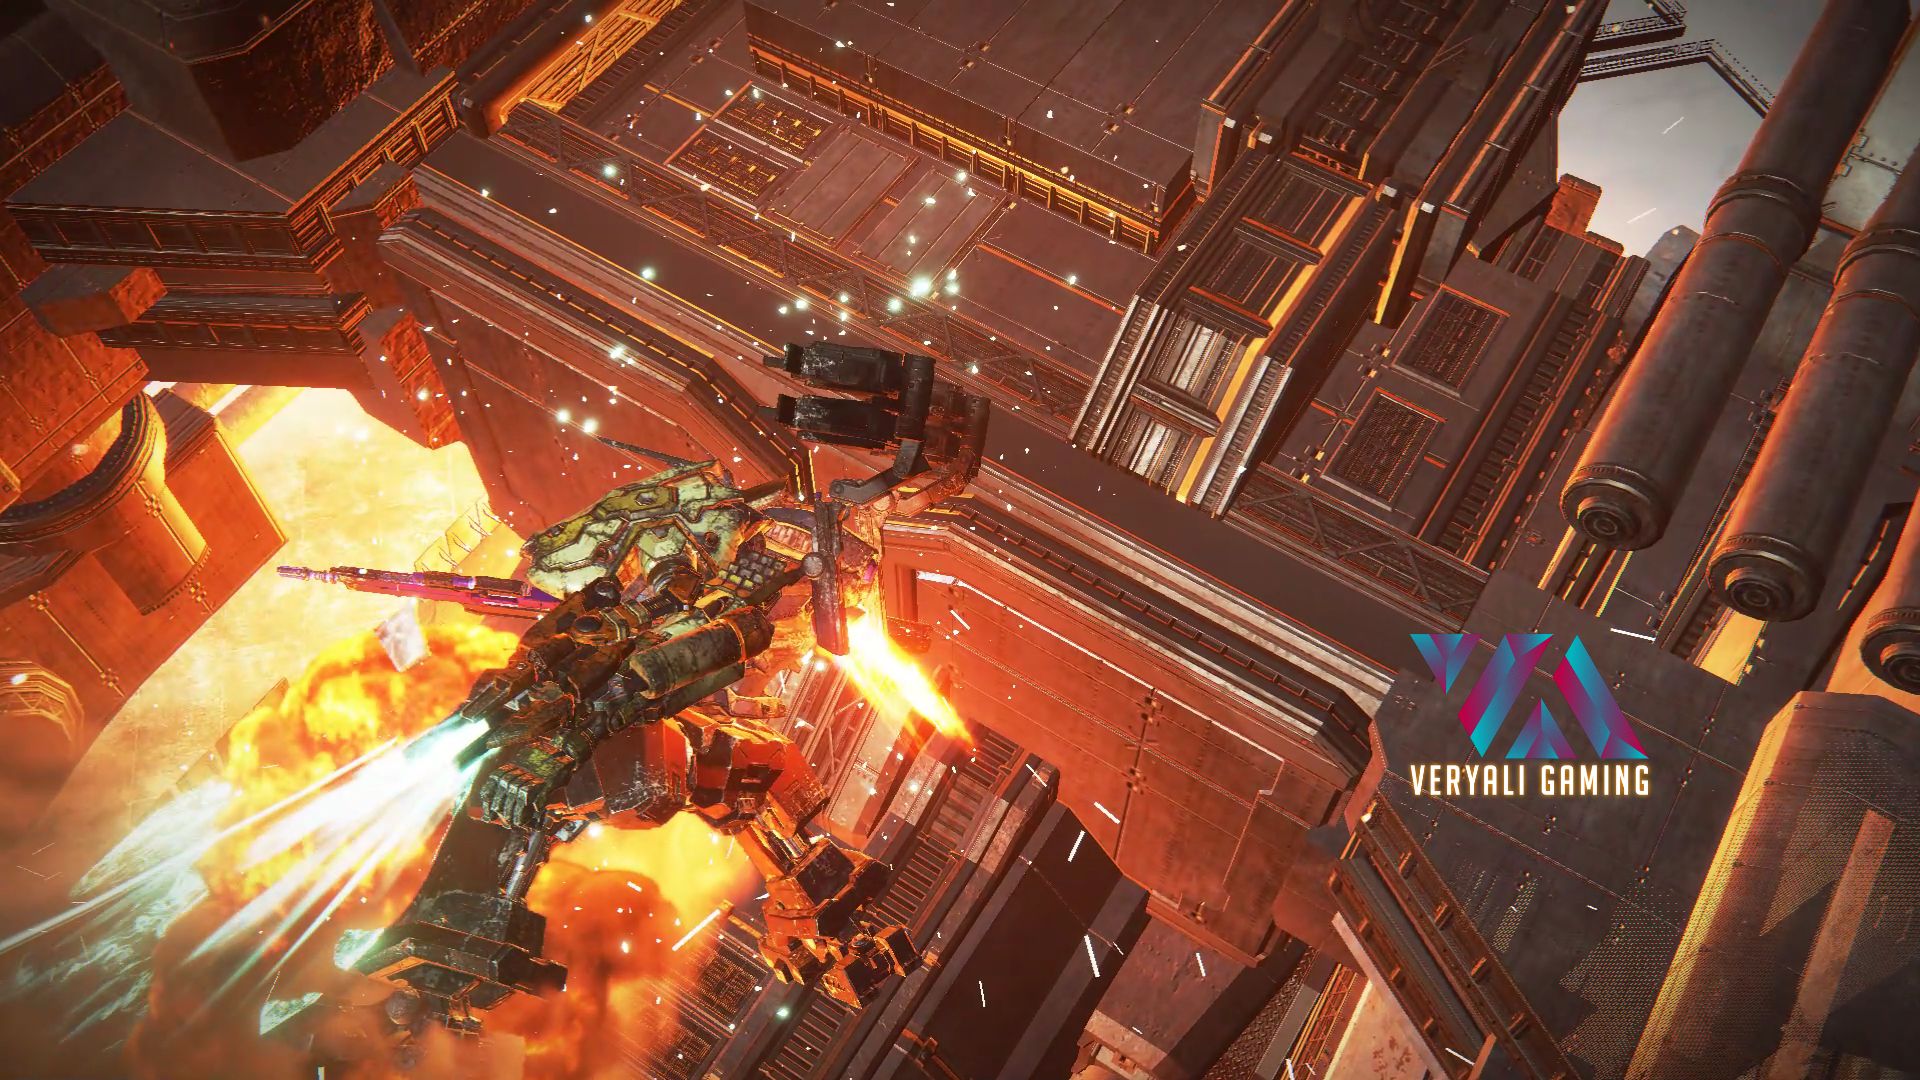
- Keeping a lightweight AC will be useful, as your movement will be quick, and you will recover a boost faster.
With over 100+ hours into the Armored Core 6, I consider myself an expert in the game with extensive experience with the boss. You can follow my strategy to defeat it.

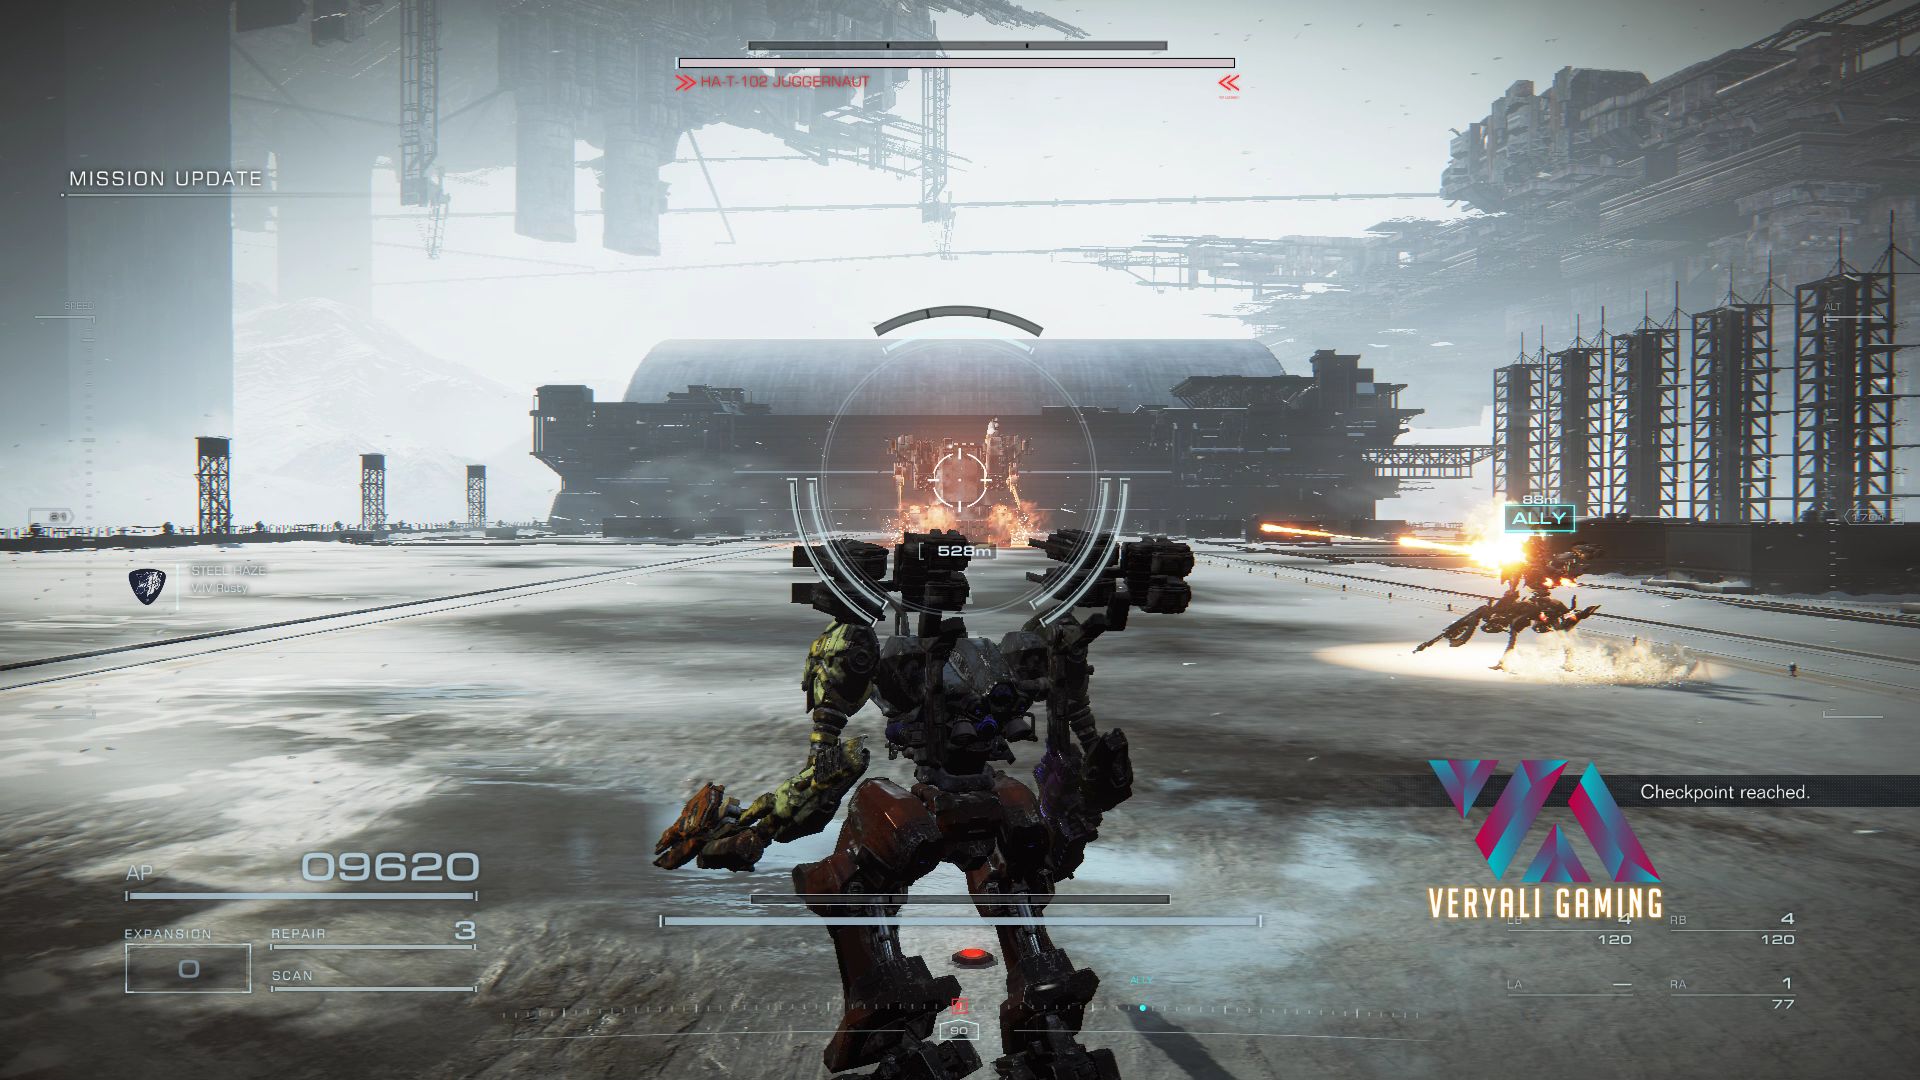
Juggernaut is a high-speed tanky mech. It has multiple weapon attachments to wreak havoc on the battlefield. Players will encounter Juggernaut in the eighth mission of Chapter 1, Operation Wallclimber.
It has two rocket launchers on the top. These are followed by Gatling guns on the sides.
Juggernaut Attacking Moves

- Juggernaut boss initiates battle with a brute force attack, ramming into the player’s mech.
- Getting hit by this attack damages the core and freezes movement, leaving you vulnerable.
- Missile launcher attachment fires three rockets, which are dangerous if they hit the ground due to extra damage.
- Players can learn to dodge rockets using Quick Boost and side movement.
- Gatling Guns on Juggernaut fire rounds for 3-5 seconds, followed by a switch to missiles or boosts.
- These three attacks are used interchangeably in random order, so maintaining a safe distance is crucial.
- Juggernaut constantly repositions to keep its thick shield facing your AC, making it immune to bullets.
- Avoiding this shield is necessary to prevent wasting ammo.
- At half health, Juggernaut drops explosive mines while rotating in a small circle on the field.
- Stepping on or flying near these mines causes extreme damage due to cumulative small explosions.
Attacking Moves Summary
Refer to the table below that will recap the attacking moves of Juggernaut:
| Attacking Move | Description | Counter |
| Hit with impact | When the battle starts, Juggernaut comes at you with full force. Damages your core, making you vulnerable. | Avoid the impact by boosting sidewards. Using a boost to lift vertically upwards has less probability of missing the move. |
| Missile Launcher | Three rockets leave the launcher at a time. This is followed by another guided triplet. | When the rockets are about to fire, your AC will make an alarming sound. Track the red marker and use Quick Boost to move in the opposite direction. |
| Gatling Gun | Minigun will spray for three to four seconds. Higher chance of causing core failure. | Get close to Juggernaut, preferably fly over him. |
| Mine Dropper | In the later part of the fight, Juggernaut will perform a rotatory motion and start dropping mines in all directions. | Fly away from them and wait until they explode. |
How To Defeat Juggernaut?
Part One

I will break down this fight into two parts.
- Rusty, a technical mech, will assist you in the first part. He has laser weaponry and strong armor that can cause diversions.
- While he is assisting, ensure you boost upwards jump behind him, and target the boosters.
- At the start, dodge the impact move by performing a sidestep.
- Keep your AC very close to the boss so you can constantly target its back.
- Keep using Quick Boost and a melee weapon. I noticed that keeping a lightweight mech makes this combo work better.
Part Two
- After you get Juggernaut to half-health mark, Rusty will receive a message that he is needed somewhere else.
- You will fight the boss alone in this part of the battle.
- Note that staying away will keep you safer, as Juggernaut starts dropping mines which are for close-range.
- The boss starts fighting aggressively and the rockets and missiles increase in number.
- Your best bet is to stay away and aim to trap the boss in a corner.
- The sides are also open for your attacks as the armor on these sides is weaker.
- Therefore, target them and the back to make the boss vulnerable. Then, get close and use your melee to destroy him.
- After you get him vulnerable once, ensure Juggernaut does not get away by spamming missiles.

Best Chapter 1 Build For Bosses
The trick to defeating Juggernaut is to customize yourself to be a lightweight AC. This is essential as you need a boost at all times to get behind the boss and target the weak spots.
Hence, I bring a build that will help you pass the first chapter and defeat bosses along the way. Note that there will be some customization required in the next chapter, which is out of the scope of this guide.
| Part Place | Part Name |
| R-Arm | SG-026 HALDEMAN |
| L-Arm | HI-32 BU-TT/A |
| R-Back | BML-G1/P20MLT-04 |
| L-Back | BML-G1/P20MLT-04 |
| Head | HC-2000 FINDER EYE |
| Core | CC-2000 ORBITER |
| Arms | AC-2000 TOOL ARM |
| Legs | KASUAR/42Z |
| Booster | BST-G2/P04 |
| FCS | FC-006 ABBOT |
| Generator | VP-20S |
Personal Thoughts
I keep stressing the fact that you must keep a lightweight AC for this fight. This is critically important, as Juggernaut’s thick armor plate at the front blocks all your bullets. Moreover, focus on hitting rockets frequently and use melee weapons when you are close. I hope you will follow the tips I gave to end Juggernaut and win the fight.
- Armored Core 6: Fires of Rubicon: Stats
- Armored Core 6: Fires of Rubicon: Chest Locations
- Armored Core 6: Fires of Rubicon: All Weapons
Good job! Please give your positive feedback 😏
How could we improve this post? Please Help us. 💡
Farrukh has been covering Souls like games for years now. Having an extensive experience in Dark Soul 3 and Elden Ring he critically judges these games and writes his unbiased thoughts on them after spending hundreds of hours grinding. Farrukh has also worked with Game Rant, MP1st and The Nerd Stash on a variety of gaming guides making him an expert to share his opinions. When not writing he probably be clearing another dungeon. You can also join Farrukh on his Steam.


