The Callisto Protocol is now out, and lovers of the survival horror genre are thrilled. Here are The Callisto Protocols 26 Achievements, as well as how to acquire them. This is a comprehensive guide detailing a way of getting all achievements in the game. If you have never played this game or are just hunting for achievements, this guide will show you how to get them all.
We’re going to divide all of The Callisto Protocols’ achievements into Story and Gameplay achievements, so you know which ones will come naturally as you progress through the game and which ones, you’ll actually have to do something to unlock.
Important Callisto Protocol Achievements Info:
- The difficulty level of Callisto Protocol achievements: Medium.
- Total achievements: 26 (100%).
- Offline achievements: 26 (100%).
- Online Achievements: 0.
- Estimated time to complete all 26 Callisto Protocol achievements: 15-20 hours.
- The minimum number of passes for 100%: 2.
- Glitchy achievements: None.
- Missable Achievements: Yes.
- Achievements with difficulty levels: Yes.
- Required DLCs for 100% achievements: None (At least not for now)
Let’s start off with the easy ones, the Story-related Callisto Protocol achievements you’ll get by simply progressing through the story.
Story Achievements
I Do Belong Here/The Protocol is About Life
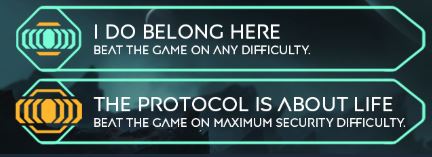
I Do Belong Here is a story-related achievement that should not be missed. Unlocks after completing a playthrough on any difficulty (the easiest is good for this) following Chapter 8: Tower.
The maximum security challenge for The Protocol is About Life achievement is accessible right away. You have endless lives. If you die, you will respawn at the closest checkpoint. There are several checkpoints, so this isn’t too difficult.
The difference between Minimum and Maximum-Security difficulty is that enemies have about twice as much health and deal about twice as much damage. The drop rate of credits and ammunition remains unchanged. You receive the same number of Credits, Health Items, and Ammo as on Easy. At every Crafting Station, you may also make Ammo and Health (found frequently after Chapter 3: Aftermath).
The collar on the back of your neck, known as the CORE depicts your health. Green indicates good health, yellow indicates medium health, and red indicates poor health. As you approach low health, health pickups will become increasingly frequent.
So, our recommendation would be to complete the game twice: at an easy difficulty level and finding all collectible items and then at Maximum Security difficulty. Trying to do everything at once will be torture.
The Outer Way
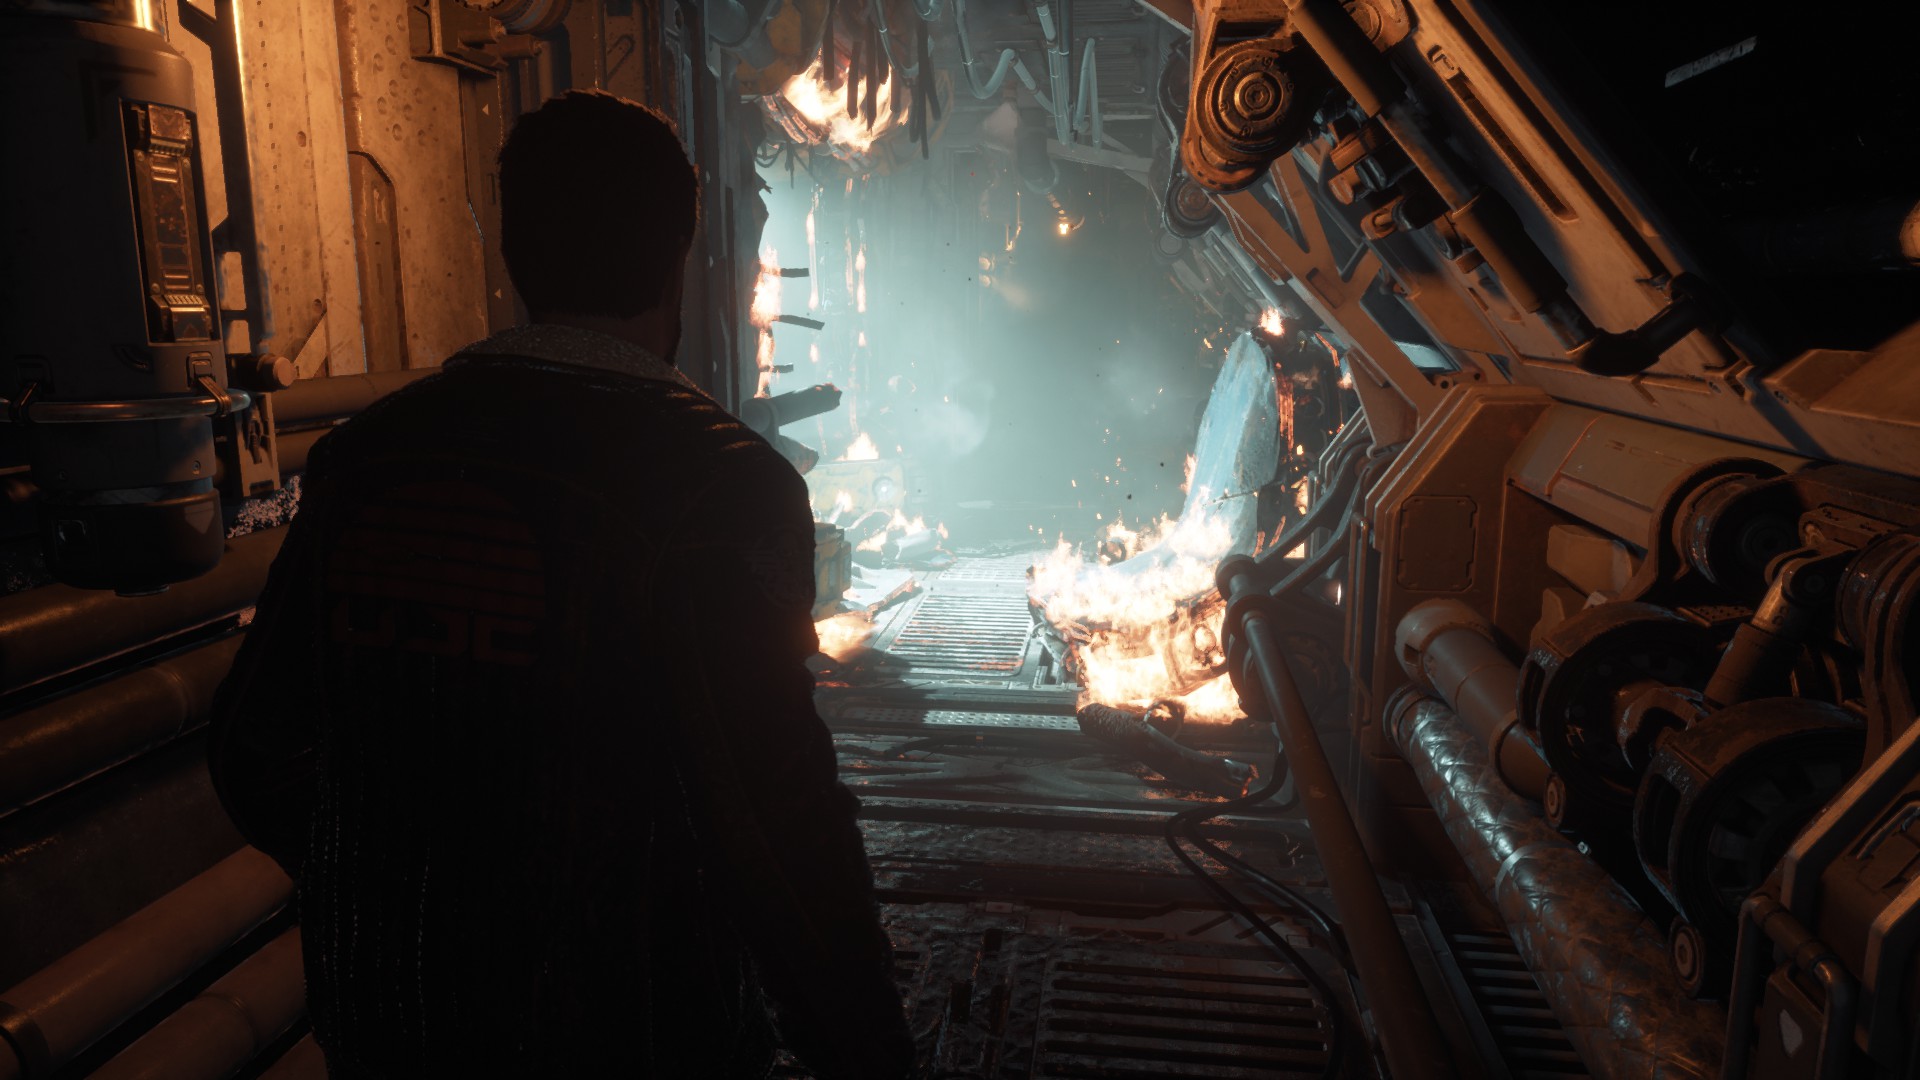
A story-related achievement that cannot be missed. Unlocked when you enter a flaming corridor in Chapter 1: Cargo.
Desperate Times
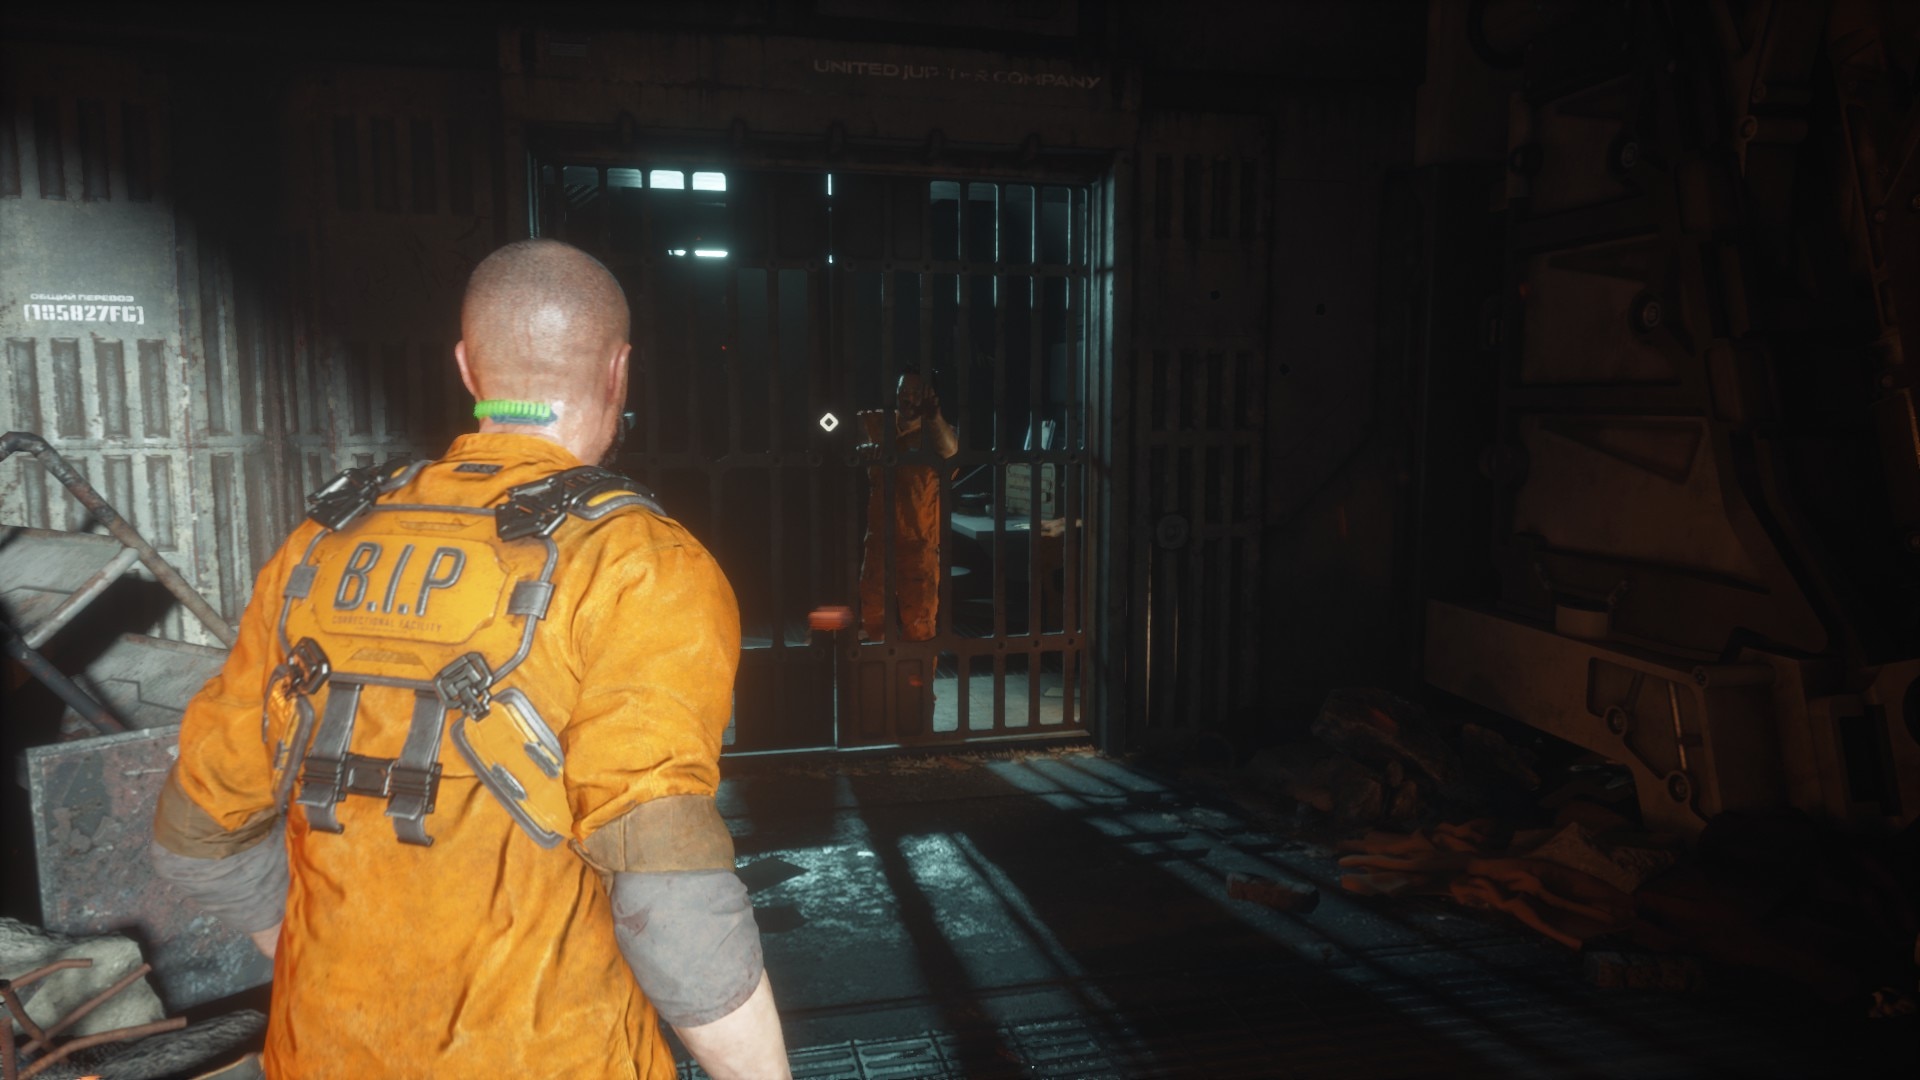
Unlocked in Chapter 2: Outbreak, after meeting Elias in his prison cell for the first time where he hands you a shiv.
Paper Jams
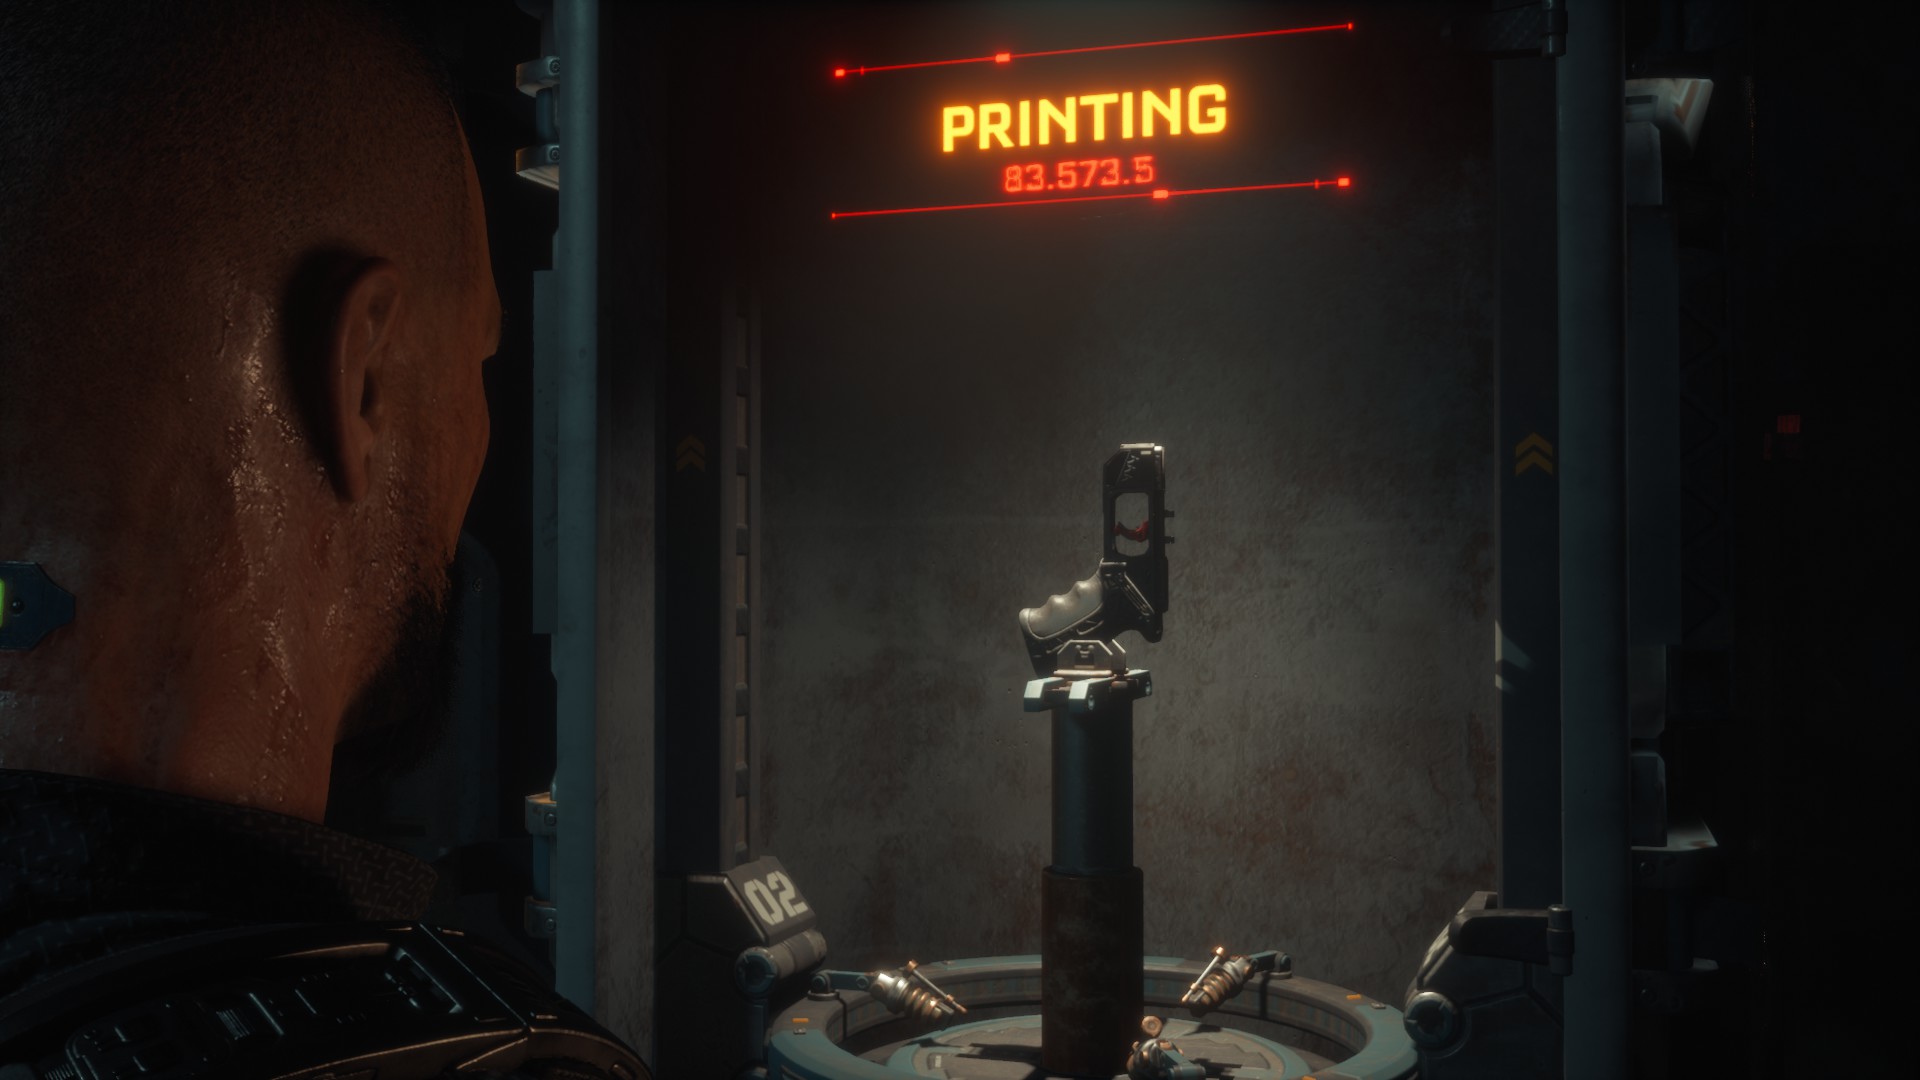
Story-related events cannot be missed. In Chapter 3, unlocks after there’s an obligatory objective to print your first weapon early in the chapter that you can’t miss. NOTE: You can find extra Callisto credits to the right of the printer to make your first weapon.
If the SHU Fits…

Story-related achievements cannot be missed. Unlocked in Chapter 3: Aftermath, after reuniting with Elias in front of a big spaceship and helping him activate the SHU.
Without A Paddle

Unlocked in Chapter 4: Habitat, after surviving a long water slide section. Be careful about hazards on your way down; use your movement keys to avoid them.
Crash Site

Unlocked in Chapter 5: Lost, after returning to Jacobs’s ship that crashed at the start of the game.
In the Pipe, Five by Five

In Chapter 5, unlocked after riding the elevator with Dani to the roof.
Power Up

In Chapter 6, you’ll find yourself underground and will need to restore electricity to an old facility in order to escape. To accomplish so, you’ll need to activate three relays in the Power Plant, which you may reach via the Power Tunnels if you go to the tram (AKA the Transport Platforms) and obtain the access card. The accomplishment is yours once you’ve triggered the third relay.
Two Heads Are Better Than One

The first “two-head” will appear about halfway through Chapter 6, ‘Below.’ After you’ve restored power to the transport platform at the Power Plant and returned to the platform itself, after clearing a few waves of opponents, the two-headed will appear, and you’ll have to take him down.
When Two-Head appears, keep dodging his attacks. After avoiding one attack, fire a shot (Riot Shotgun works best), then rinse and repeat. When he falls to the ground, you must attack him three times with melee to rip his body in half. When he falls the second time, melee him again, and he will die.
What Lies Beneath

In Chapter 6: Below, after making your way out of Arcas and its outpost there and reaching the biodome underground, you’ll head left while Dani combs through the data. After you’ve passed through the first corridor, this achievement will unlock.
Full Circle

This achievement will be unlocked at the start of Chapter 9, ‘Tower,’ following a brief cutscene with a security bot.
Now, those are all the story-related achievements out of the way. Let’s make our way into the gameplay achievements, for which you’ll have to perform certain actions to unlock them.
Gameplay Achievements For The Callisto Protocol
Flesh Wound

This is actually fairly easy to obtain very early in the game. After you grab the shiv from Elias and enter the area across the bridge, you’ll come across a QTE portion with two convicts, which will earn you the crowbar. After that, you’ll confront a mutant; simply keep attacking until both arms are removed, and the achievement should be unlocked. You’ll get this one without a hitch.
Reforged
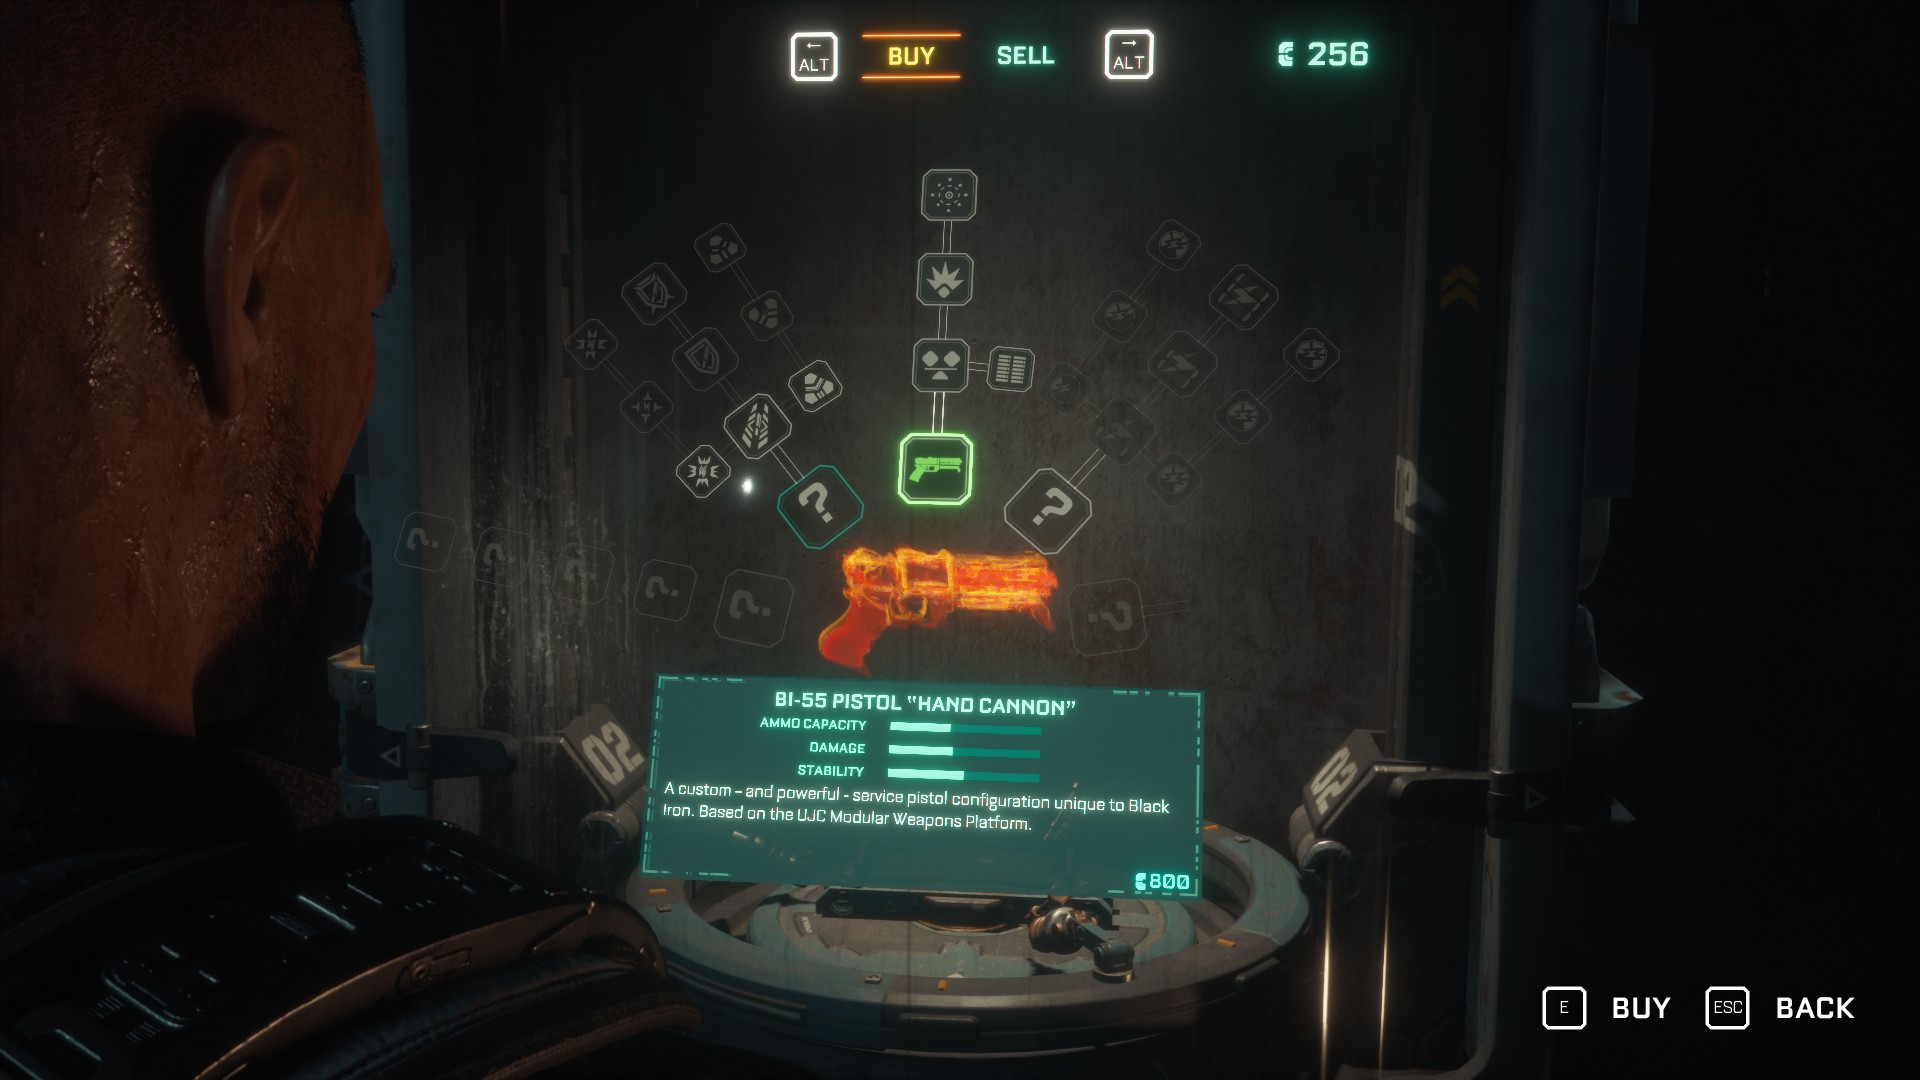
Weapon upgrades may be printed at crafting stations scattered throughout the game. The first possibility is in Chapter 3: Aftermath; after getting the GRP glove, there is a crafting station in the following room. Purchase any upgrade, such as the first Pistol upgrade, for 200 Callisto credits.
You Need a Gun

For this achievement, you’ll need to fully upgrade a weapon. We recommend upgrading the BI-55 Hand Cannon. Credits are found as loot, dropped by enemies, in chests, and from selling items at Crafting Stations.
Some loot can also be sold for a high price at crafting stations, such as “CPU Printer” (1000 credits) & “Pristine Energy Converter” (200 credits). Later on, you even find some valuables that can be sold for up to 1500 credits.
You’ll need 2800 credits to fully upgrade the pistol:
- Stability Upgrade – 200 Credits
- High-Capacity Magazine Upgrade – 200 Credits
- Magnum Rounds Damage Upgrade – 600 Credits
- TK23 “Boom Bullets” – 1800 Credits
NOTE: After you unlock this achievement, we recommend reloading your last save to get your credits back and investing them in the Baton for damage and either the Riot Gun or Skunk Shotgun. Especially if you’re playing on Maximum Security.
Giving Back
In Chapter 6, ‘Below,’ you’ll encounter a group of foes that are blind and only respond to sound. It’s also quite apparent in the game, with graffiti all over the wall instructing you. To obtain this accomplishment, you only need to backstab five of them. To do this, simply crouch and sneak up behind them and press the button prompt to execute a stealth attack.
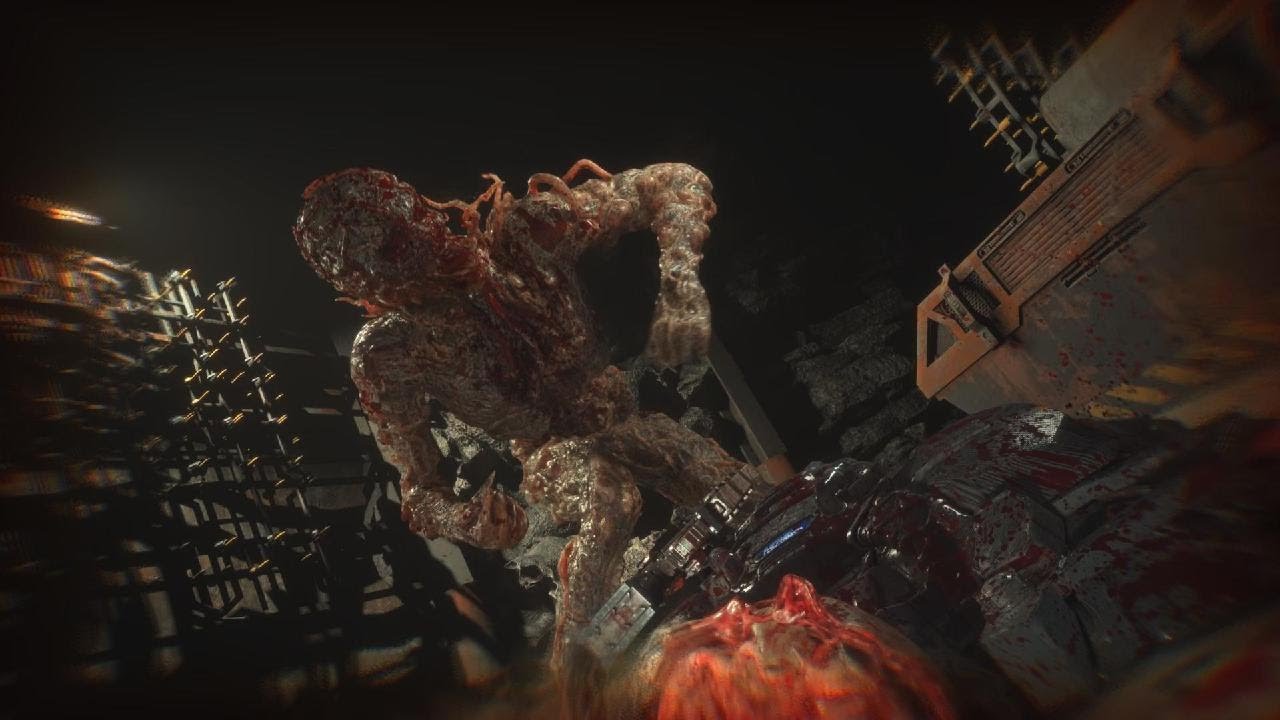
Make sure they don’t bump into you. Using the GRP to pick up objects and throw them as distractions is a great strategy to get them where you want them. Also, they can’t hear you stab another enemy right next to them, so don’t worry about alerting them.
Get a Grip

The GRP glove is automatically unlocked in Chapter 3: Aftermath. Then you may grab enemies and fling them away.
To obtain this achievement, just grab 25 enemies during the course of the game. This should happen organically over time. A blue status meter on the back of your collar indicates how much GRP charge you have left, and it automatically replenishes if you have a battery in your inventory. There is no need to manually utilize batteries because they are consumed as they run out of charge.
Terminated
This is a must-do since an opportunity to take down a security bot appears during the game’s ‘Aftermath‘ chapter. Shoot the robot in the head with the Hand Cannon, and utilize cover to avoid being turned into a bloody paste. The bot will tumble to the ground after a few well-aimed bullets, and the accomplishment will be unlocked.
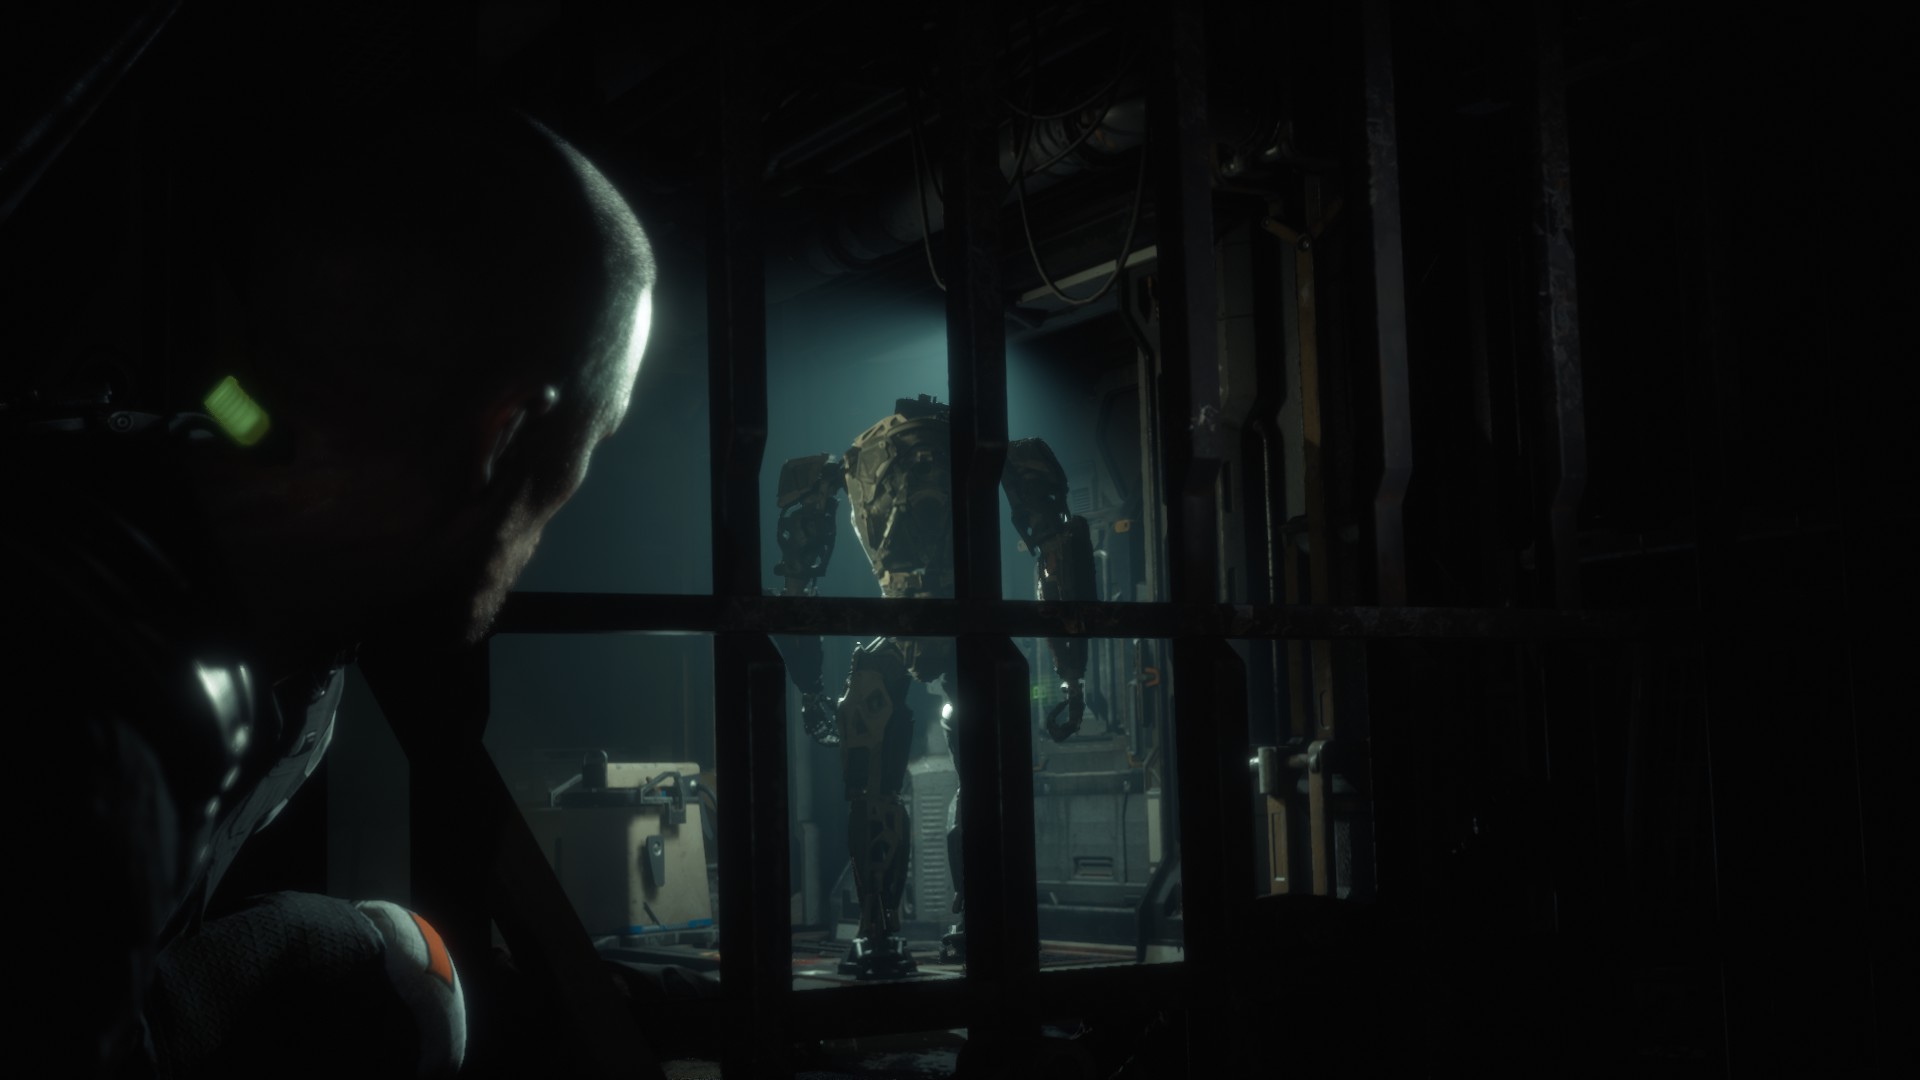
Don’t forget to stomp the bot to get a nice component you can sell for some nice Callisto credits.
In Striking Distance
To unlock this achievement, use the GRP to grab enemies, throw them against the wall and finish them off with the baton. The first strike after the GRP throw has to kill the enemy. If you need 2 or more strikes, it won’t unlock the achievement.
The GRP Glove does not require any upgrades. It works without any modifications. Weaken the enemy beforehand so that it may be killed in a single attack. This will take some trial and error until you get the monster so weakened that it will die in the next attack.
If you run out of GRP batteries, you may reload the checkpoint and try again right away. Here’s a video by PowerPyx that will help you unlock this Callisto protocol achievement.
Float Like A Butterfly
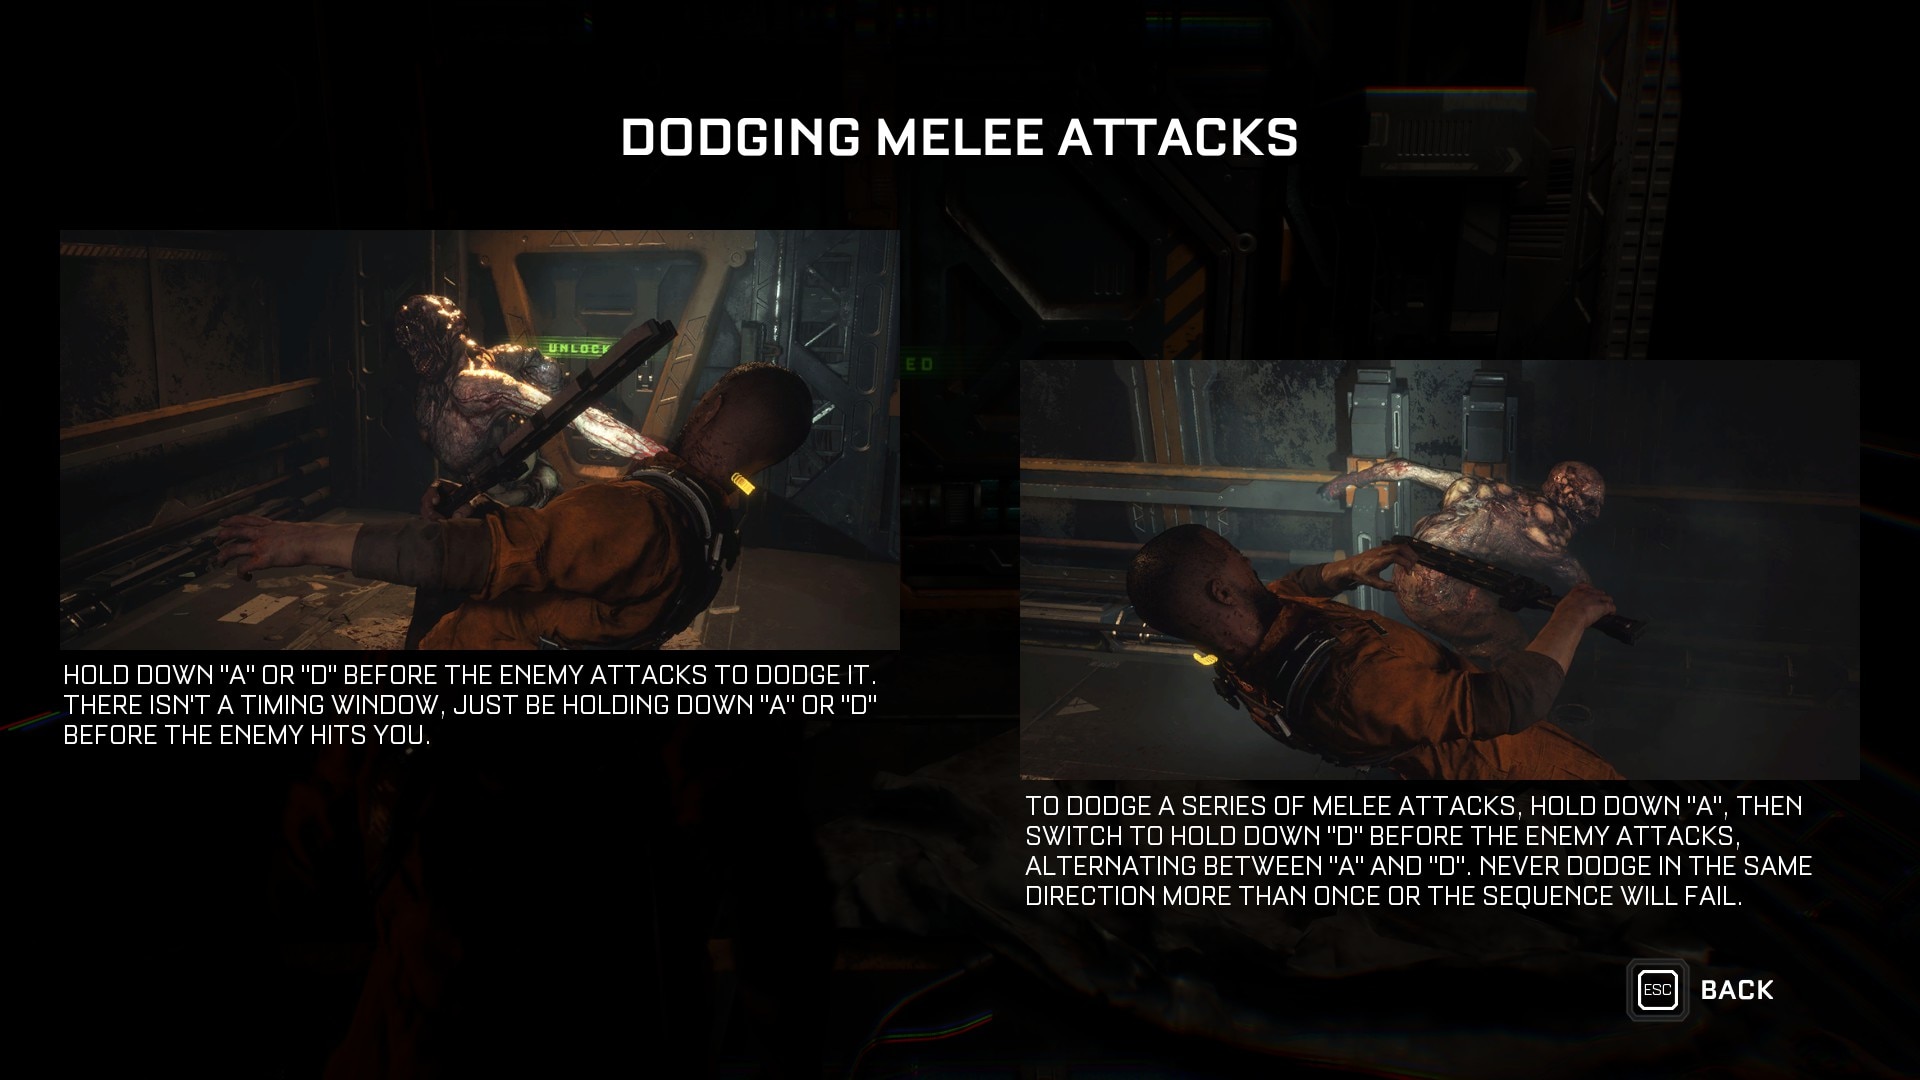
A “Perfect Dodge” is achieved by dodging left or right in the final second before being attacked by an enemy. The dodge will slow time down if done successfully. The timing is hard, but you can farm this one at a time by reloading the checkpoint or simply attempting it from one adversary to the next throughout the game.
Workplace Hazard
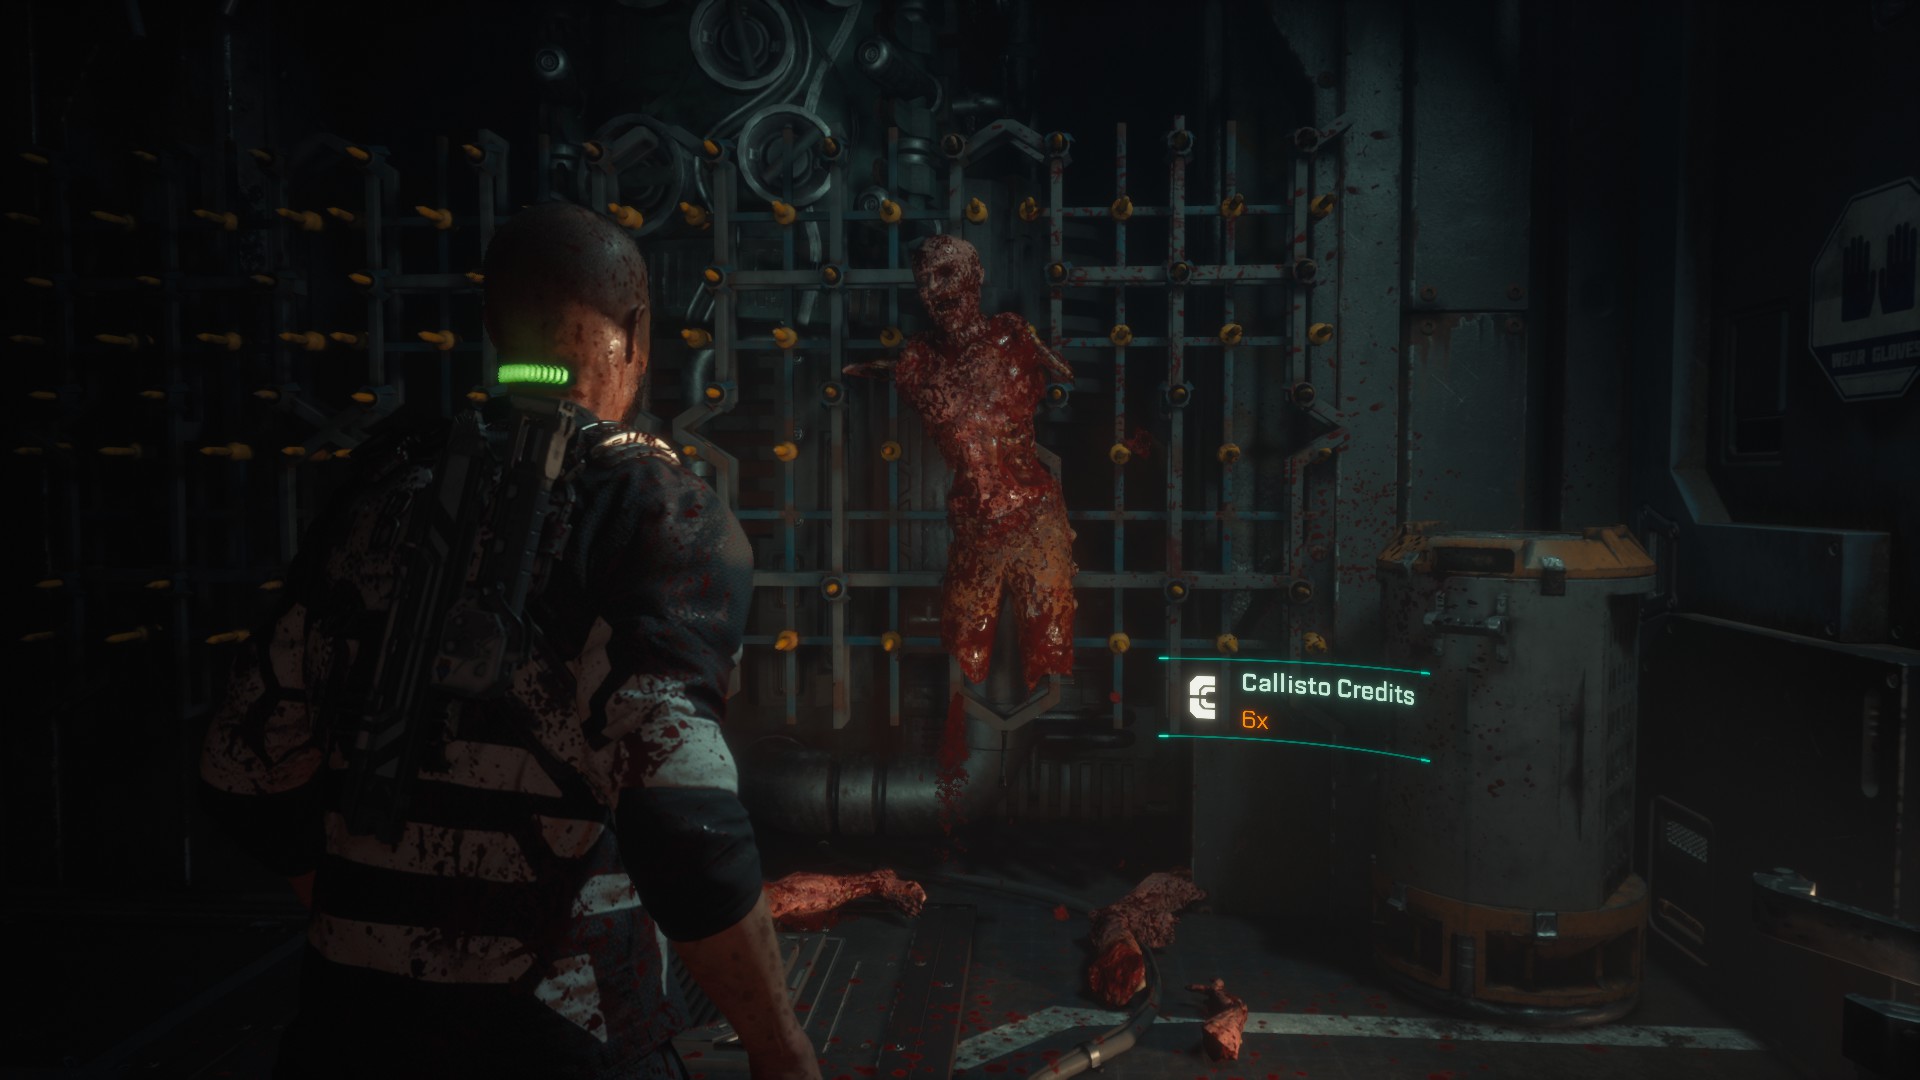
You’ll unlock the GRP in Chapter 2, ‘Aftermath’, and not long after getting it, you’ll be able to get this achievement.
After you’ve descended the lift shaft and emerged in a basement maintenance area in the same chapter. A fan with a chest behind it may be found at the far end of that room. If you attempt to go around and collect the items in the chest, an enemy will emerge from the vents. Back up and toss them into the spikes on the wall with your GRP. Fairly easy to unlock.
Chew ‘Em Up

Environmental hazards are explosive canisters you can shoot or spikes/blades you can throw/push enemies into. The easiest option is to use GRP to throw enemies into spikes on walls.
Once the GRP is unlocked, throw 10 enemies into spikes on walls or spinning blades, which count as “environmental hazards”; this instantly kills them.
Mugshot
This achievement is very easy to unlock; anytime during your playthrough simply pause the game, head into the photo mode, and take a picture. This will trigger the achievement.

Grim Reaper
In Chapter 3, ‘Aftermath,’ you’ll be exposed to a type of collectible in the game known as “implant bios” The implant bios is essentially the chip in the back of the neck and play as audio logs or text, and you may generally gather five or six every chapter. Some are optional, while others are required, and because there is no chapter pick or New Game Plus, you must replay the whole game if you miss one.
The Commonality

In order to unlock this achievement, you need to find two secret rooms located in two completely different chapters.
The first hidden room is on the left side of the Machine Room (Chapter 3, ‘Aftermath’). Before proceeding, enter Workshop B415 and then take the duct on the right. Then, proceed all the way to the end of the corridor to get entry to this secret area. The audio log is at the end of the table.
The second secret room is located in Chapter 6, ‘Below,‘ after you pass through the Power Tunnels and enter the Power Plant. You’ll come across a ladder to ascend up a level after passing through the bottom floor. A tiny hole in the wall is just opposite that ladder (with the Power Reactor control room on your right).
Enter the hole and follow the trail all the way to the bottom until you reach two enormous doors similar to the ones you saw in the first hidden room. You can get past the doors to the right by going through the hole in the wall. Proceed through it and to the far end of the chamber to get the audio log.
The two Data-Bios collectibles you’re looking for are:
- “Data-Bios #7 – Duncan Cole: Secret Room 1”
- “Data-Bios #31 – Yannick Sage: Secret Room 2“.
And there you have it, all 26 of The Callisto Protocols achievements. We hope this guide helped, and we’re looking forward to seeing you in the next one.
Good job! Please give your positive feedback 😏
How could we improve this post? Please Help us. 💡
A 23-year-old Computer Science final year student with a focus on Cloud Solution Architecture, HTML, and UI/UX design. Seasoned in ghostwriting, with 2+ years of experience at VeryAli Gaming. A gaming enthusiast favoring Resident Evil, GTA V Online, and Red Dead 2. Currently working on an AI + AR Decorator project for the final year.
If you want to play Games with me, I’m reachable on Steam, Nintendo Username: Kimochi, Battlenet: Y2K, and EA: KoolAidDude.


