


Waleed has over 800+ hours spent in Elden Ring, and he knows a great deal about the game. You can put your trust in Waleed to provide you with a hands-on experience of Elden Ring.
If you’re new to FromSoftware games in general, then know that you are presented with a choice between several starting classes at the start of every one of their games; Elden Ring is no exception to that tradition.
While you can read up on all the nine starting classes in Elden Ring in our guide, I’ll mainly cover Vagabond as it is a standard pick for new players. Apart from the intimidating and reassuring appearance of the class, it is considered exceptionally well-rounded for melee-loving players.
Key Takeaways
- Vagabond Class in Elden Ring: Focuses on Strength, Dexterity, and Endurance.
- To get talismans: Need three Stonesword Keys from different locations.
- Erdtree’s Favor talisman boosts HP, stamina, and equipment load. Found near Stranded Graveyard Site of Grace.
- Green Turtle’s talisman enhances stamina regen, found in Summonwater Village’s underground basement.
- Greatsword is a powerful choice; its 31 Strength requirement can be met by two-handing.
- Find the Greatsword by teleporting to Sellia Crystal Tunnel, then stealthily proceed through various locations to locate it in a chest at a Black Caravan.
The Vagabond class starts with stats: 15 Vigor, 10 Mind, 11 Endurance, 14 Strength, 13 Dexterity, 9 Intelligence, 9 Faith, and 7 Arcane. It comes with Vagabond Knight set, Longsword, Halberd, and Heater Shield. While you can respec later, it affects your first 20 hours. Let’s gear up your Vagabond character with the best early-game equipment!

Overview of My Vagabond Build
What I’m about to guide you into doing will most certainly turn you into a living monster, making the first area of the game much easier and time-efficient to beat. But before I tell you where to start and how to assemble all the build components, it’ll be best to give you a brief overview of the build you’re about to make! All of your stats will remain untouched, and all you will need to level up to prepare my Best Elden Ring Vagabond Build is Strength, from 14 to 21!
- Vigor – 15
- Mind – 10
- Endurance – 11
- Strength – 21
- Dexterity – 13
- Intelligence – 9
- Faith – 9
- Arcane – 7
As far as your equipment is concerned, you will simply be wielding the Greatsword, the first reasonably obtainable Colossal Sword in Elden Ring. Furthermore, in order to aid the proficient use of such a heavy armament, you will also be equipping two solid early game Talismans: Erdtree’s Favor and Green Turtle Talisman, with the addition of Radagon’s Scarseal for when you beat Margit and obtain your third Talisman Pouch. Are you excited to build such a robust yet unsophisticated build? Here’s a complete roadmap of what you need to do in chronological order!
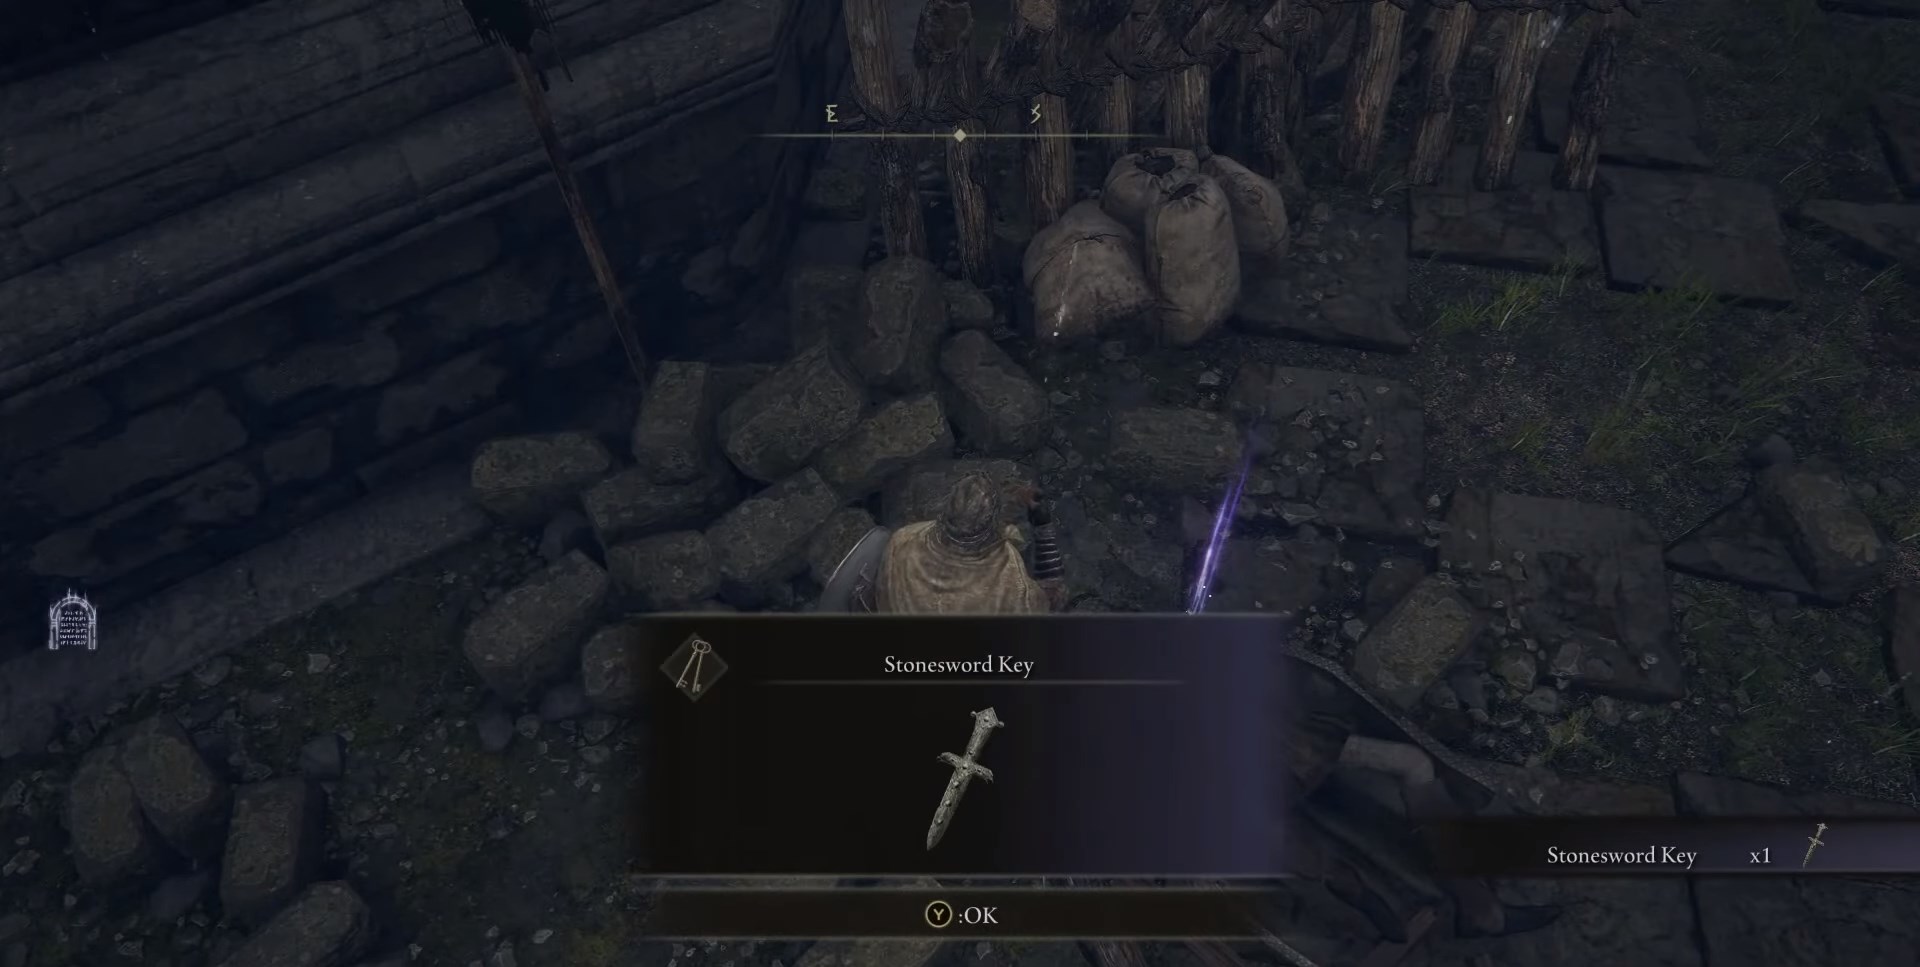
Three Stonesword Keys
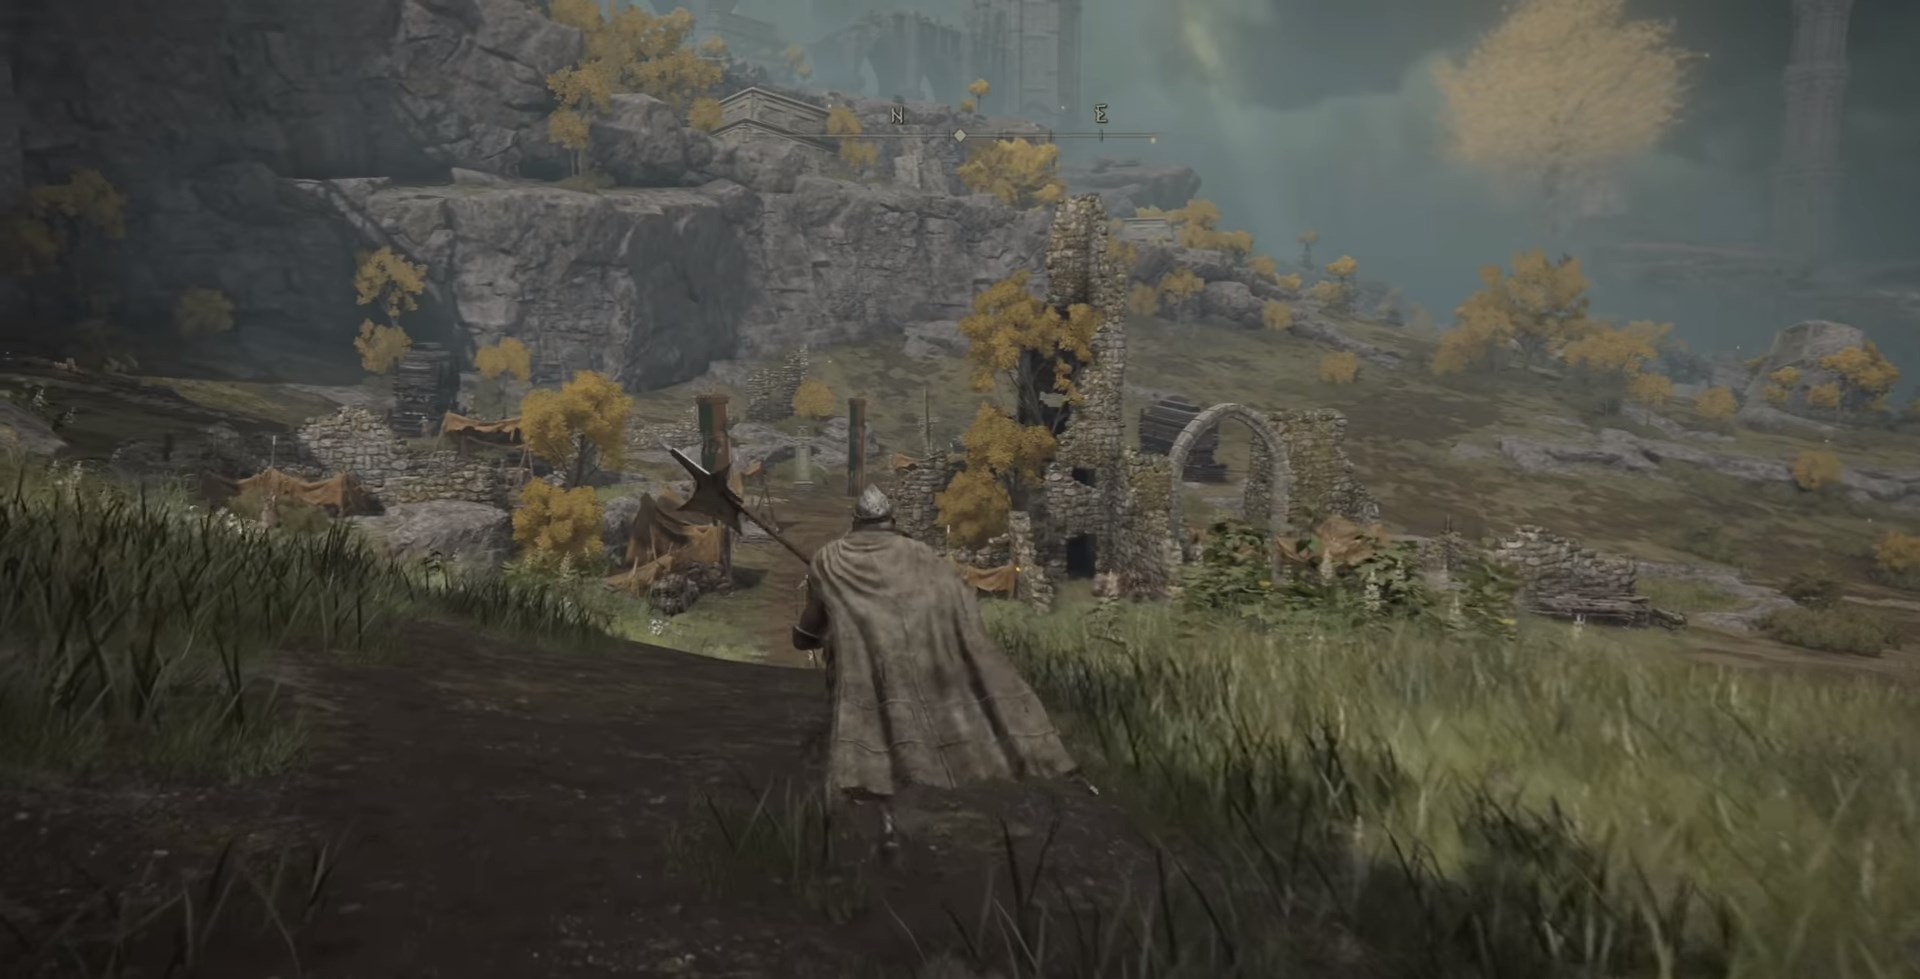
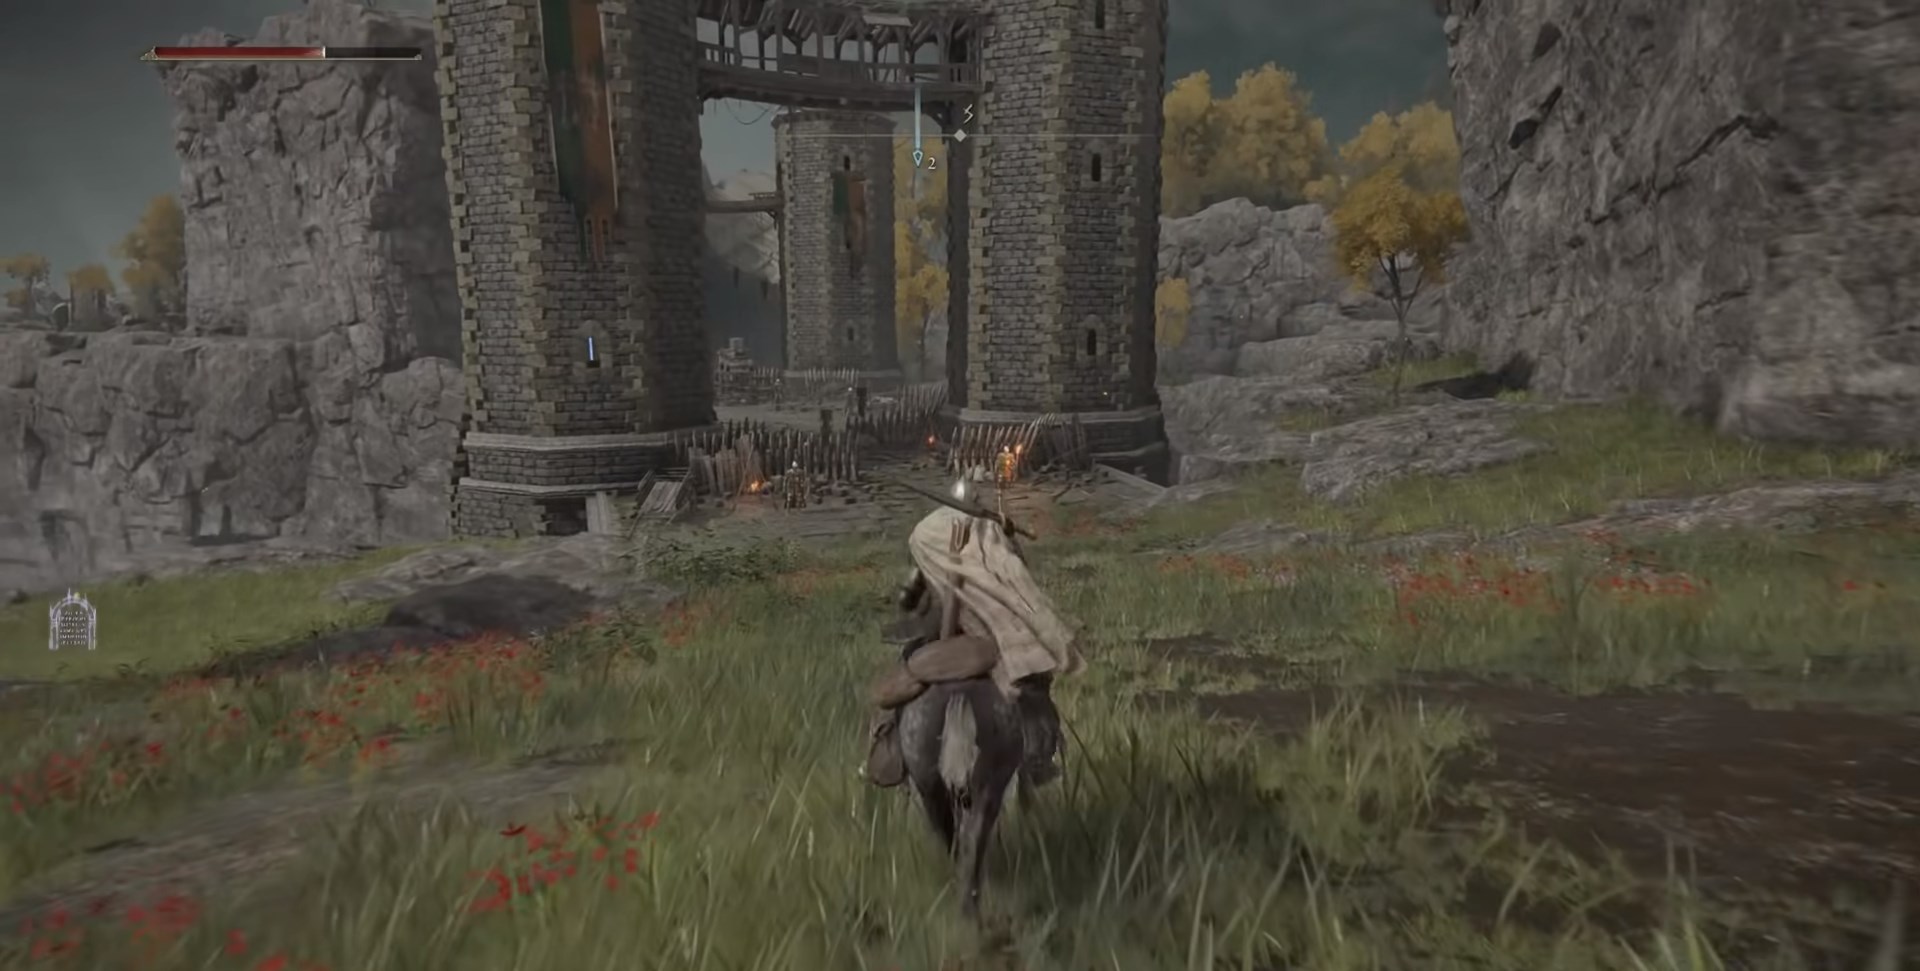
When you begin as a Vagabond in Elden Ring and complete the tutorial area, you’ll reach Limgrave, the first large continent. Near the Stranded Graveyard Site of Grace, you’ll encounter a fog wall that needs two Stonesword Keys to open.
Don’t worry if you couldn’t enter the dungeon yet. I’ll guide you to get your first Talisman, Erdtree’s Favor!
You can find Stonesword Keys easily in the Lands Between, or buy them from various merchants. You’ll need three for the Green Turtle Talisman. Let’s start by getting three Stonesword Keys for your Elden Ring Vagabond Build.

Stormhill Shack

To get your first Stonesword Key in Elden Ring, go to Stormhill Shack if you didn’t choose it as a Keepsake. In Limgrave, reach the Church of Elleh ruins after passing the Tree Sentinel and resting at its Site of Grace (second in Limgrave).
Ignore or talk to the church merchant, then move through the forest, watch out for Godrick Soldiers, and reach the Godrick military camp by Stormgate. Find the Site of Grace there and grab the map in the camp’s center, whether you clear it or not.
At the Site of Grace outside the camp, you’ll have your first story cutscene with Melina, who gives you your horse, Torrent. Mount Torrent and enter Stormgate, a somewhat hazardous area, but you can gallop through most of it on your horse. It’s your choice whether to clear this section or not. Continue up to the elevated land until you reach Stormhill, where your first Stonesword Key is nearby!

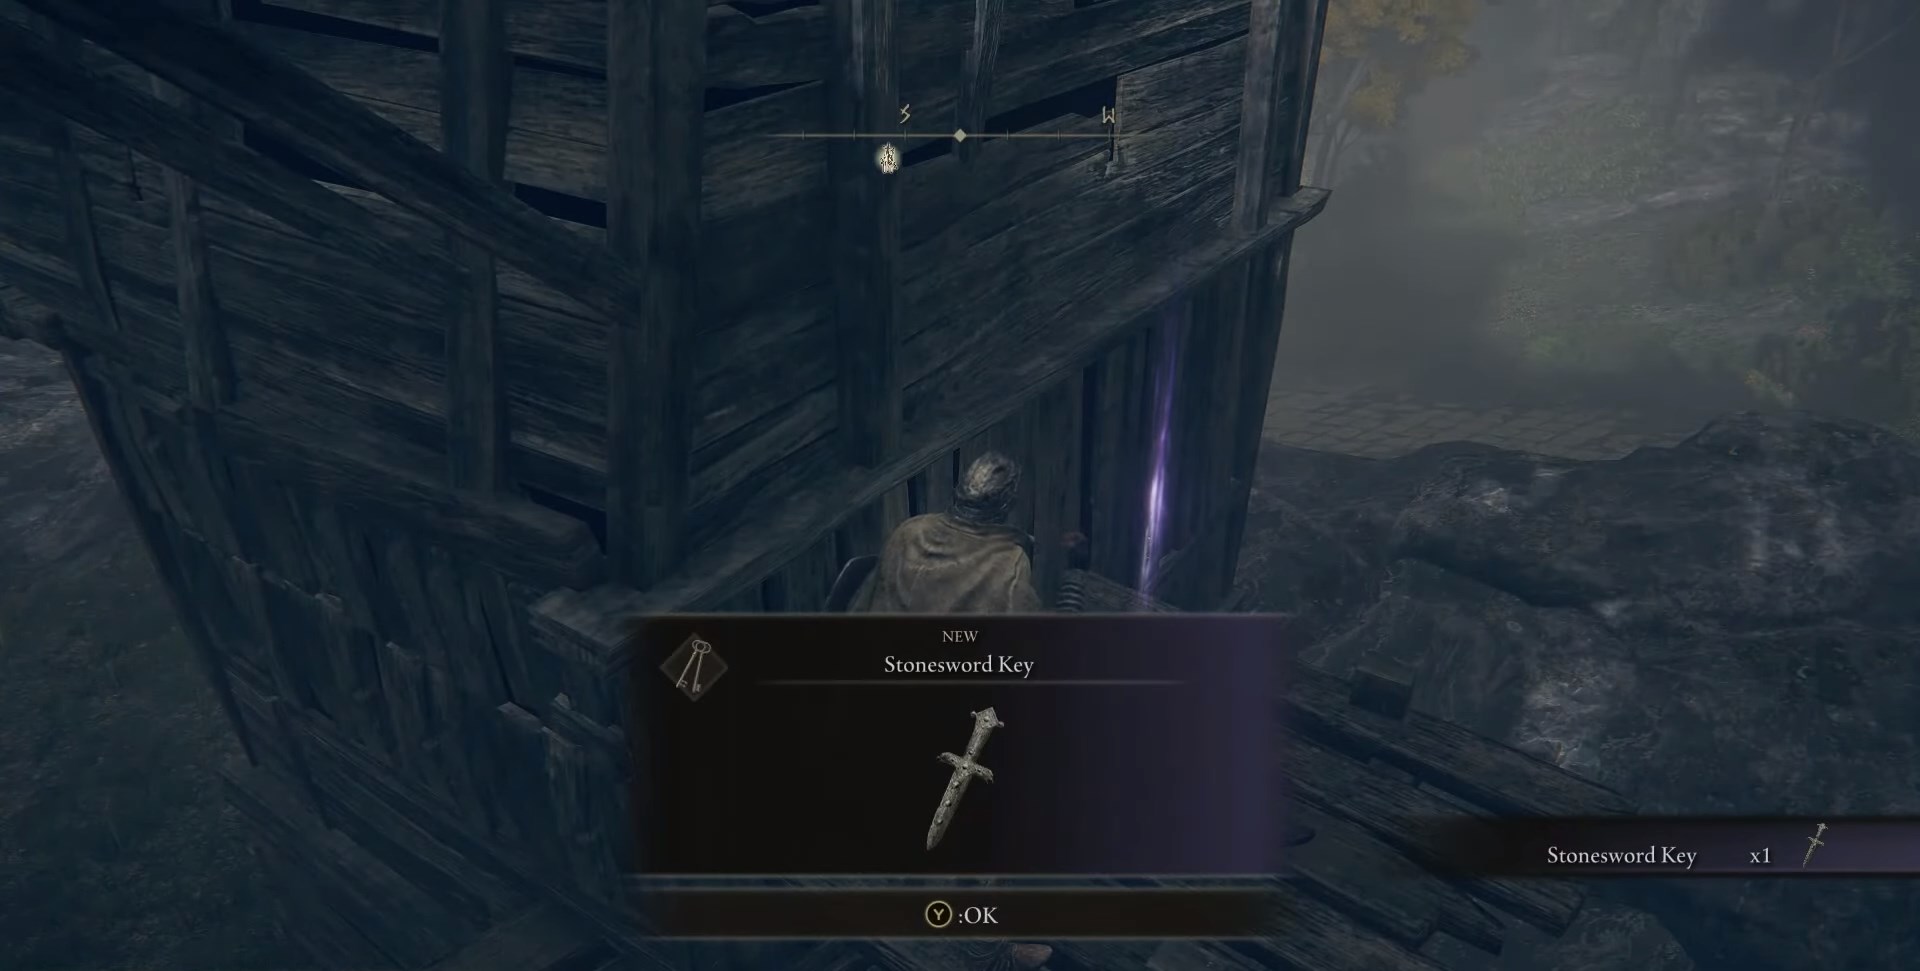
Follow the road until you reach the Stormhill Shack Site of Grace, near a Shack. Inside, you’ll meet Roderika, an essential NPC for upgrading Ashes Summons, so chat with her now. On a platform, there’s an item you can jump to – your first Stonesword Key! Congratulations, you’re on your way to creating the Best Vagabond Build.
Dragon-Burnt Ruins
Now that you have your first Stonesword Key, you can find the second one in the Dragon-Burnt Ruins. Start by fast traveling to The First Step Site of Grace, the closest checkpoint to the Dragon-Burnt Ruins. Head east into Agheel Lake, a lake-like area shown on your map, with ruins in the southwest.
It’s a good idea to mount Torrent before entering, as there are formidable enemies around, including the Flying Dragon Agheel boss if you go deep into the lake’s center.
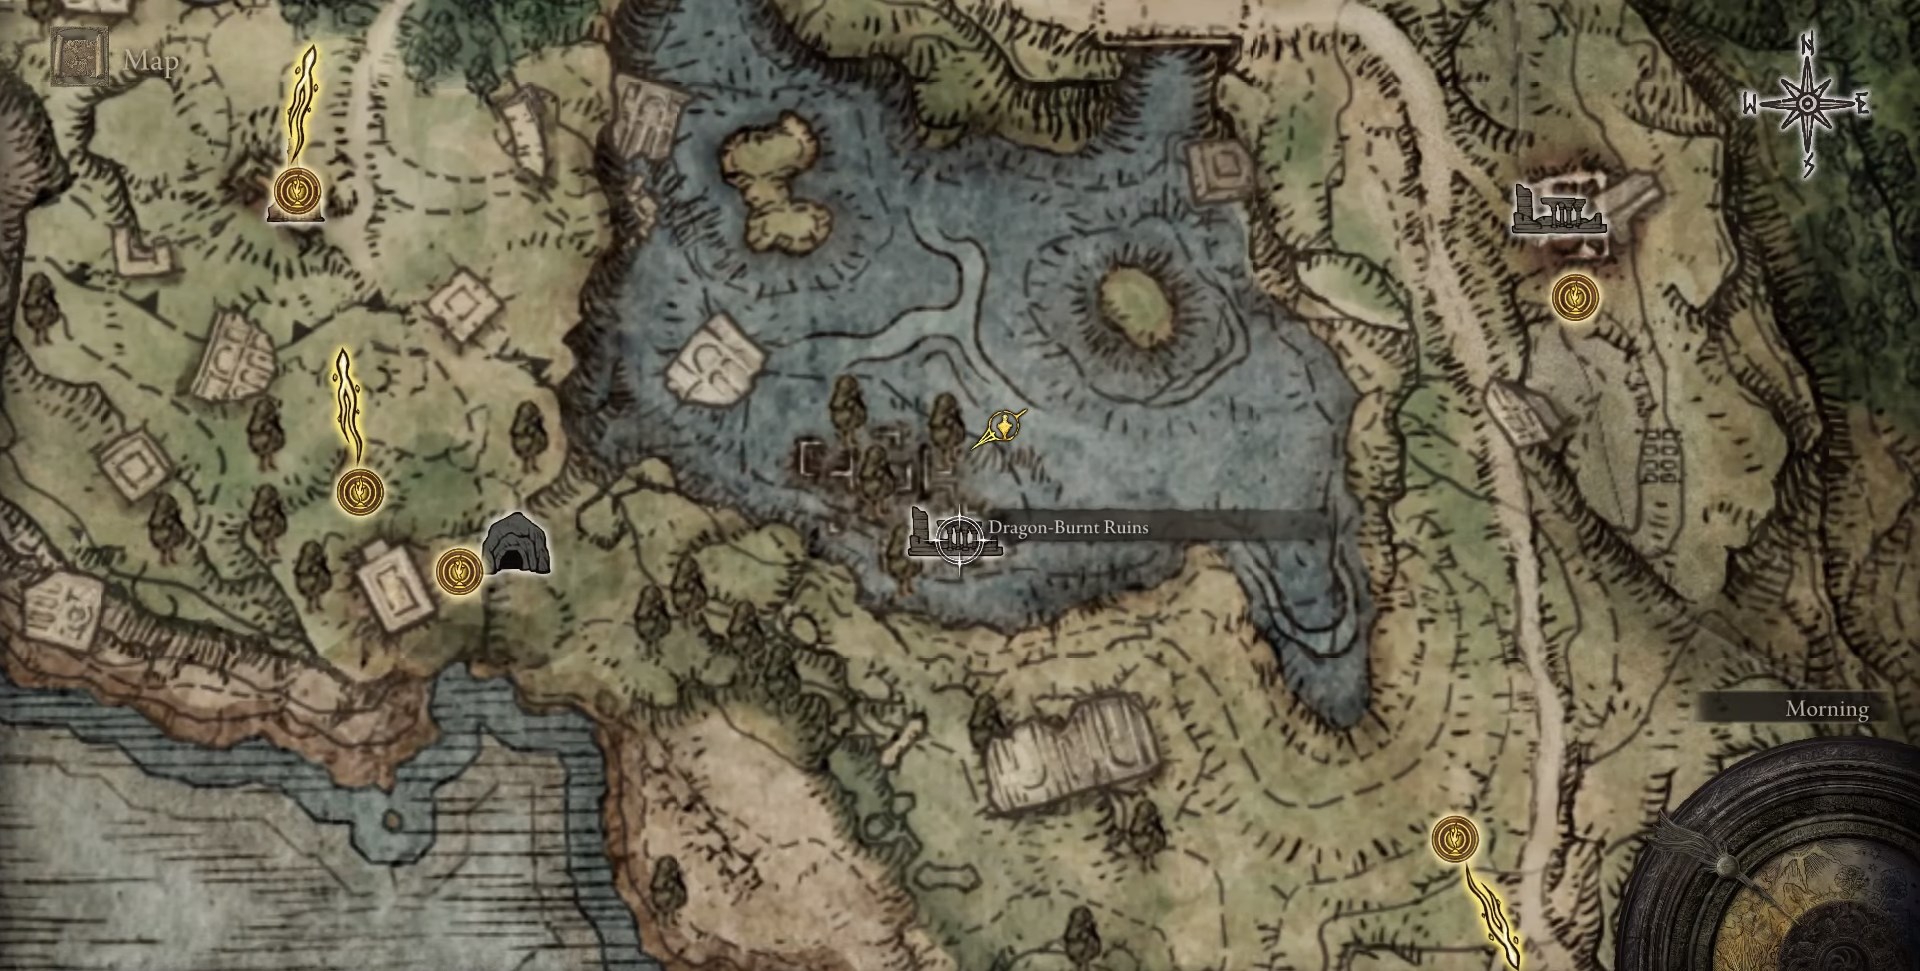
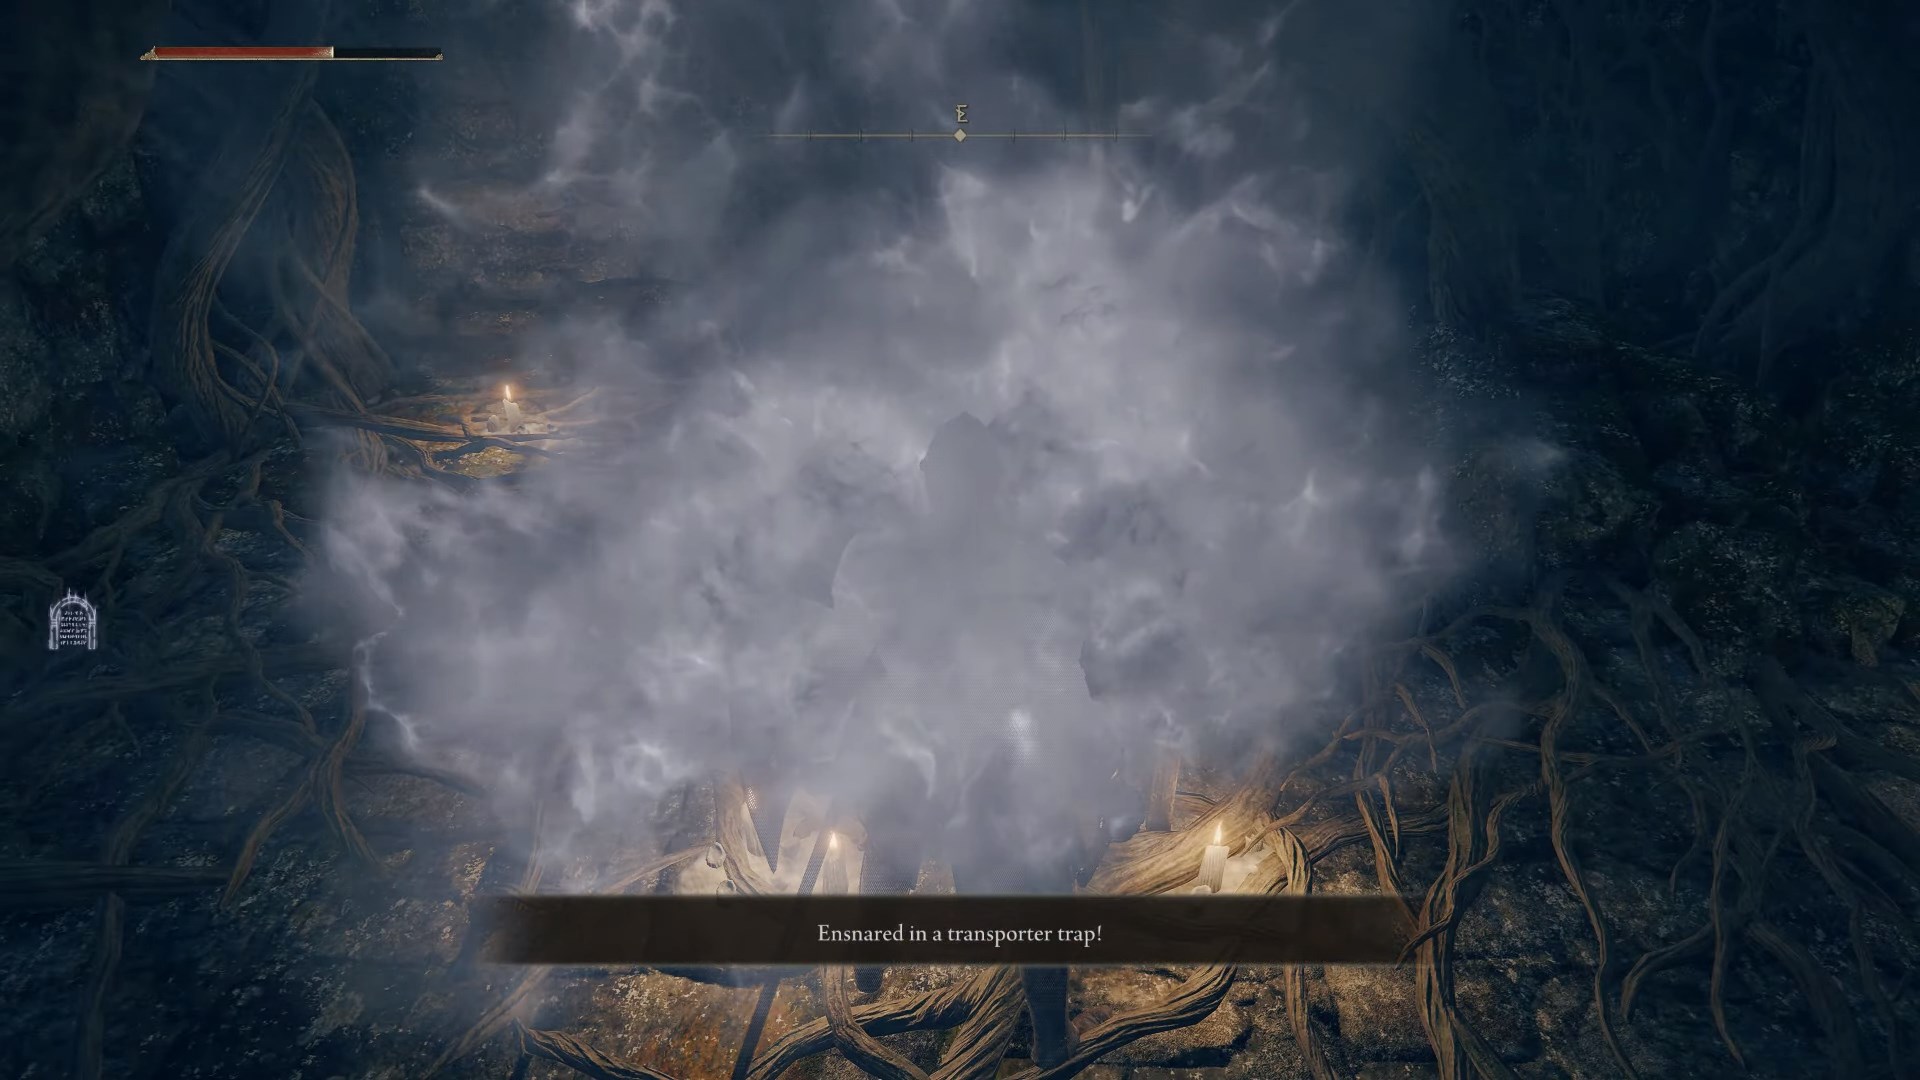
In the Dragon-Burnt Ruins, you’ll find the main floor occupied by Rotten Strays, Nobles, and Undead Soldiers, guarding a basement entrance in front of a closed wall. Avoid entering the basement for now; it’s a transportation trap for later use. Instead, go around the wall behind it, where you’ll encounter a Rat guarding an item – your second Stonesword Key!
Bridge of Sacrifice
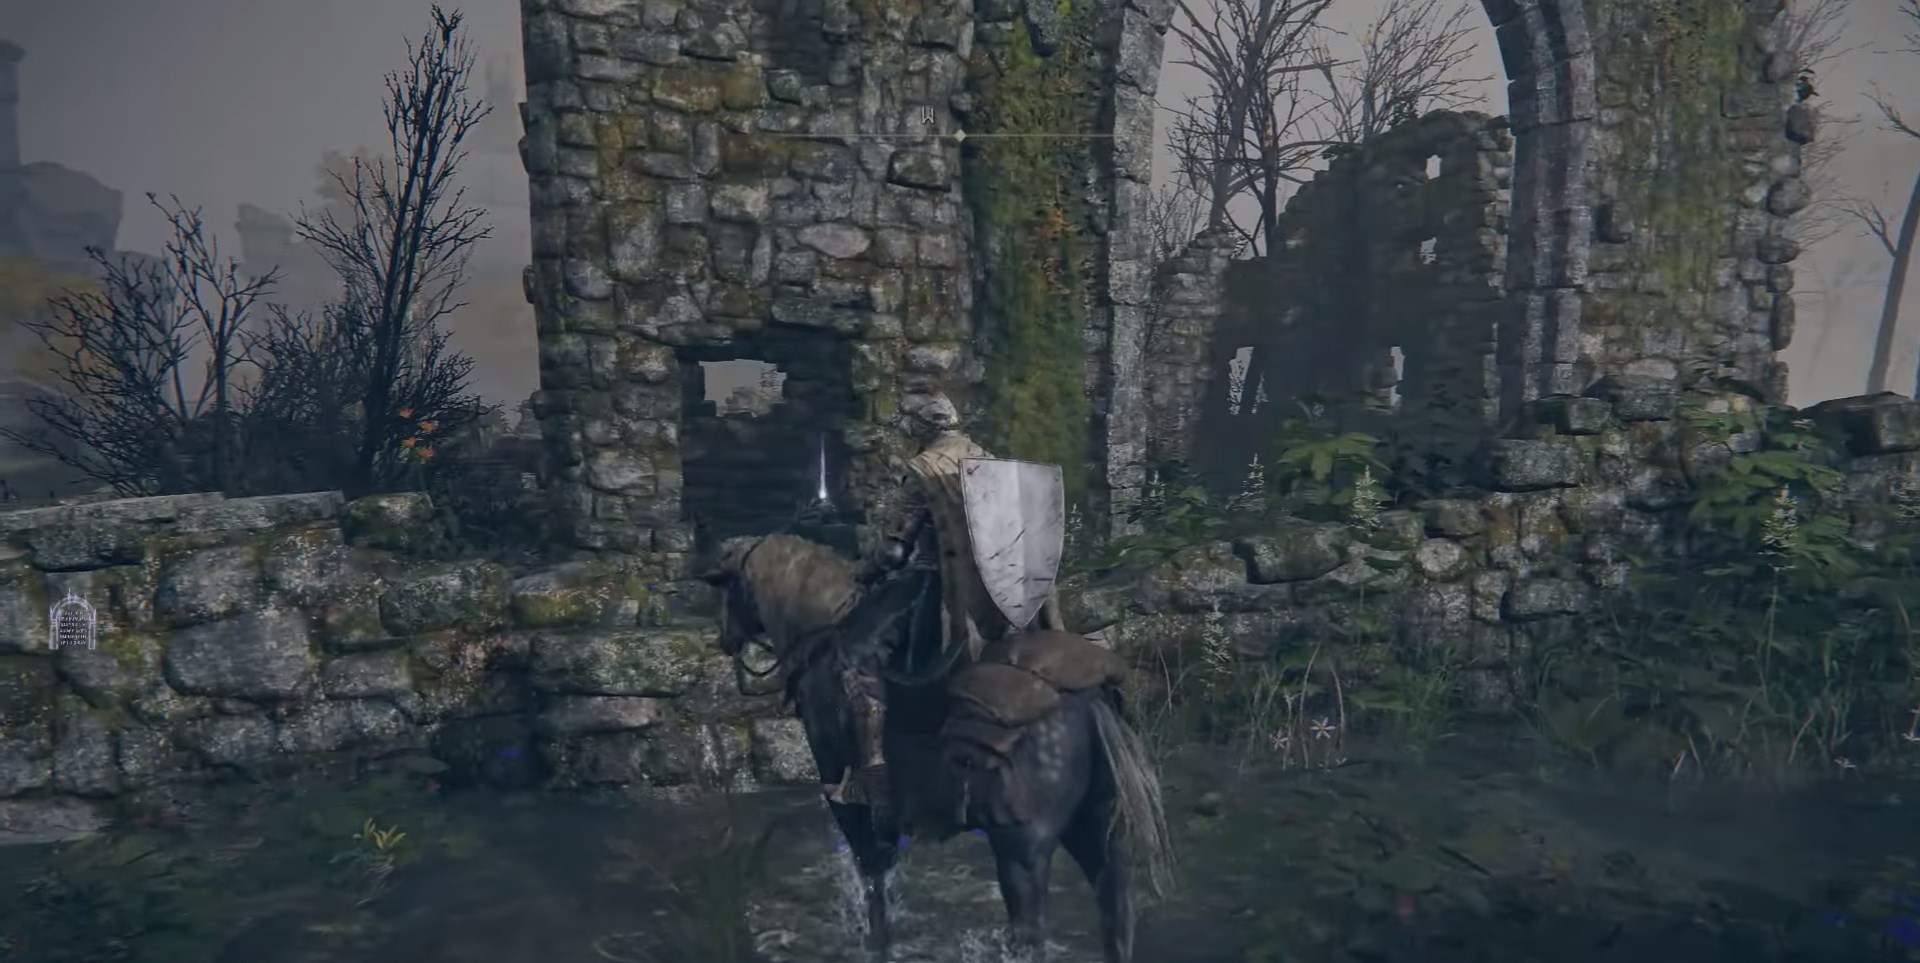
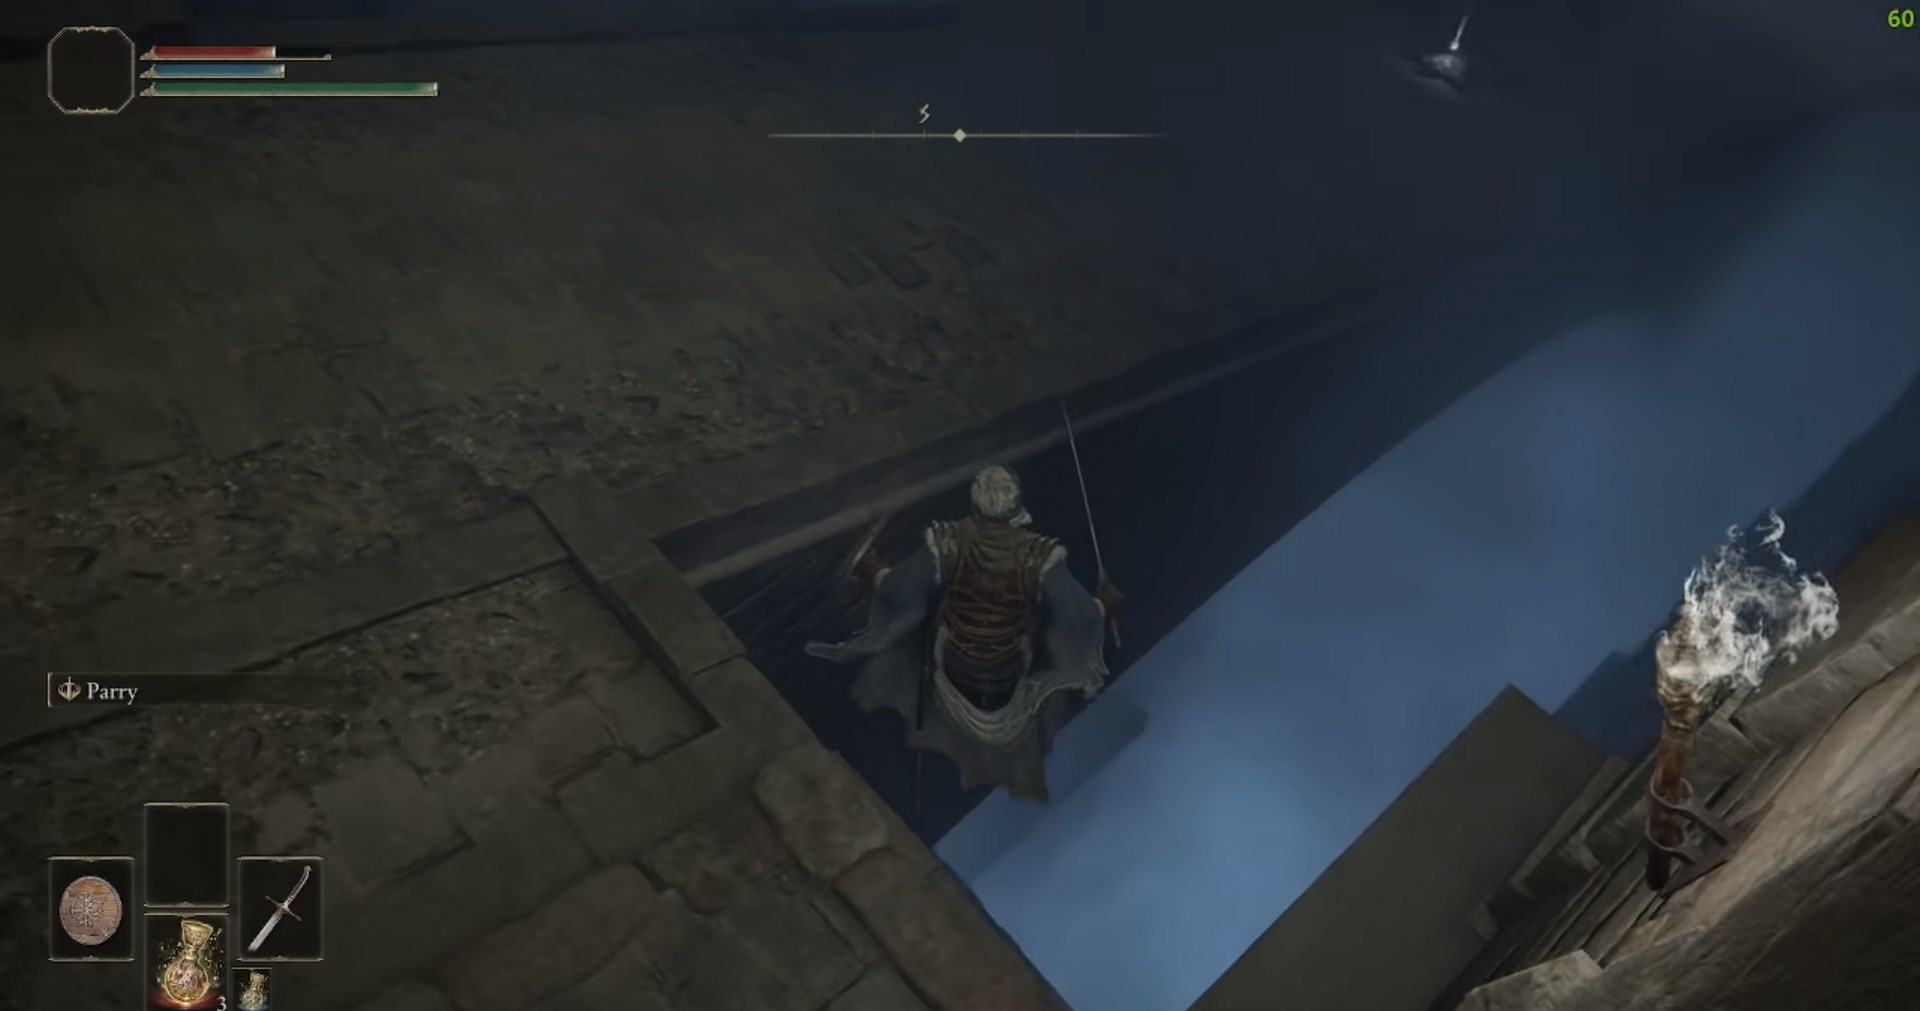
In Gatefront Ruins, your first map of West Limgrave reveals the unexplored Weeping Peninsula to the south. Reach it later through the Bridge of Sacrifice, a guarded road connecting the areas. Clear it to obtain your third Stonesword Key.
The Bridge is a perilous place early in the game with lots of Godrick Soldiers and a dangerous mortar that can almost one-shot you. Here’s a strategy I usually use:
I mount Torrent and dash past the soldiers to the well-guarded mortar at the back. There’s a soldier operating it; eliminate him to disable the artillery. Afterward, you can deal with the remaining enemies more easily and patiently, earning your third Stonesword Key. Now, you can start building your Vagabond Build.
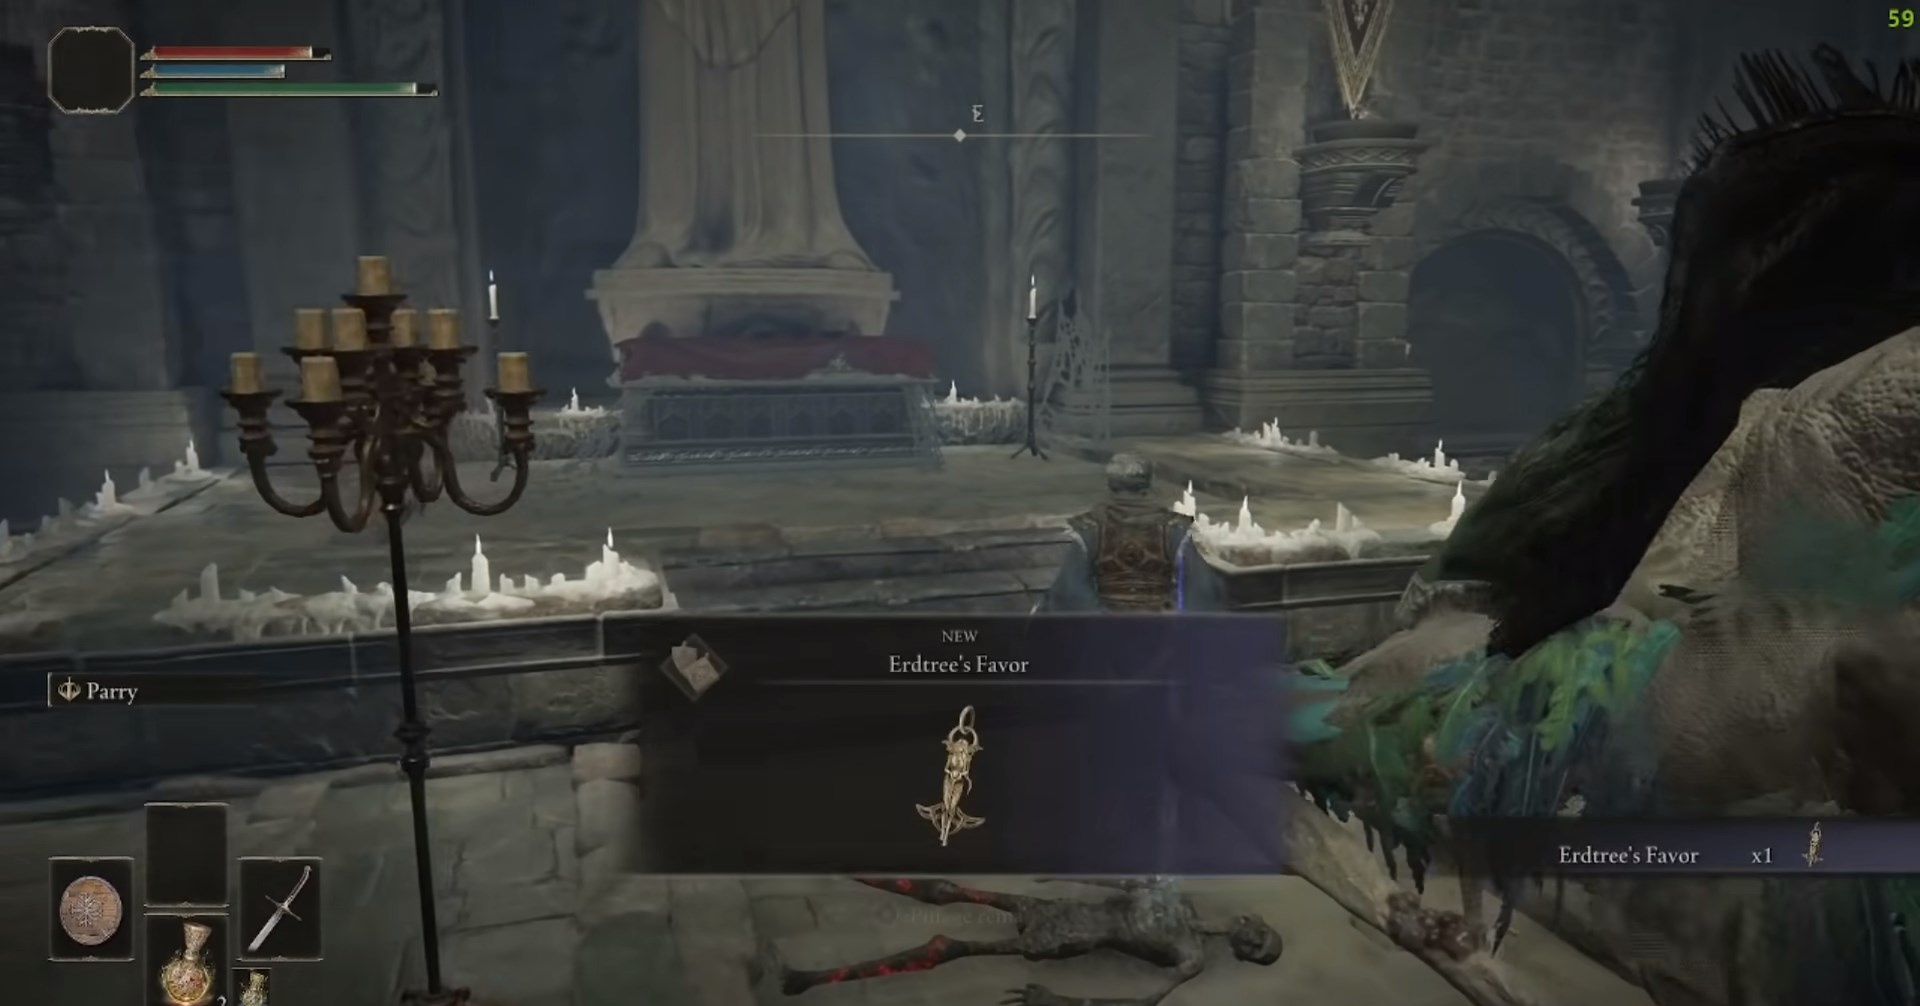
Erdtree’s Favor
The Erdtree’s Favor is an excellent Talisman that is practically a must-have for the early game stages of the game as it boosts your maximum HP, Stamina, and Equipment Load – all in one! More specifically, your maximum HP increases by 3%, your stamina rises by 6.75%, and your equipment load increases by a solid 5%. Later in the game, you can replace this Talisman with its +1 and +2 variations found in the Subterranean Shunning-Grounds and Leyndell, Ashen Capital, respectively.
Location:
With two Stonesword Keys in hand, you can unlock the dungeon beyond the fog wall near the Stranded Graveyard Site of Grace, known as Fringefolk Hero’s Grave. It’s a challenging area early in the game, but we’re just here for Erdtree’s Favor, which is achievable, so don’t fret!
After opening the fog wall, you’ll find ladders leading down to a pool of poison. If you lack poison-healing items or incantations, jump into the pool and run to the dry platform ahead.

When you reach the dry platform, you’ll hear a giant chariot approaching. Do not get close to it; it’s a major obstacle on your way to Erdtree’s Favor. To avoid it, wait for the chariot to move away and then run down the pavement. Take cover in the side compartments when it approaches, and continue descending when it passes by.
As you descend the dungeon, you’ll encounter a narrow bridge that’s a trap; you can’t outrun the Chariot there. Instead, drop down into the catacombs below, where Imps will ambush you (not much of a surprise now that you know). Eliminate the two enemies quickly and head to the downward staircase. Be cautious of a flamethrower at the end; bait it out before proceeding. You can deactivate the mechanism by hitting it once you get past.
In Elden Ring, as you progress through the game, you’ll come across various areas and items. Here, you’re describing a specific location and item called “Erdtree’s Favor.” It’s important to be cautious when approaching this item because it triggers the appearance of Grafted Scions, enemies that drop down from above to attack you.
To handle this situation effectively for your Vagabond Build, you can follow these steps:
- When you reach the large empty room with the item (Erdtree’s Favor) in the distance, be prepared for the Grafted Scions to drop down.
- If you prefer to engage with little to no Runes, you can rush in to grab Erdtree’s Favor, knowing that the Scions will attack you.
- After grabbing the item, it’s a good idea to let yourself be defeated by the Scions. This will cause you to respawn at a safer location.
- Once you’ve respawned, you can equip Erdtree’s Favor, which will likely provide significant benefits to your Vagabond Build.
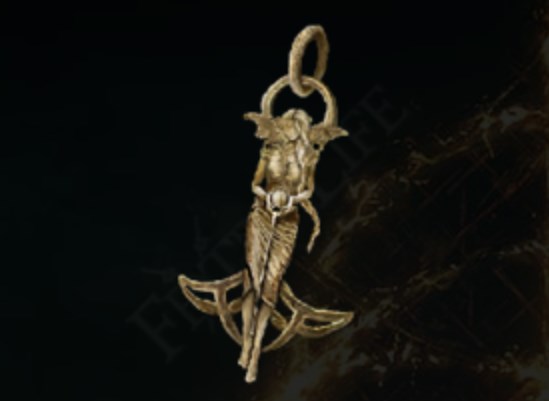
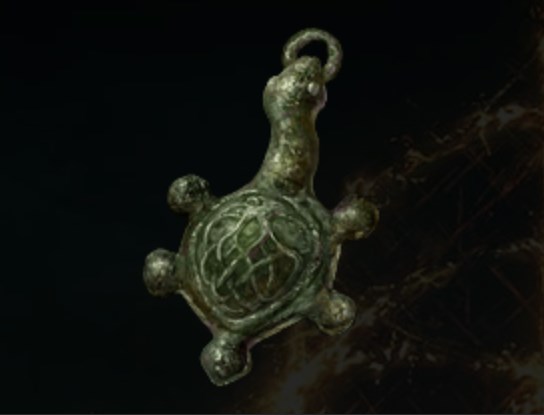
Green Turtle Talisman
You’ll notice that the Green Turtle Talisman is shaped in the form of a turtle that raises your stamina regeneration speed significantly, more specifically by an additional 8 stamina points per second. Unfortunately, however, unlike the Erdtree’s Favor, you will not find any +1 or +2 variations of this Talisman, although I believe it will easily last till mid-game, to say the least!
Location:
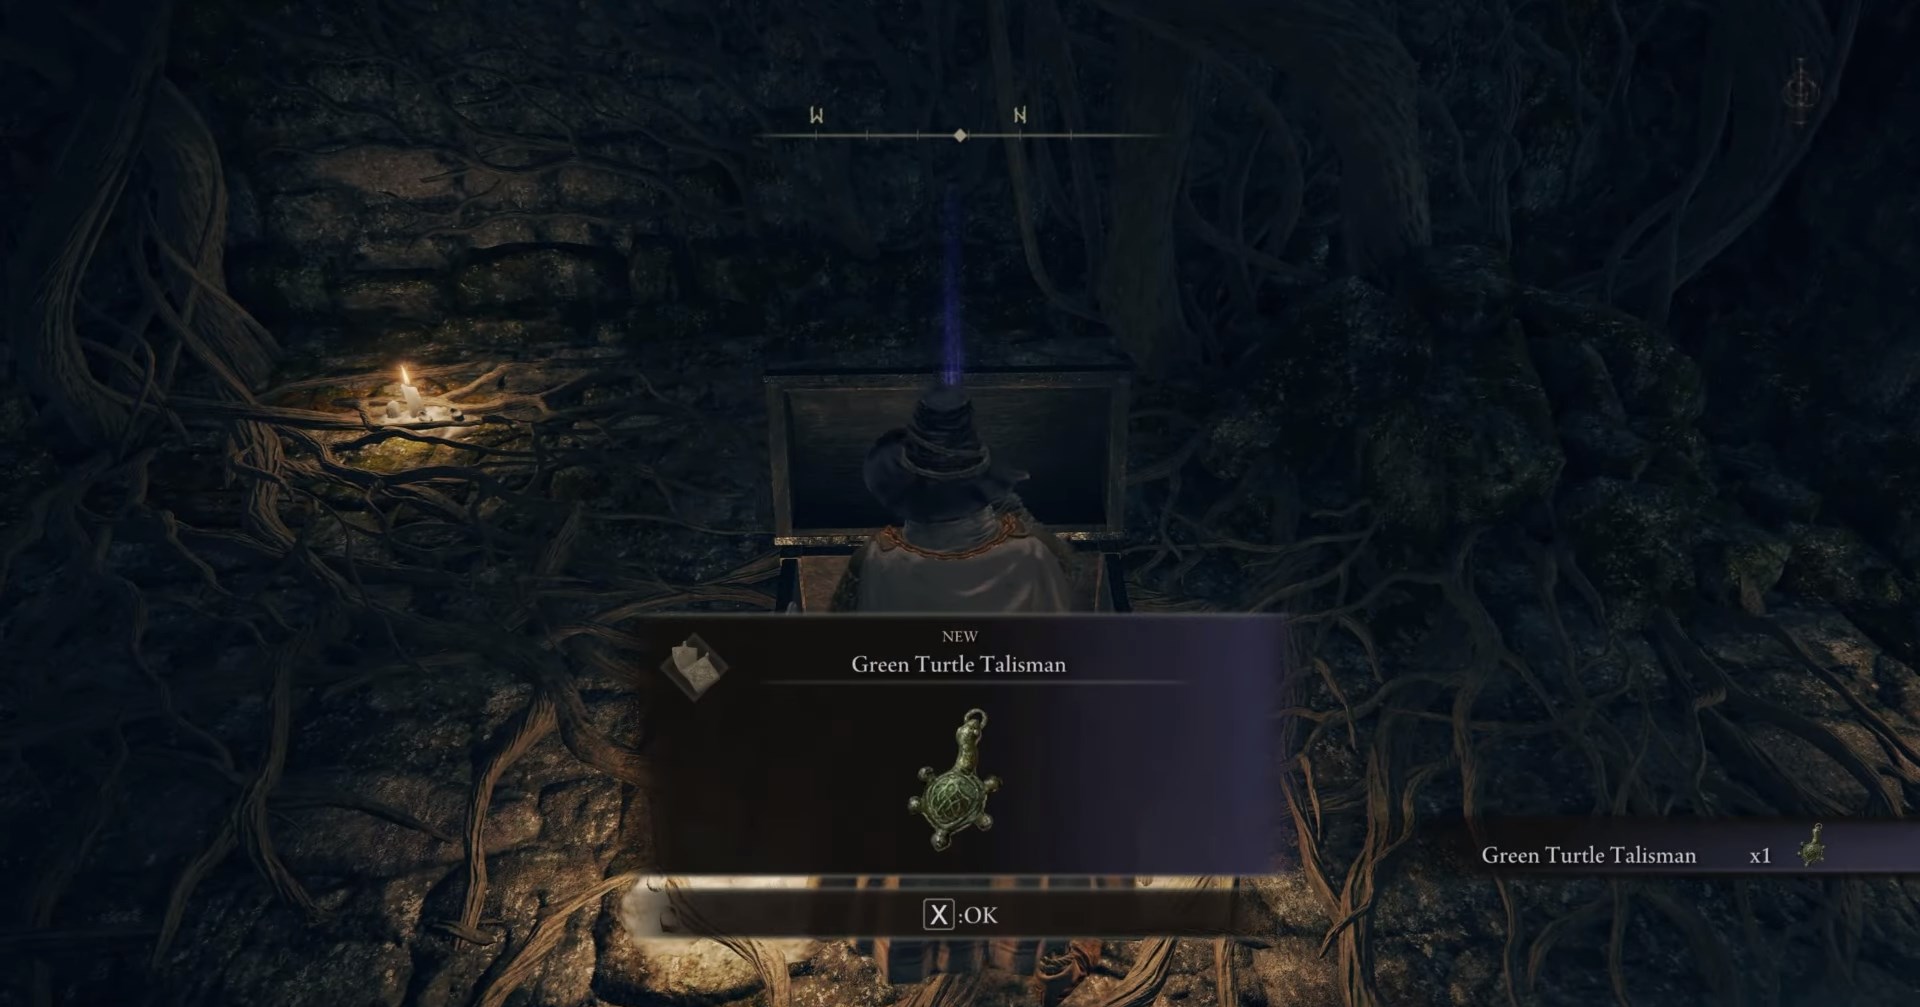
Use your third Stonesword Key to acquire the Green Turtle Talisman in an underground basement behind a fog gate in Summonwater Village, northwest Limgrave. Be cautious; Summonwater Village is dangerous with the Tibia Mariner boss. Head west from Stormhill Shack, taking the Saintsbridge to reach the higher plateaus of Limgrave.

As you reach Summonwater Village, lighting several Sites of Grace on your way, you’ll find the Summonwater Village Outskirts Site of Grace, your primary checkpoint for this mission.
Set a waypoint on the small piece of ruins in the bottom right corner of the village on the map and gallop toward it, making sure to avoid the area’s boss. If you successfully evade the boss, you’ll find the underground basement I mentioned earlier. Use your last Stonesword Key and obtain the Green Turtle Talisman!
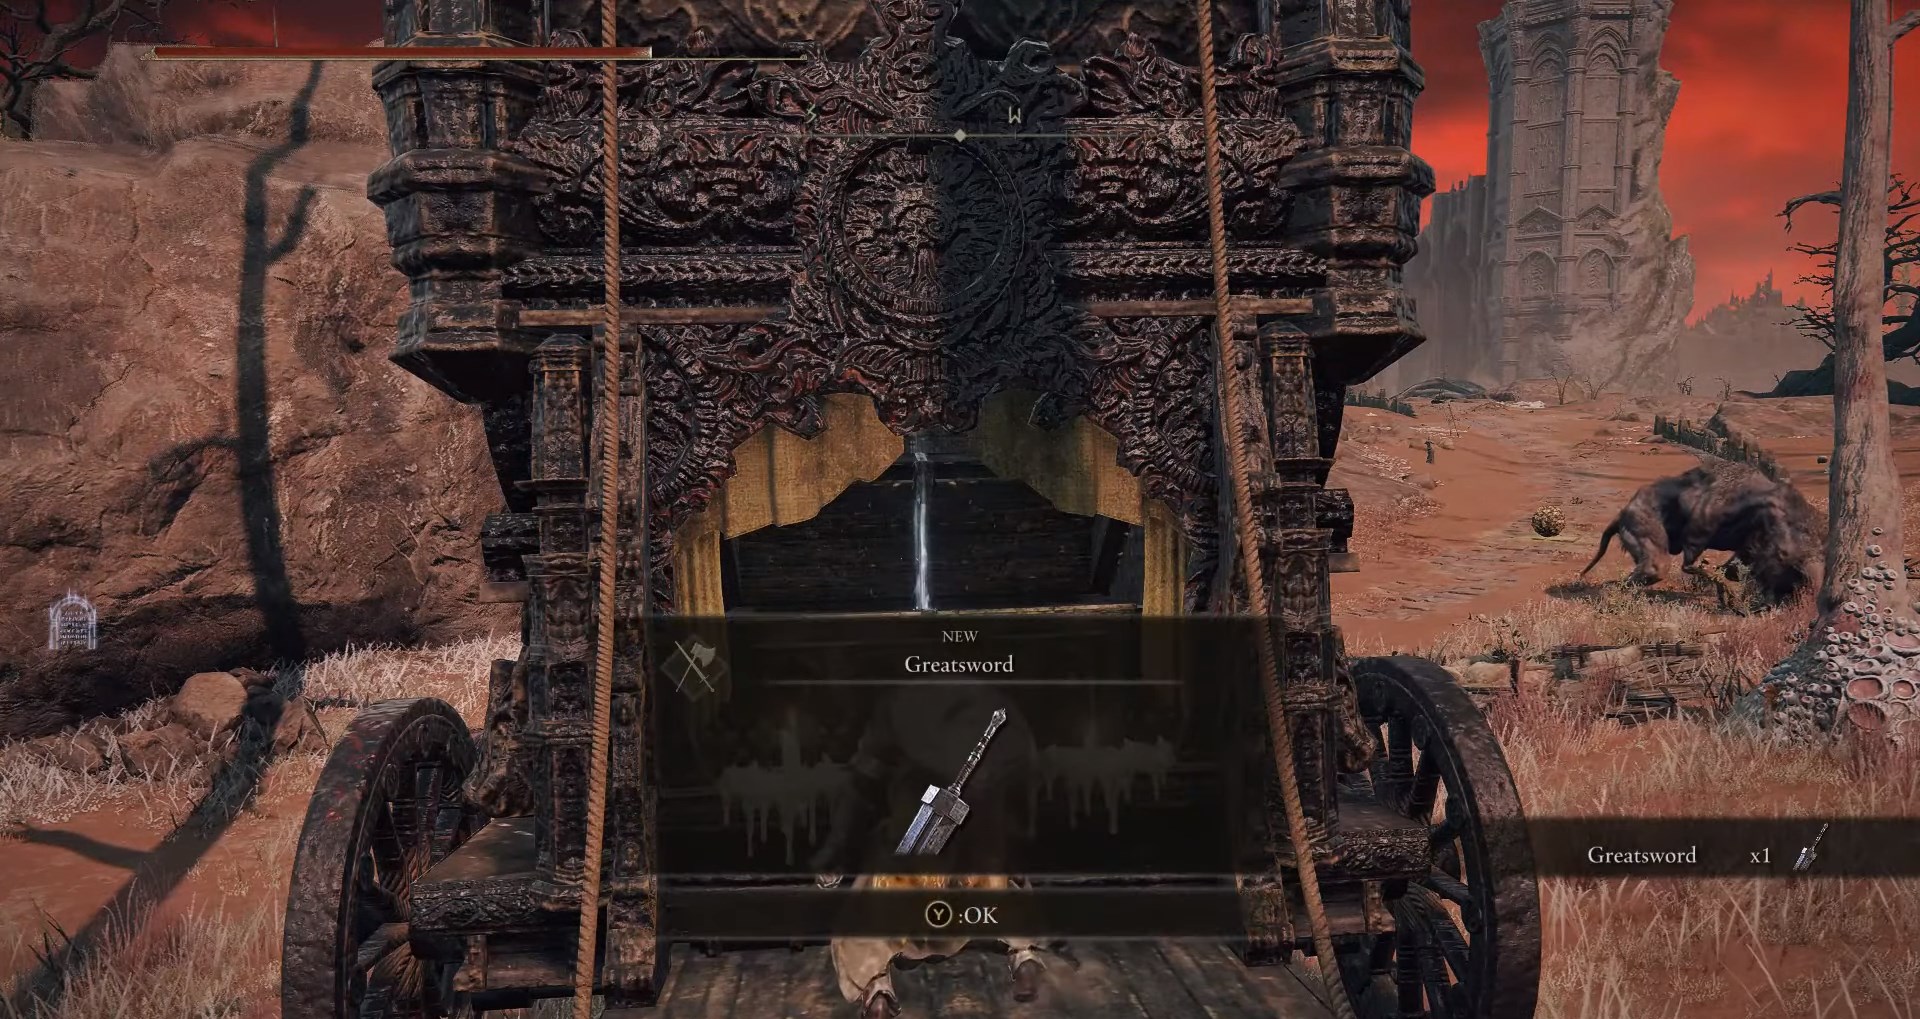
Greatsword
For my Vagabond Build, I’ve chosen the Greatsword due to its potent strength and proficiency, even at this stage, thanks to our two Talismans! Colossal Swords are powerful but slow weapons that consume a lot of stamina per swing. However, with 11 Endurance, you should be able to wield it effectively this early in the game.
The Greatsword requires 31 Strength and 12 Dexterity to wield properly, offering a natural C-scaling in Strength and E-scaling in Dexterity.
I recommend 21 Strength because when you two-hand a weapon, your strength effectively increases by 50%. So with 21 Strength, you can effectively use this weapon without any performance drawbacks, and one could argue that Colossal Swords are meant to be two-handed!

Location
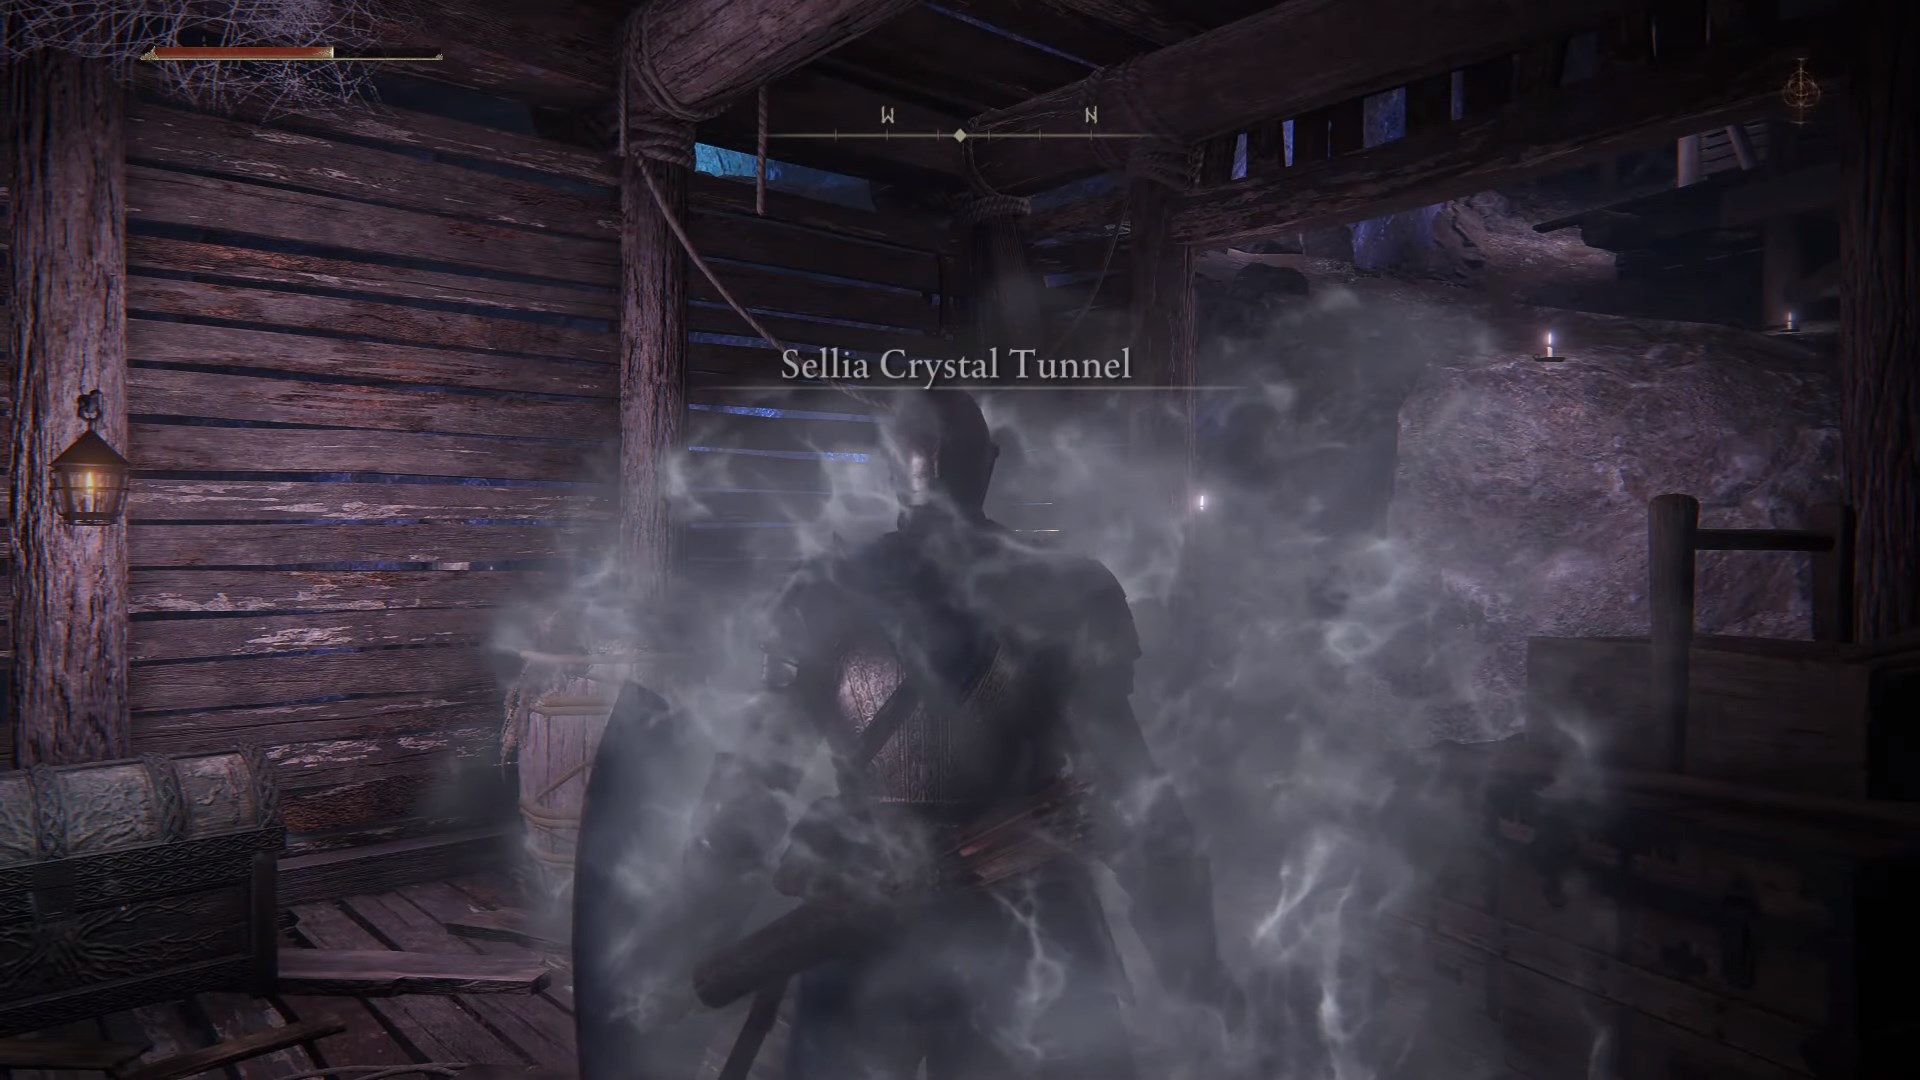
o get the Greatsword, revisit the chest in Dragon-Burnt Ruins with the transportation trap. Opening it releases white smoke, teleporting you. Decide to return now or explore Sellia Crystal Tunnel in Caelid. It can be challenging for beginners, neighboring Limgrave. Follow my guidance for a safe journey.
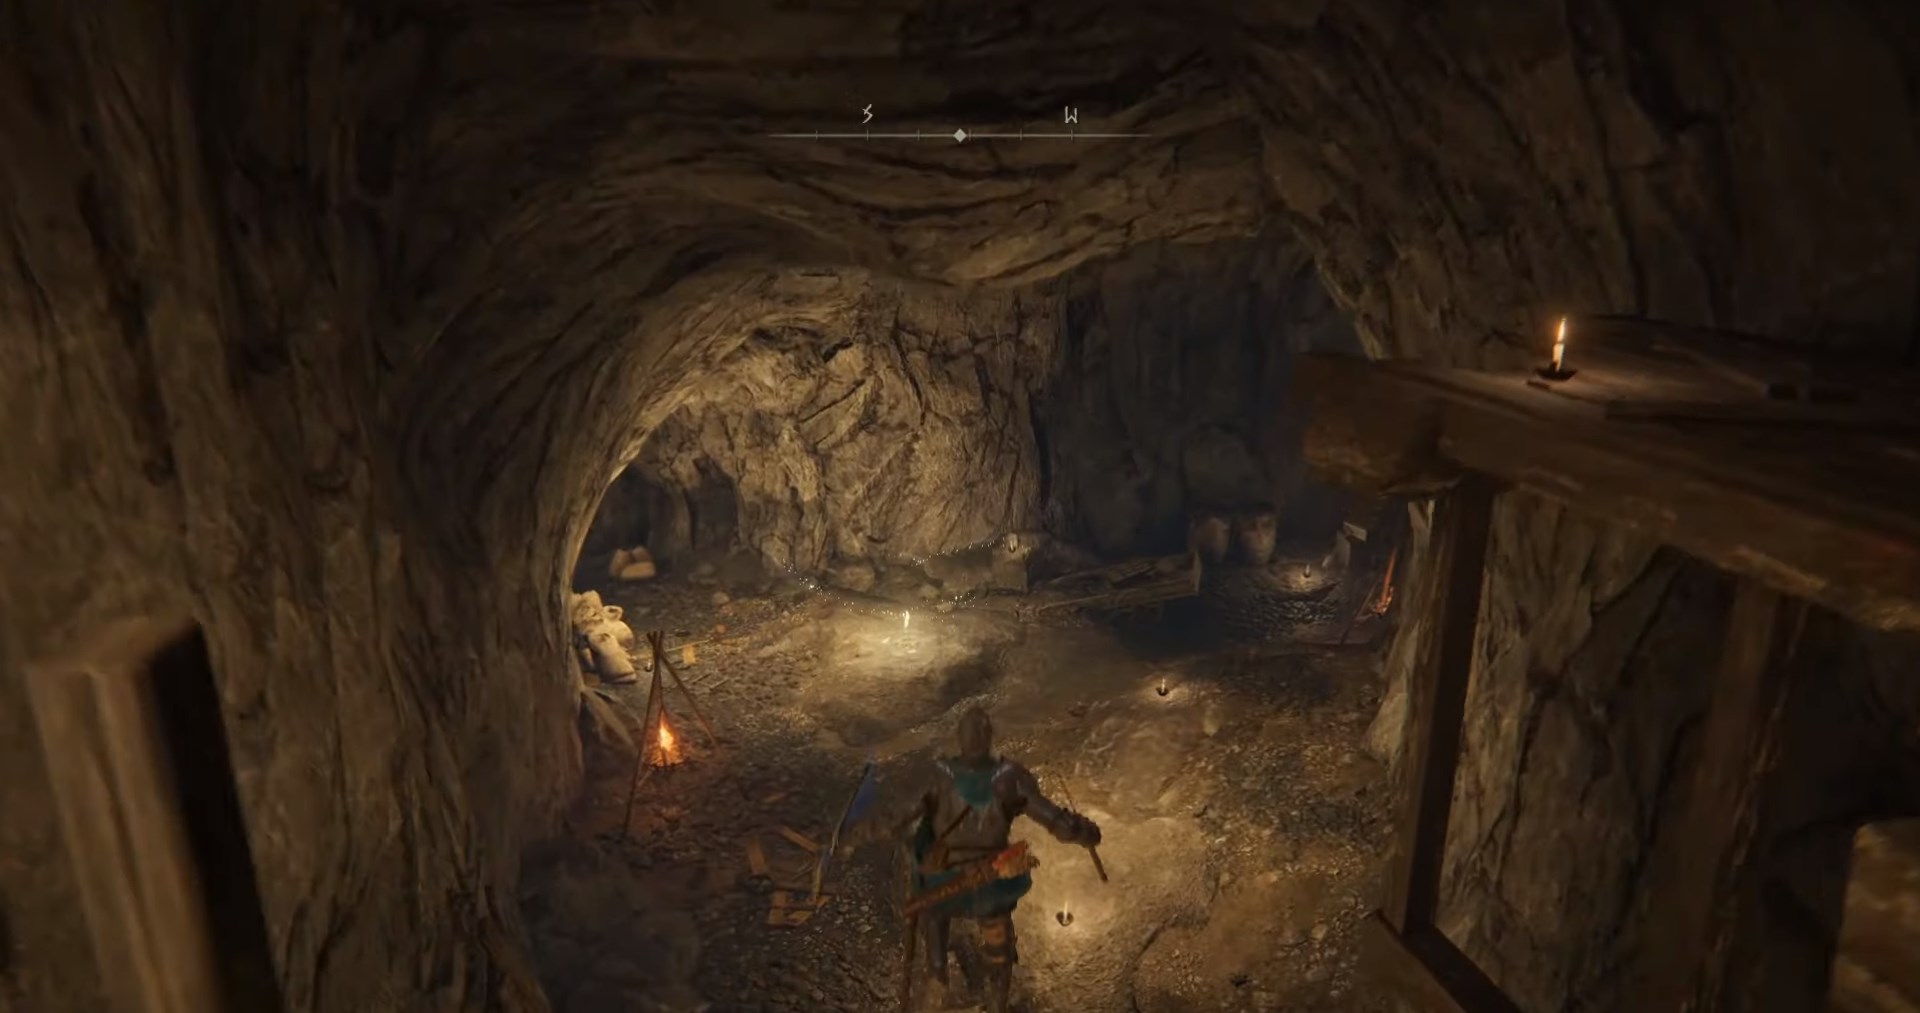
In the Sellia Crystal Tunnel, crouch and move stealthily. The closest Site of Grace is far, so don’t die. Wait for a patrolling Prawn Miner to pass. Move right quietly, avoiding Prawn Miners (they won’t harm unless attacked). Beware of Diggers; they can one-shot you. Stay crouched and vigilant.
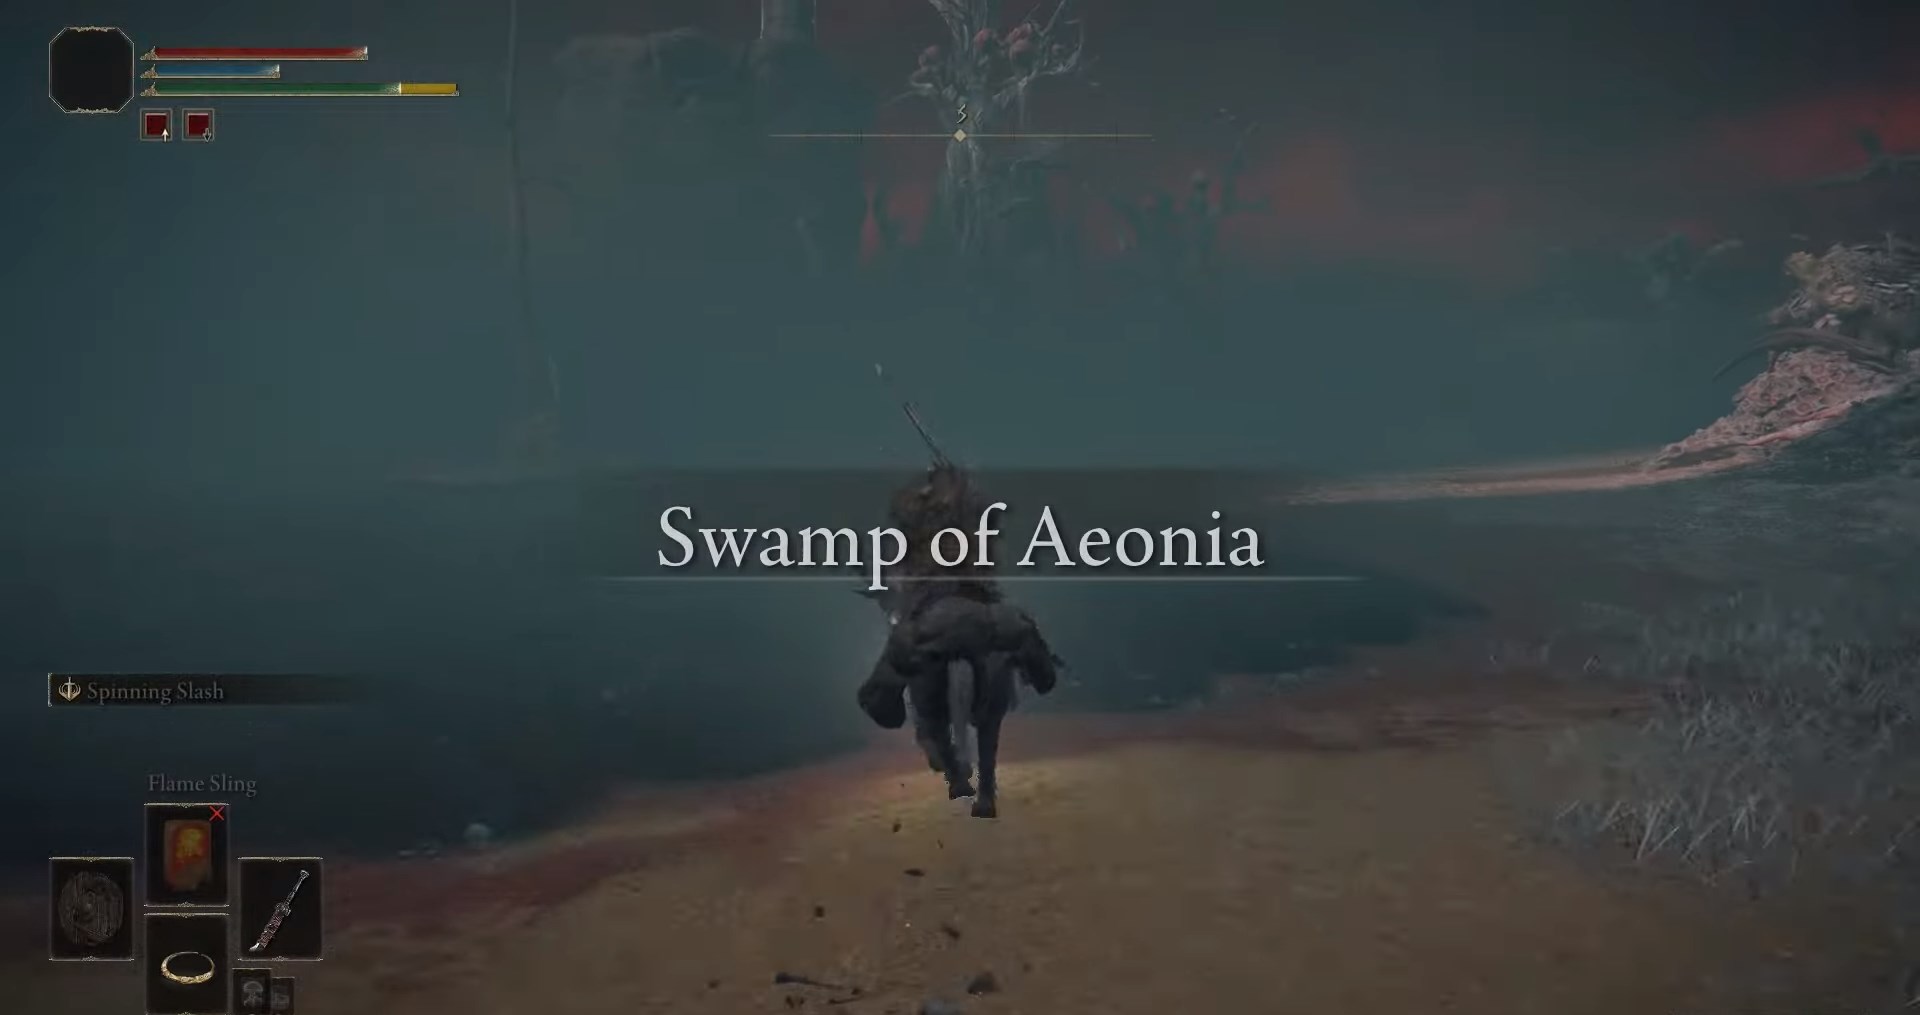
Proceed right through the miners and take the left tunnel if you’re pursued by Diggers. At the tunnel’s end, find the Site of Grace. Descend the ladder for your main checkpoint. Use Torrent to traverse the scarlet rot swamp ahead, as it’s dangerous on foot.
Without a map, follow this path: From Sellia Crystal Tunnel, go right to the Swamp of Aeonia with a Stake of Matrika. Proceed straight into the Street of Sages Ruins, staying on the left. If you face Servants of Rot (poisonous enemies), you’re on the right track towards another Site of Grace.
Head uphill from the Site of Grace to find Greatswords in the ground (likely a Berserk reference). Proceed to the main open road. At night, you may face the Night Cavalry boss, so rest at the Site of Grace first. Continue west to the Caelem Ruins, filled with tough enemies.

Put your trust in your trusty steed and gallop past the many enemies you’ll encounter in these ruins. You can even reload your character at times to reset enemy aggro.
Once you’re out of the ruins, you’ll see a Black Caravan in the distance. There’s a chest at the back of this caravan containing the mighty Greatsword. However, you’ve probably noticed the giant enemies nearby, so I recommend dismounting Torrent to approach the chest more stealthily. And there you have it, the Greatsword, the final piece of my Vagabond Build!
Frequently Asked Questions
How do you get another Stonesword Key?
Head back to Agheel Lake and make your way under the bridge. While galloping along the ravine, you will be invaded by Bloody Finger Nerijus, a very formidable enemy, but you don’t need to face him alone! Wait things out a little bit, and Hunter Yura will come to your aid. Warding off the invader will grant you access to Murkwater Cave, where another Stonesword Key awaits!
When will you get more Talisman pouches?
After getting two Great Runes, that is, defeating two major demi-god bosses (ideally, your first two should be Godrick, the Grafted, and Renalla, Queen of the Full Moon), you will unlock a third Talisman Pouch after talking to Enia at Roundtable Hold. You will obtain your fourth and last Talisman Pouch after defeating Godfrey’s spectral shade in Leyndell, Royal Capital.
What should you use as a third Talisman?
I would personally recommend the Assasin’s Crimson Dagger as your third Talisman. It is a solid Talisman that is dropped from the Black Knife Assasin boss in Deathtouched Catacombs towards the northwest of Limgrave. It is a good addition because it heals you for 10% of your HP along with 85 flat HP whenever you kill an enemy with a critical blow (backstabs or ripostes).
How should you develop your build across the game?
Frankly, there are a lot of options you can go with later in the game because you’re able to unlock the rebirth mechanic quite early in Elden Ring (allowing you to redistribute stats). However, if you want to commit to a Vagabond Build through and through, I recommend switching to either the Ruins Greatsword, the Prelate Infero’s Crozier, or the Giant-Crusher.
Good job! Please give your positive feedback 😏
How could we improve this post? Please Help us. 💡
I’m an avid gamer turned content writer, my hobbies include but are not limited to different forms of content creation. Not a complicated person, I play games and write about them. Currently attending university for Data Sciences. My favorite past-time is trying to different challange runs of Soulsborne and Souls-like games in the goofiest way possible for my own amusement. You can check my Gaming Profile on Steam And Xbox!
