For the Song of the Sands’ quest, your objective is to find the Hafgufa Cave Entrance. Open your map and scroll toward the Goals section. Out of the five categories, select “Favours” and scroll down to find “Song of The Sands” in the Alfheim Desert.
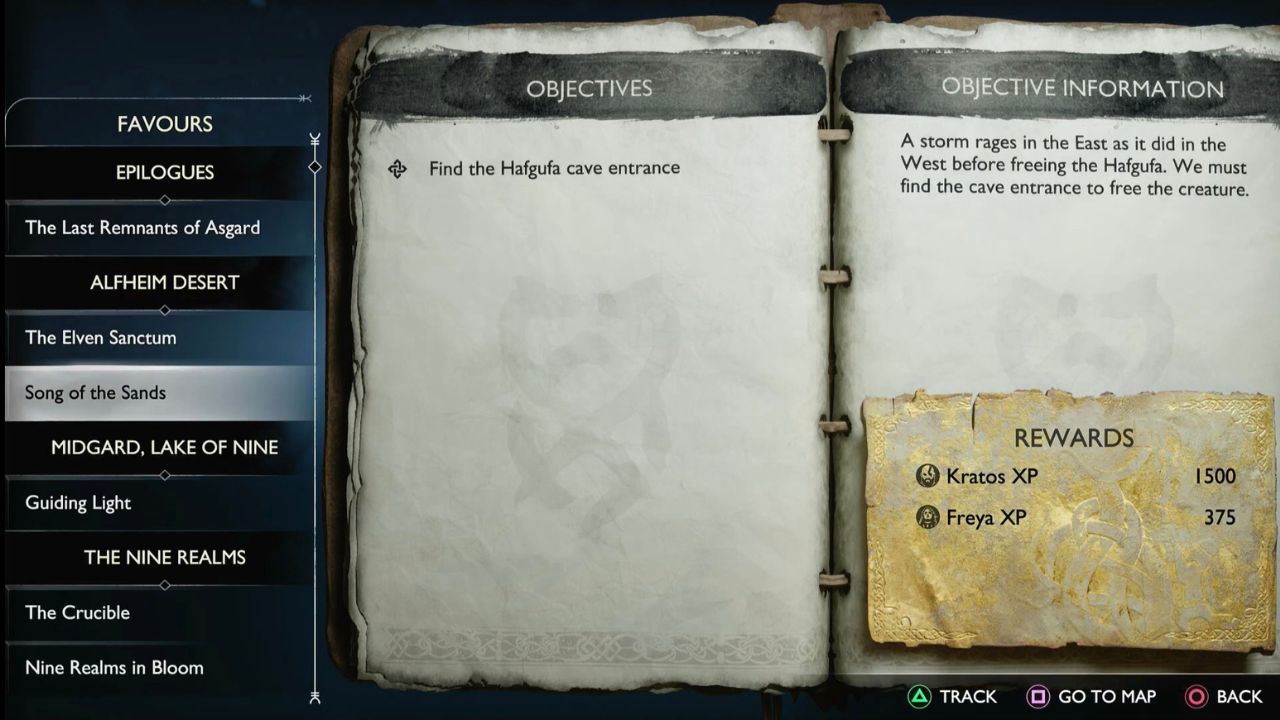
Apart from all the other quests in God of War, this is arguably difficult due to the location of the Hafgufa Cave Entrance. Many players search hard but find themselves lost after a few minutes.
Key Takeaways
- If you want to activate or begin the Quest, you may only enter the Alfheim Desert, as it will automatically do it for you.
- After completing the Quest, Players will receive 1500 XP for Kratos and 375 XP for Freya. The heavy storm will also be cleared from the Forbidden Sands.
- You will need access to the Forbidden Sands to start the quest for Song of the Sands.
- You need to reach the Hafgufa Cave Entrance and open the Hive Cage after destroying the Hafgufa’s Bindings.
- You can find artifacts and items such as Hel’s Touch and Nemean Crush in the cave, be sure to check every corner for chests.
Related: If you’re having trouble locating all three Runes at Dragon Beach to open the Nornir Chest, check out our “God of War Ragnarok Dragon Beach Chest” guide!
God of War Ragnarok Song of The Sands Guide
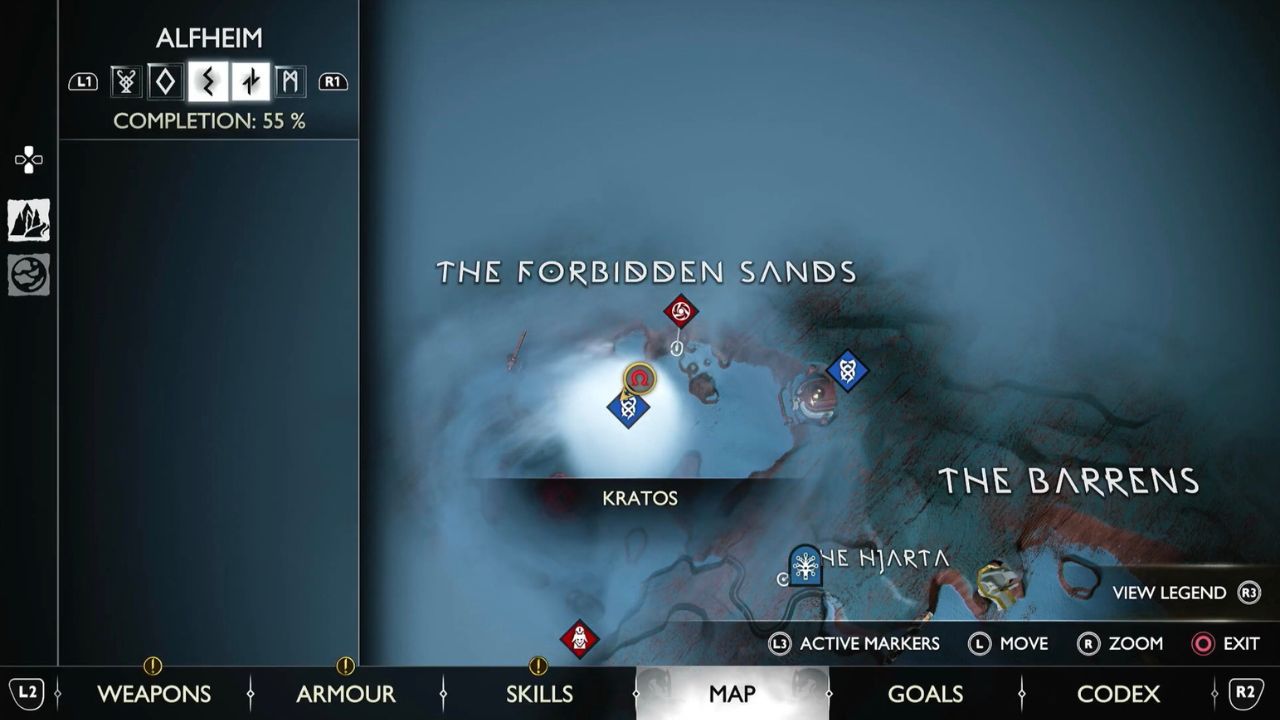
When you enter the Forbidden Lands, the cave entrance will be on the North end.
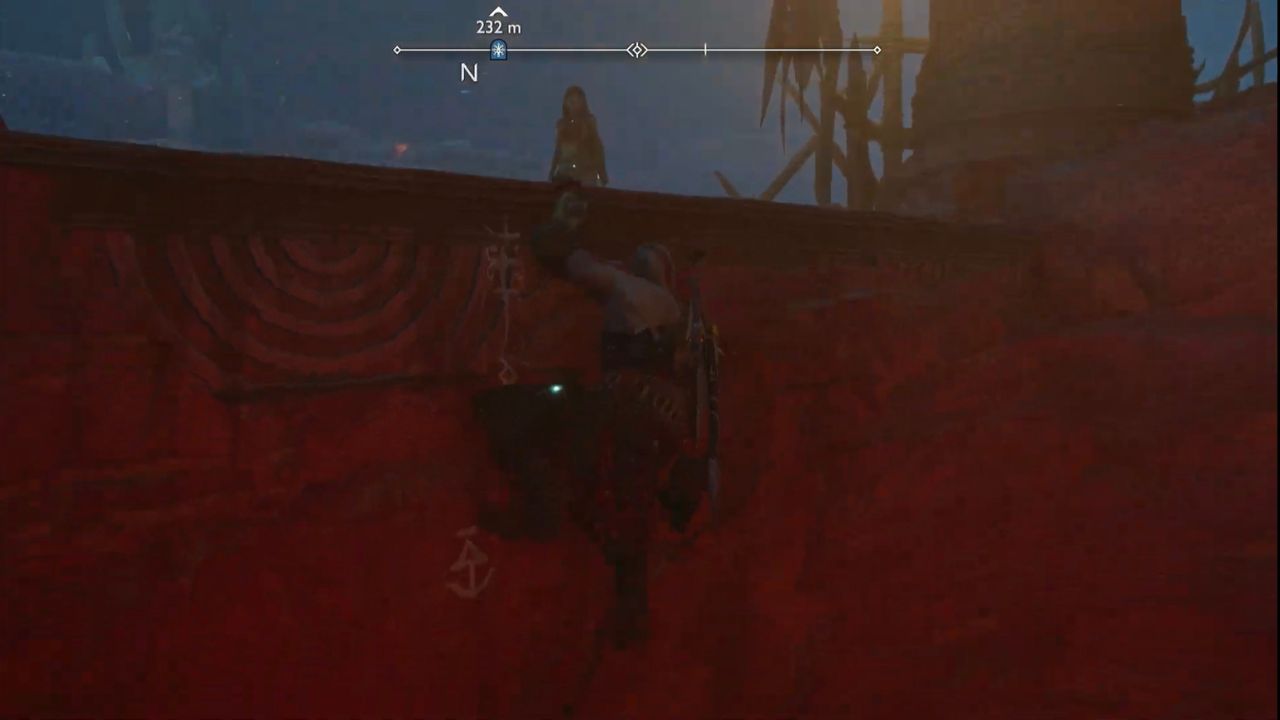
Reach the cave and climb down. After reaching the ground, you’ll come across a few objects blocking your path.
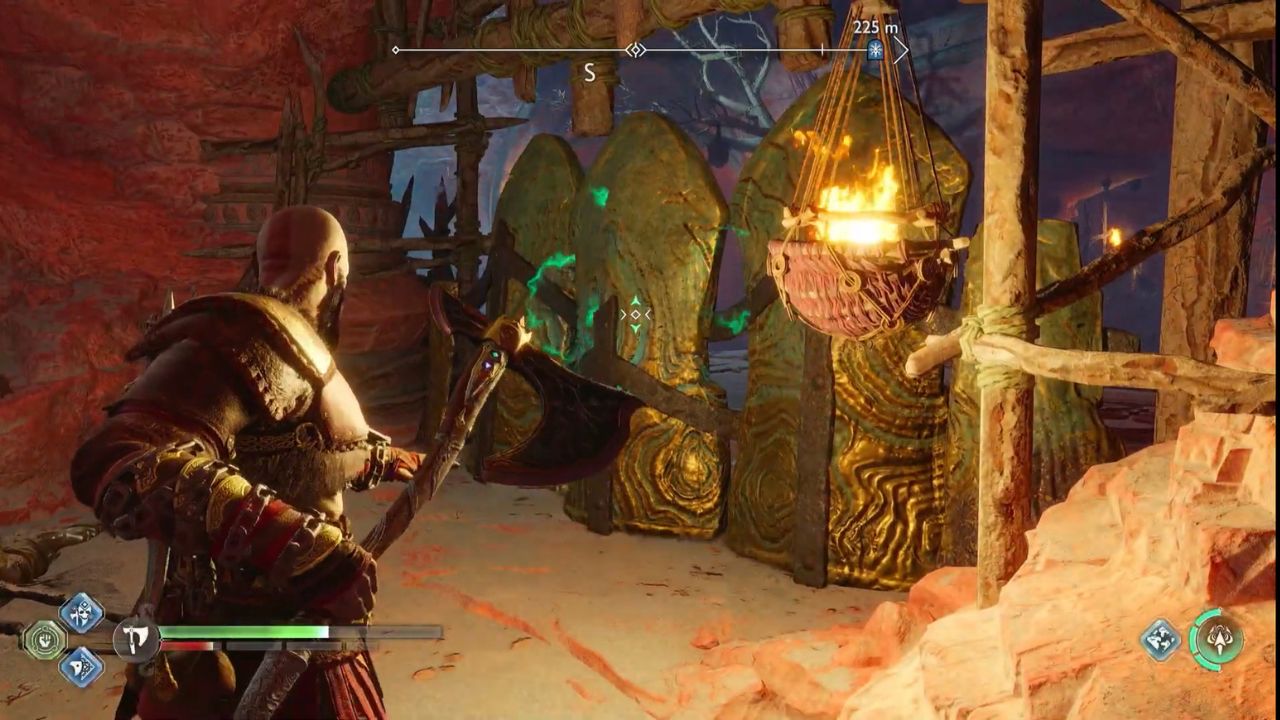
Use your Leviathan Axe or any other weapon, to destroy the blockage. A message on your screen will pop up, indicating a hidden region, The Burrows, has been discovered.
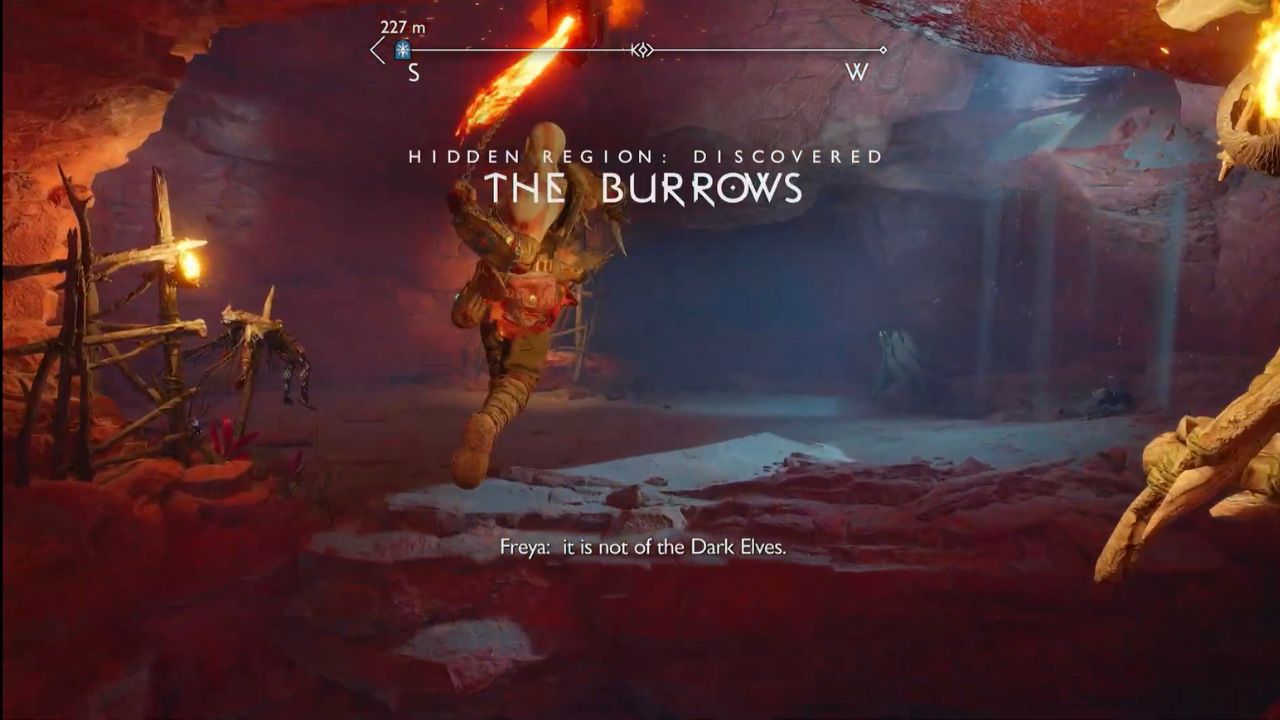
Head straight and jump on the other side. You’ll find an entrance leading far beneath the ground.
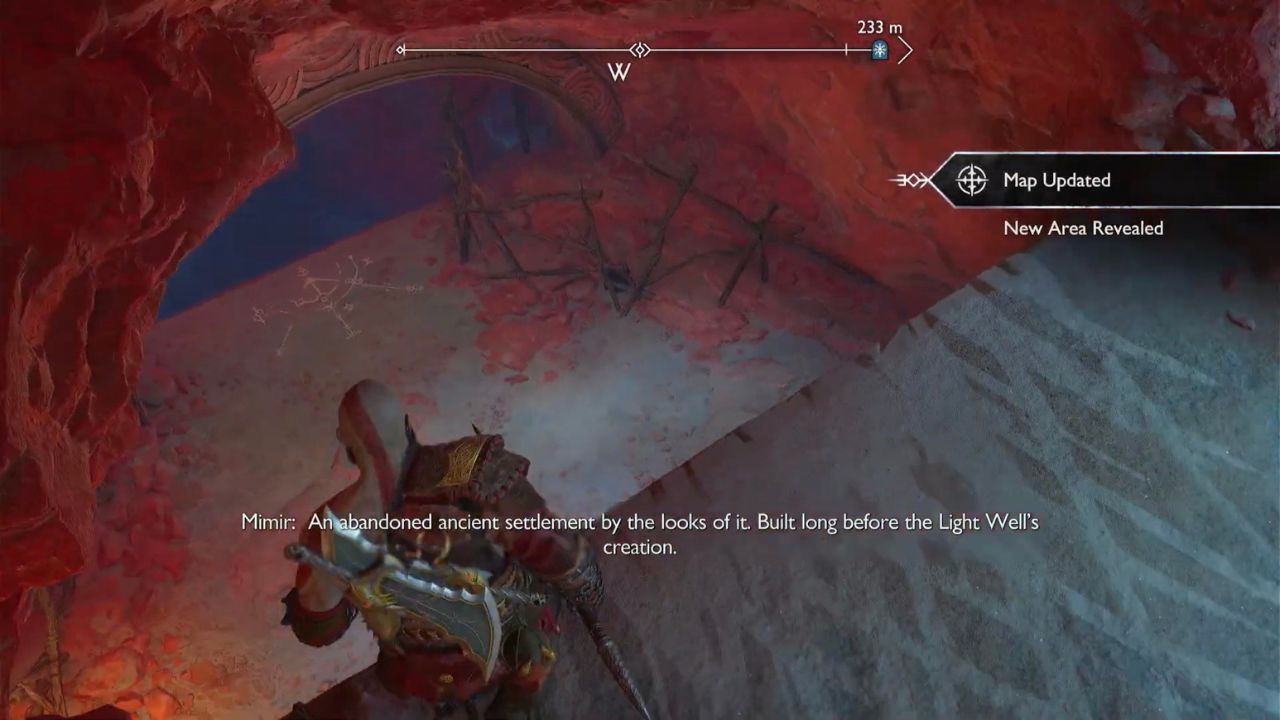
Climb down the path and jump on the other side again. There will be another object blocking your path, which will indicate that you’re on the right track.
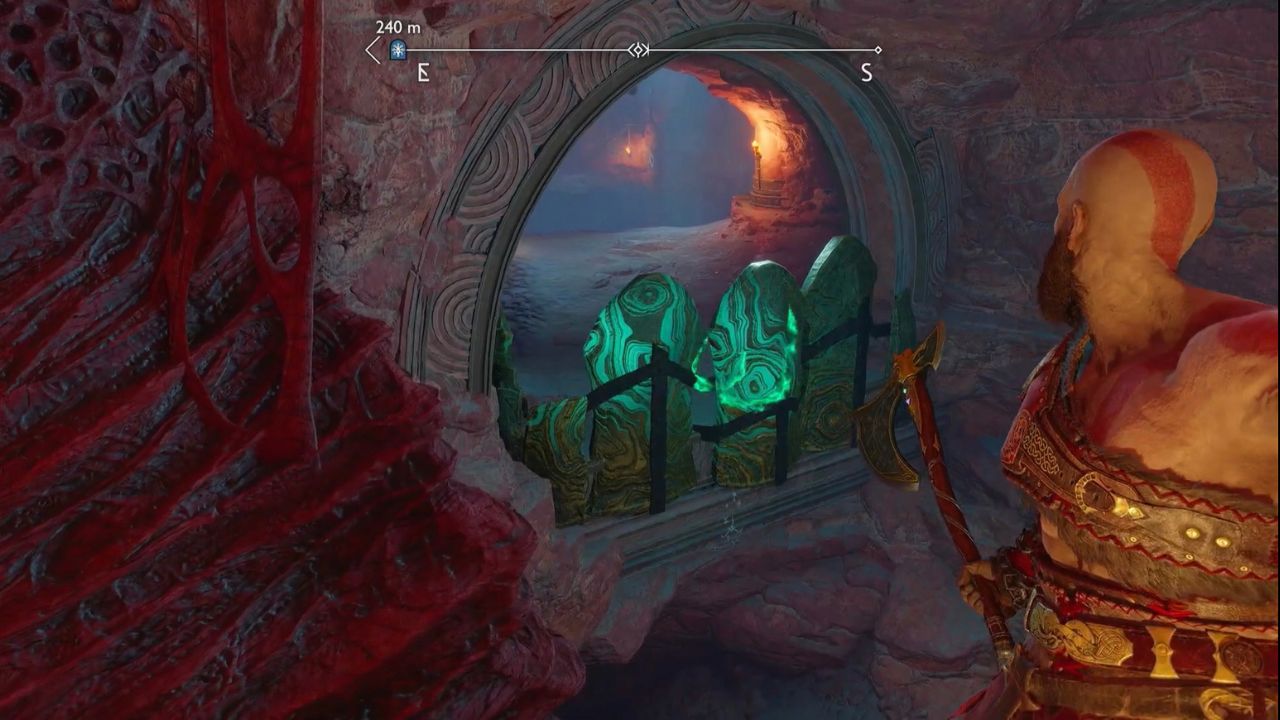
Related: You can browse through our “God of War Ragnarok: Tips & Tricks” guide to find all collectibles and armor players can upgrade. Furthermore, a few tips will help you progress through the game efficiently!
Dense Hive Matter
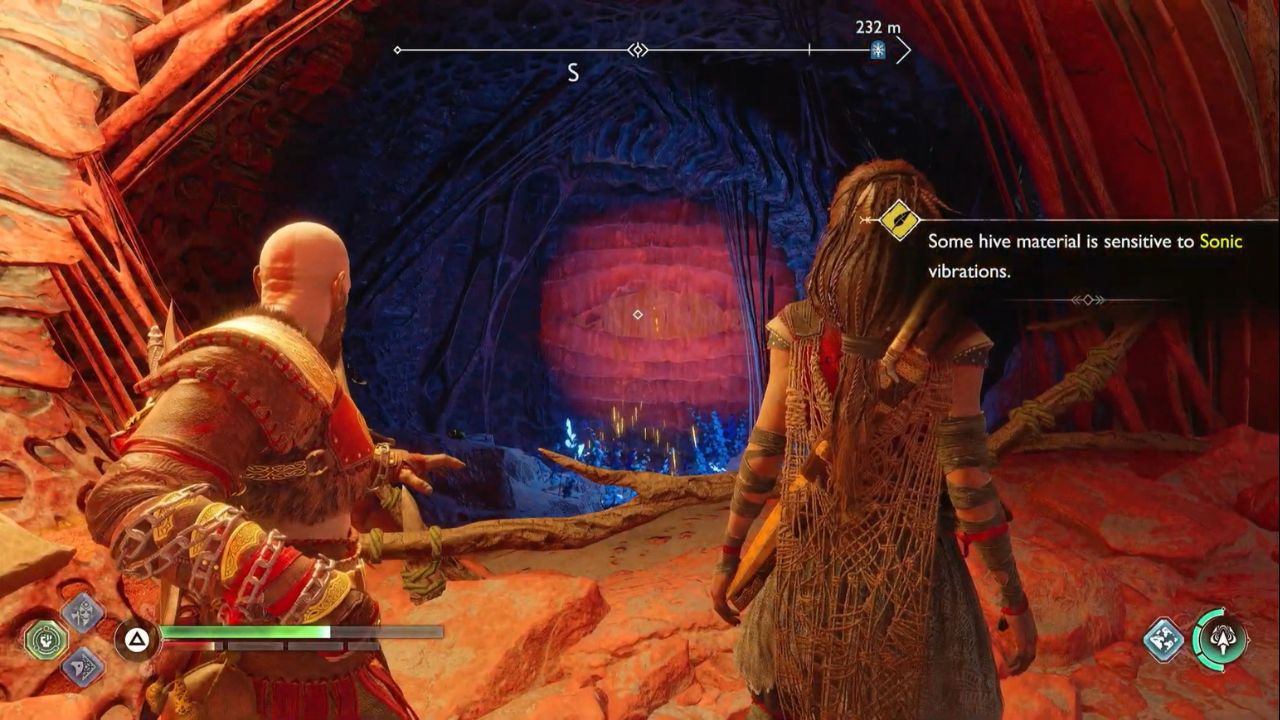
Grapple back to your old location and look to your left. There will be a Hive you’ll need to destroy with your Axe. Aim your Axe on the dense matter and freeze it. Throw your Axe again to destroy the objects or plates blocking the previous location.
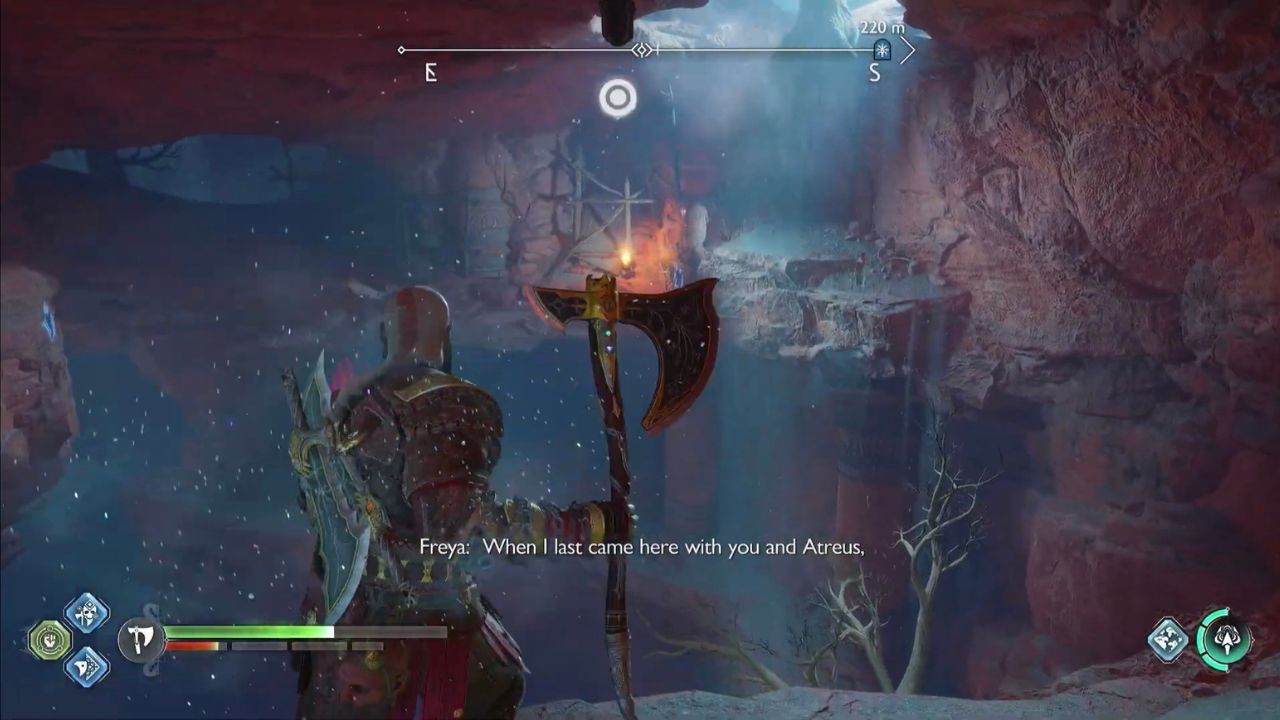
Move your screen to the right, go near the wall you previously grappled with, and press Circle to enter the area.
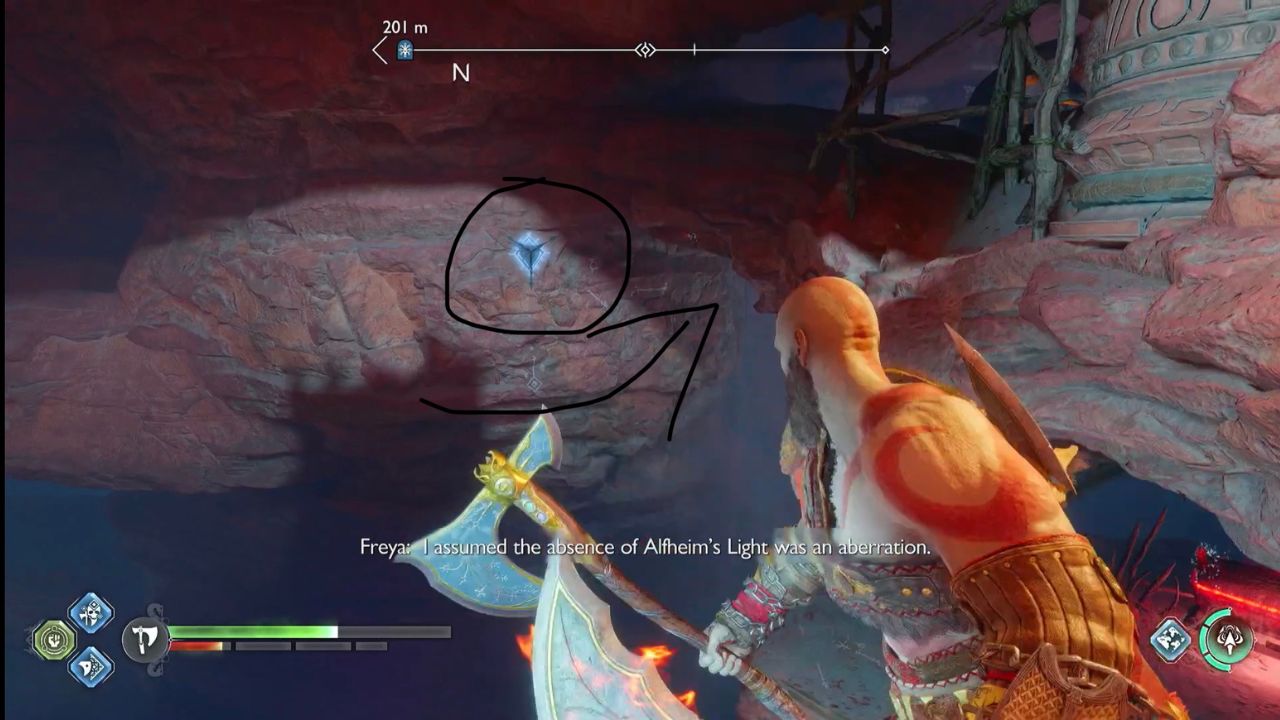
Keep moving straight to find another point where you can grapple and climb the walls of the cave until you see the sky.
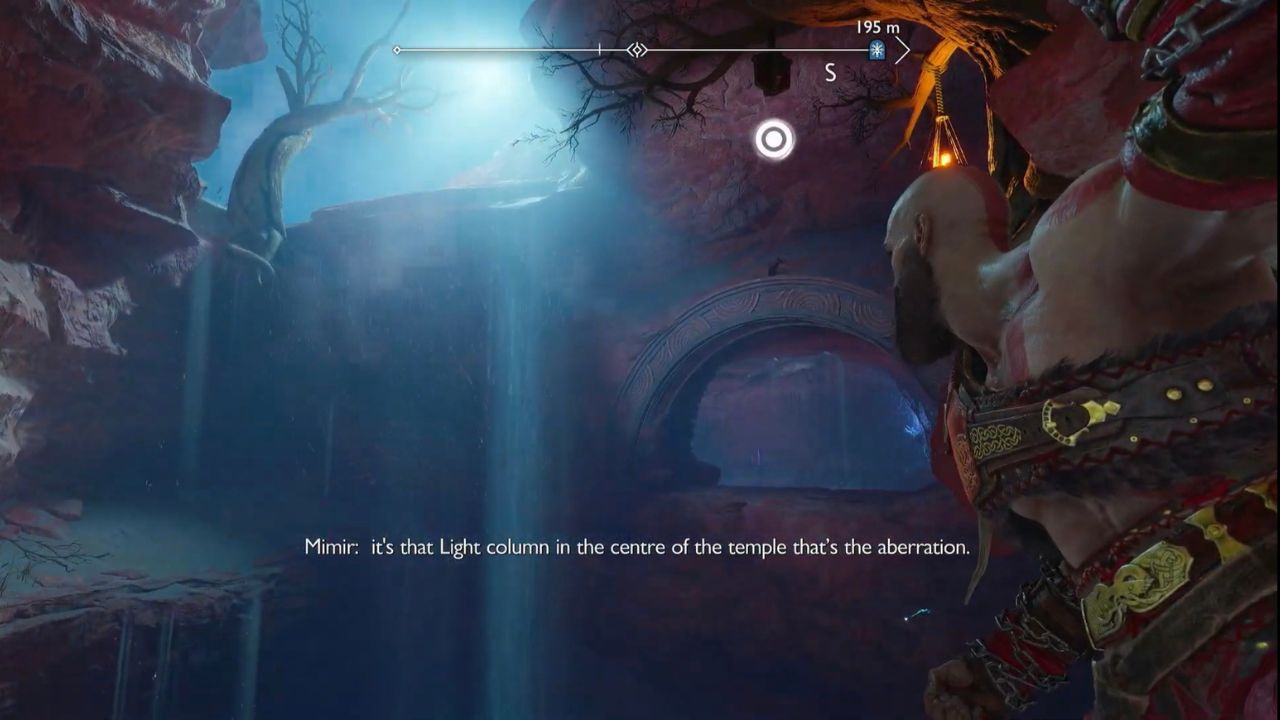
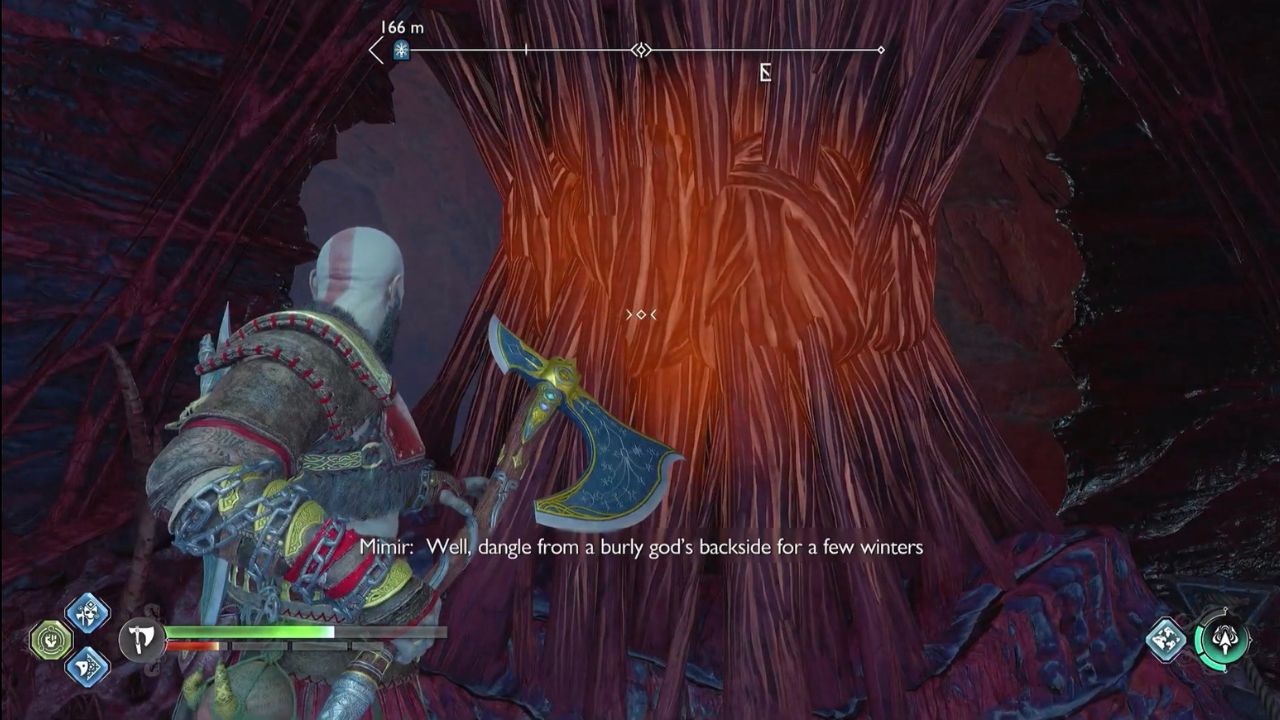
There will be another Dense Hive Matter that you’ll need to destroy with your Axe. However, it won’t break if you directly throw your Axe.
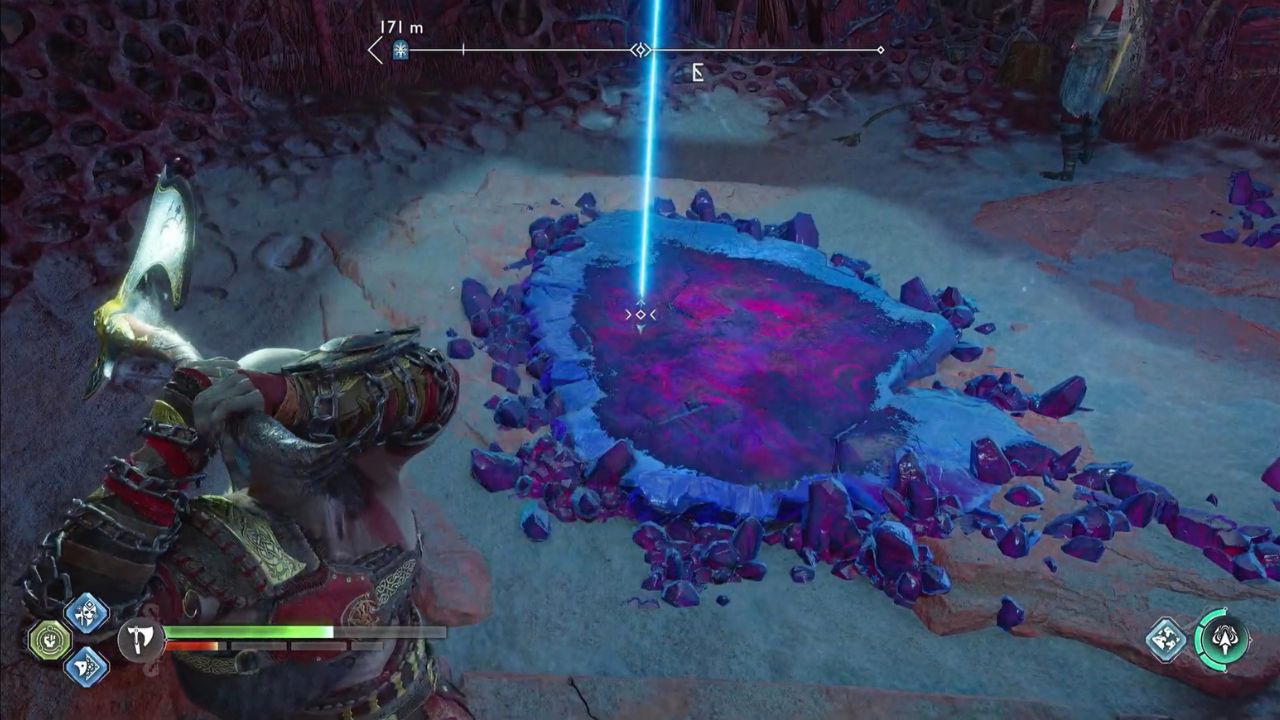
Notice that blue material is on the ground where you’re standing. That’s the Twilight Stone. Instead, aim your Axe on the Twilight Stone to break the Dense Hive otherwise, it won’t work.
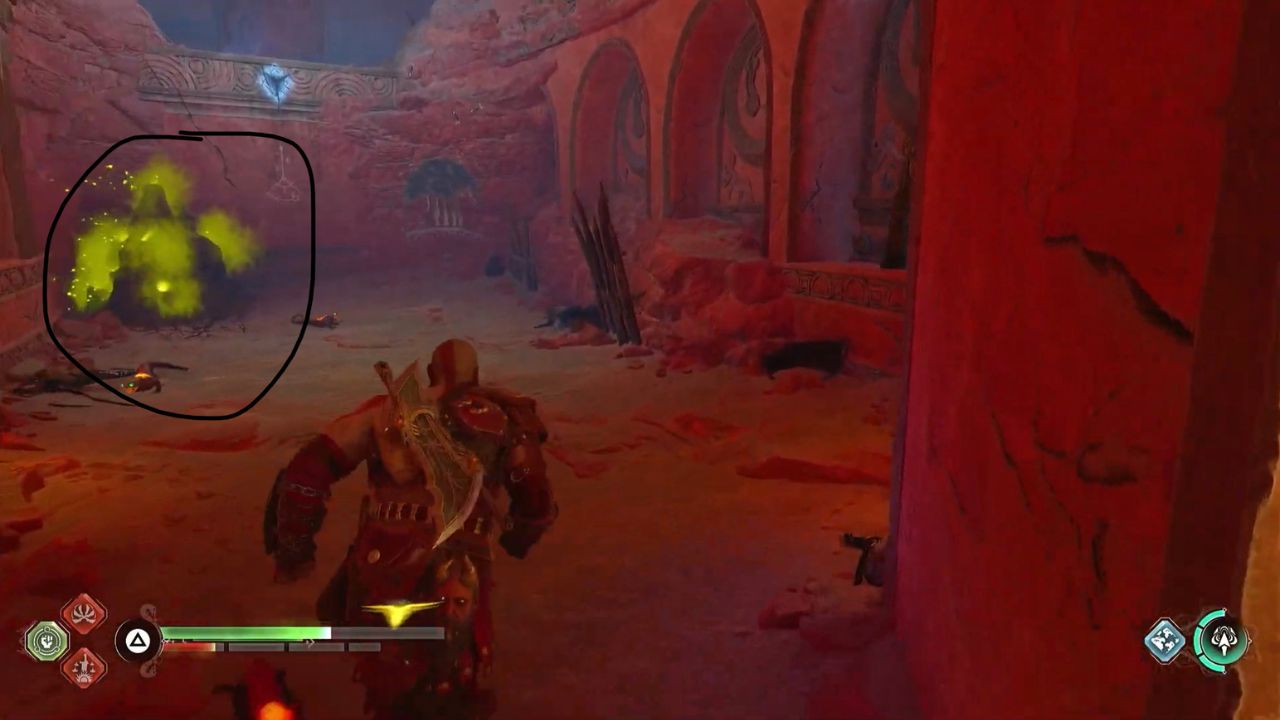
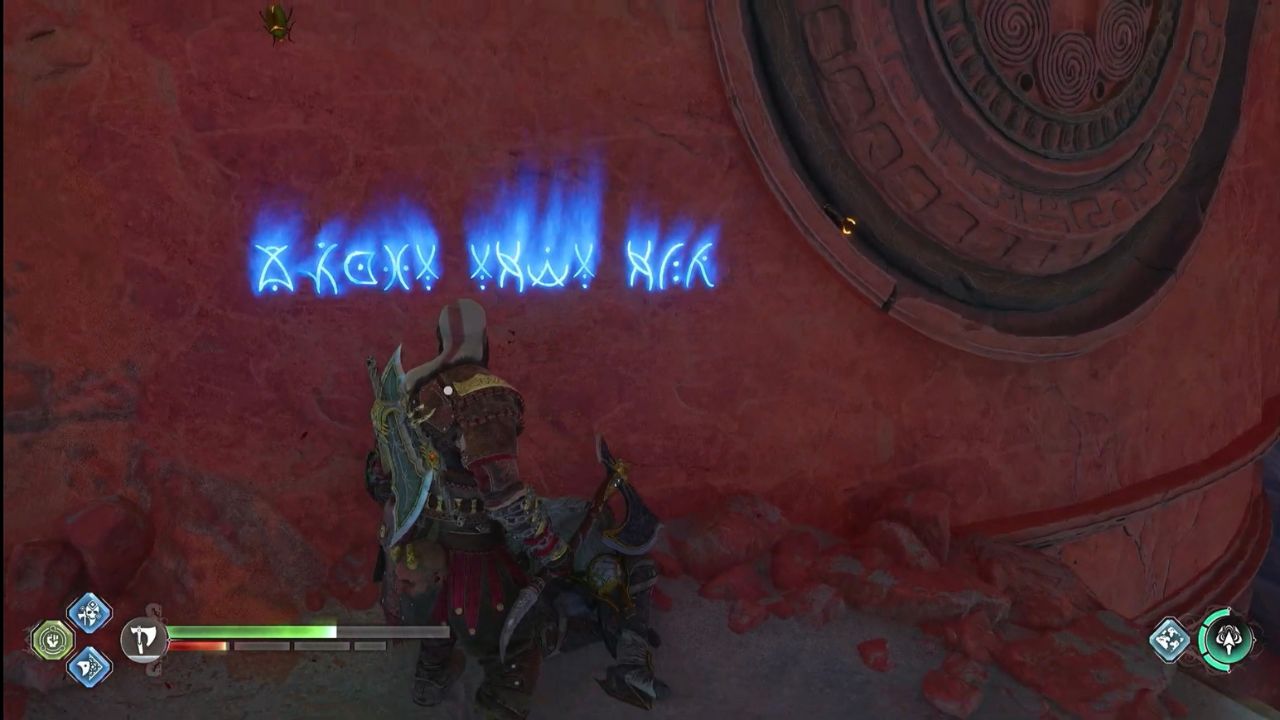
Make your way further into the cave, and you’ll be swarmed with three to four Wretches. Destroy their nest and read the Runes inscribed on the wall.
You will need to travel deep into the Caves, and you’ll find a third Hive Dense Matter.
Twilight Stone
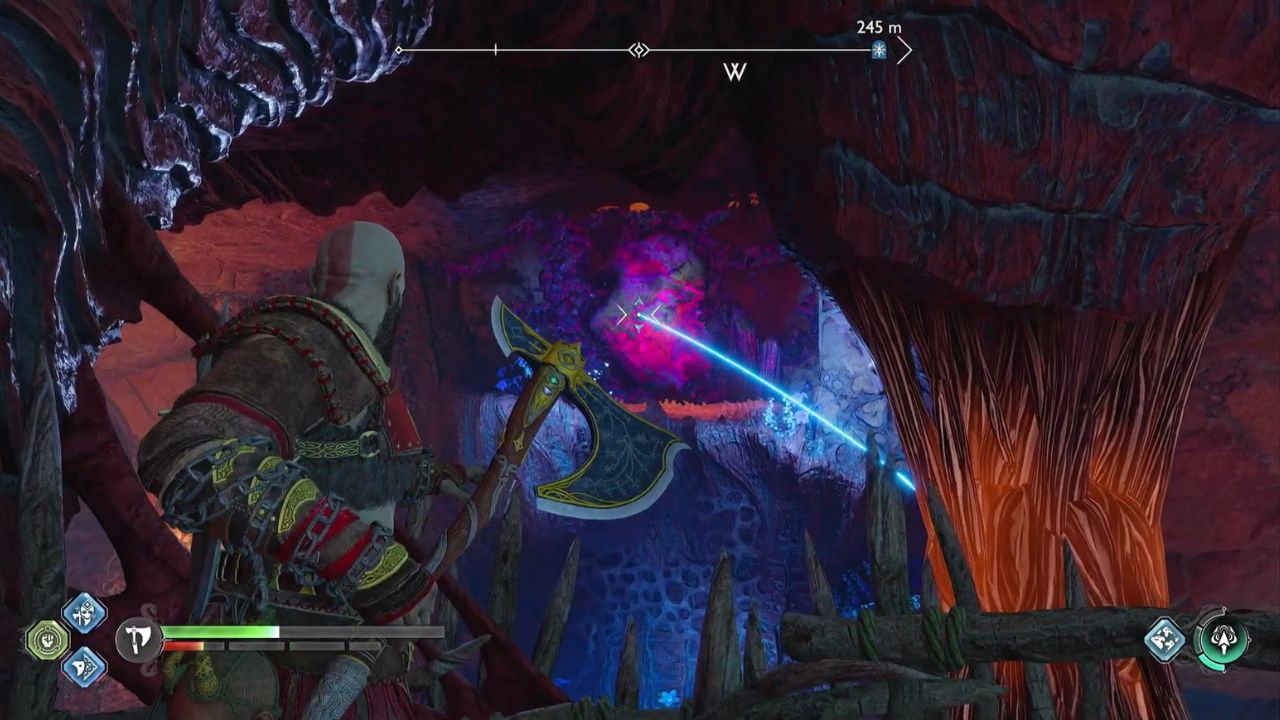
Use your Leviathan Axe on the Twilight Stone emitting blue light to destroy the third Hive Dense Matter. Once you do that, there will be two points on which you can grapple, one will lead above the cave, and the other will lead you toward the deeper parts of the cave.
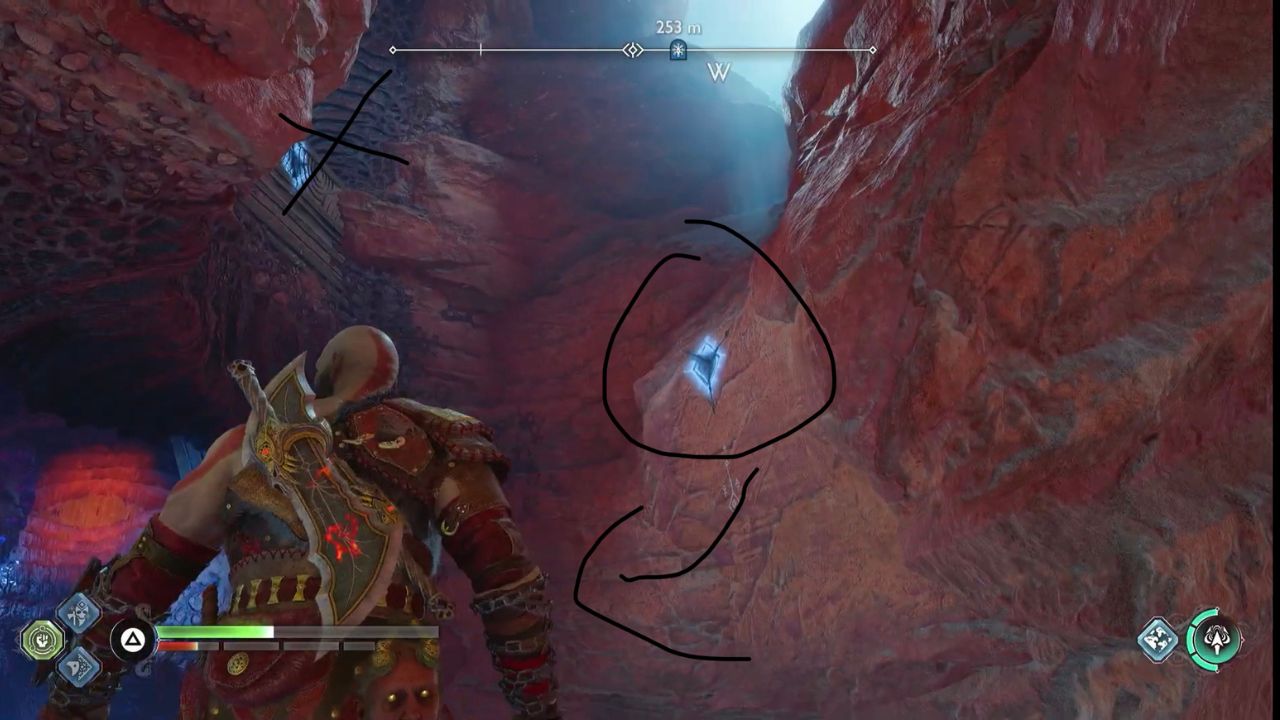
Do not ascend instead, grapple toward the opposite side and continue your way. Yes, guys, there is a lot of grappling and moving around these caves but don’t worry, you’re almost there!
Hel’s Touch
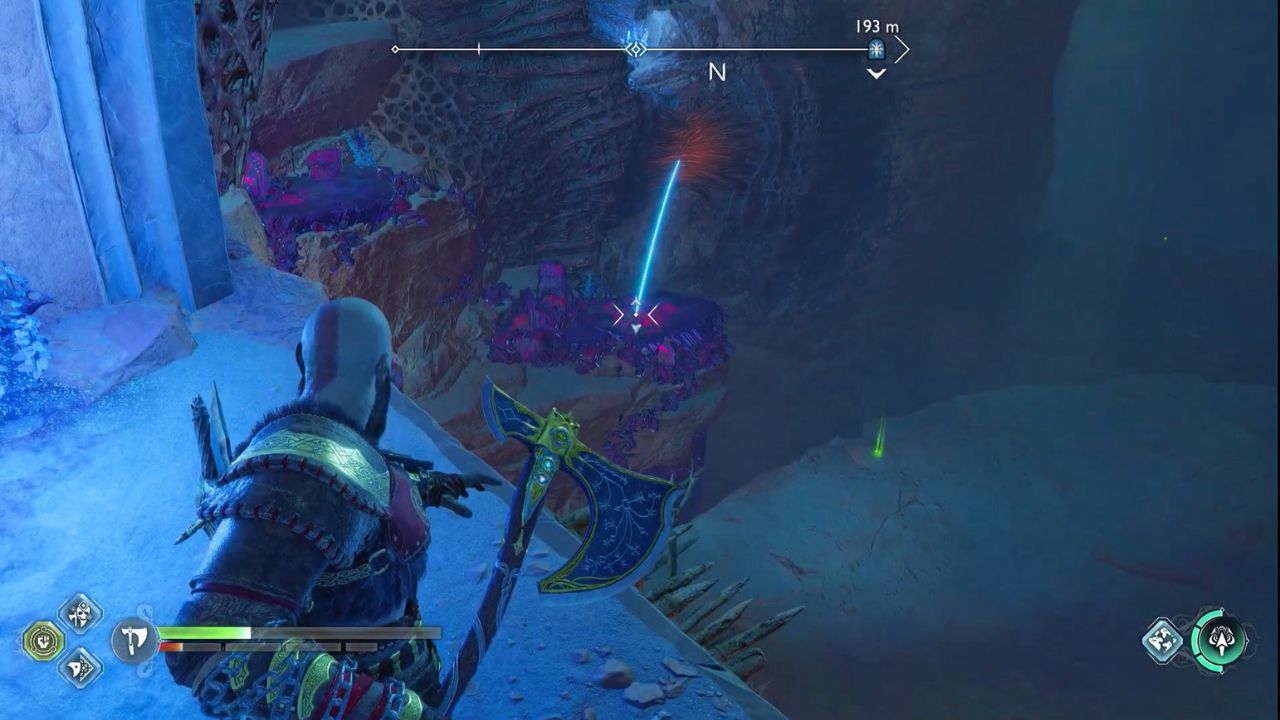
Destroy the fourth Dense Matter by bouncing your Axe on the Twilight Stone. Grapple toward that location and make your way to the top.
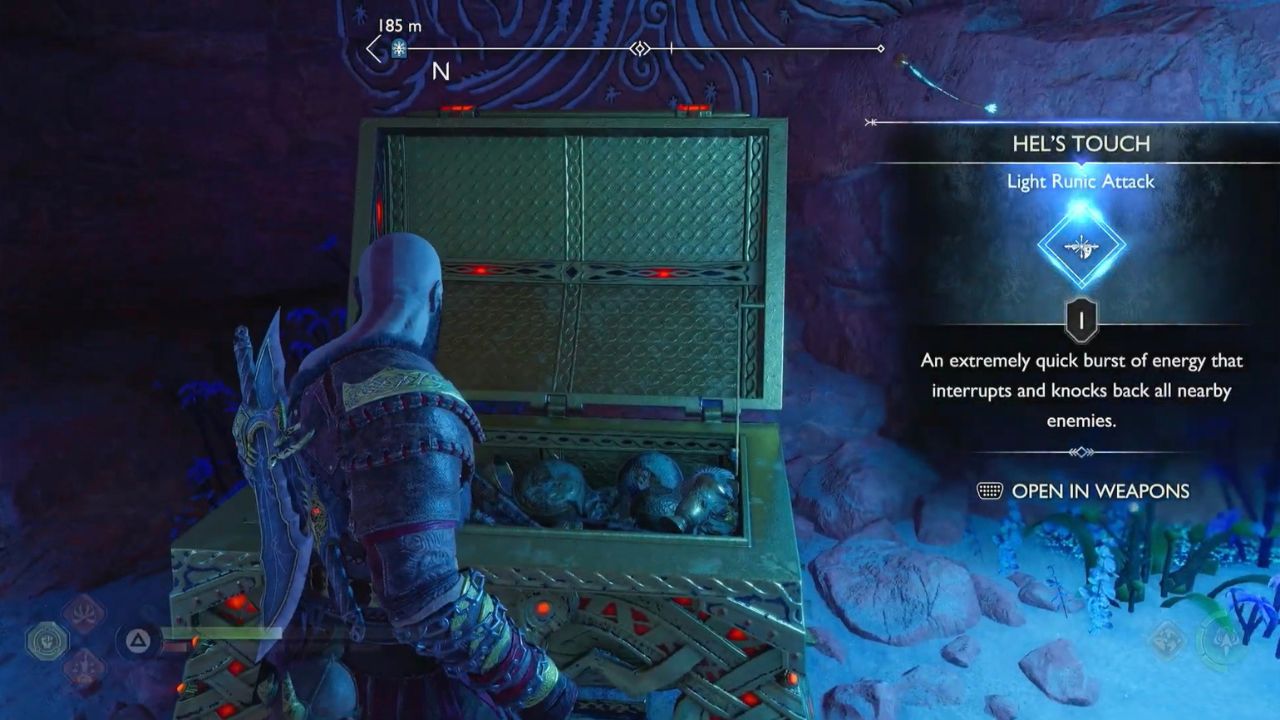
You’ll find a Legendary Chest, and inside that chest, you will find Hel’s Touch. It is a quick burst of energy that can disrupt and knock back any nearby enemy.
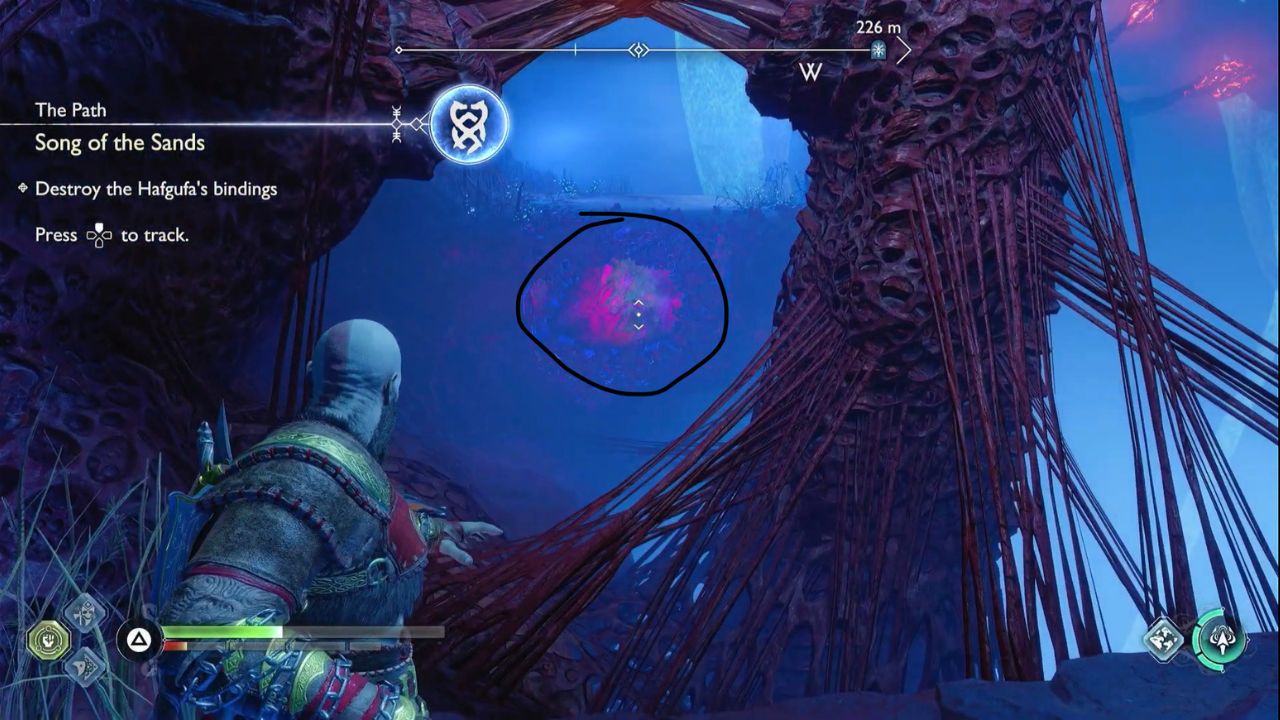
Move forward to the next location and destroy another Hive Matter. You’ll have to make your way toward the Hafgufa, and upon arriving, a message will pop up on the left side of your screen, indicating that you have to destroy the Hafgufa’s Bindings.
You can use the Up Button on your D-Pad to track them.
Related: If you’re a fan of collecting trophies, check out our “God of War Ragnarok: All 36 Trophies” guide. The guide will successfully reveal all the methods you can follow to add these trophies to your collection!
Hafgufa’s Bindings
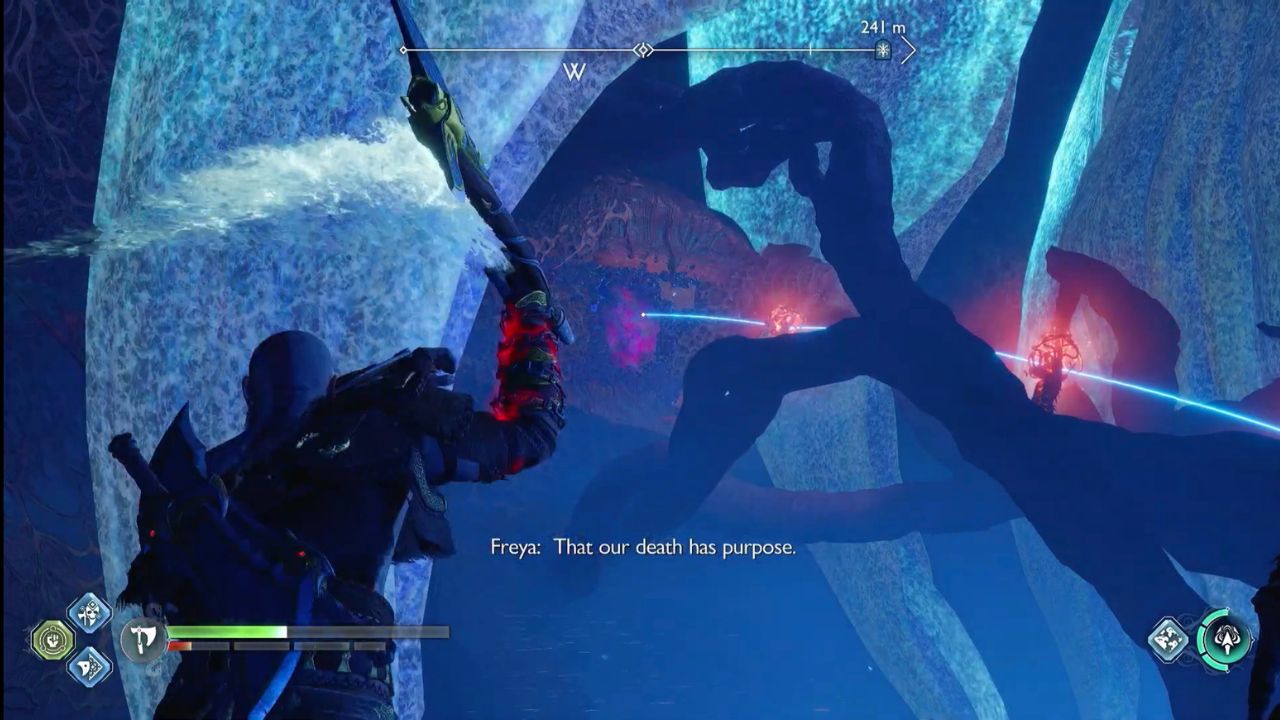
Locate and destroy the Second set of Dense Hive Matter using Sonic Arrows and the Leviathan Axe. Jump toward the location and move your camera in the upward direction to find the third set of Hive Matter.
Additionally, Freya will use her Sonic Arrows to unveil the Twilight Stone, and you’ll need to throw your Axe toward it.
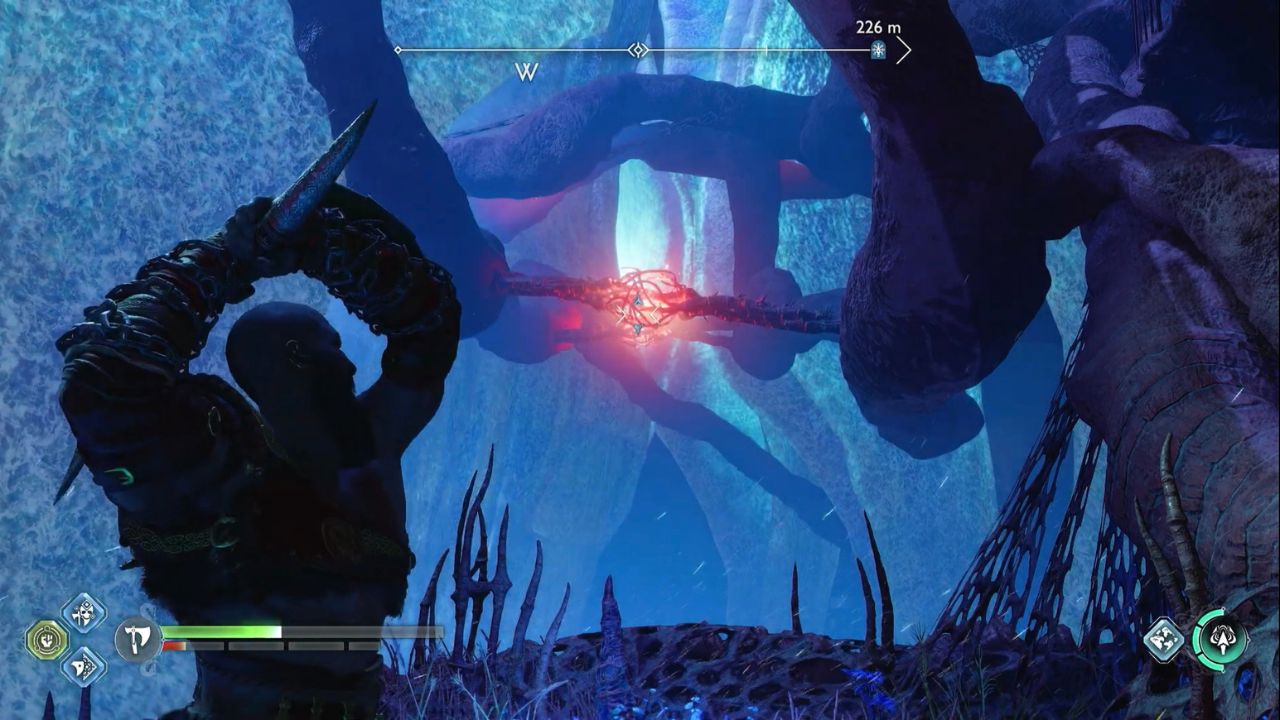
Move back to your previous location and locate the third and fourth bindings in alternate locations.
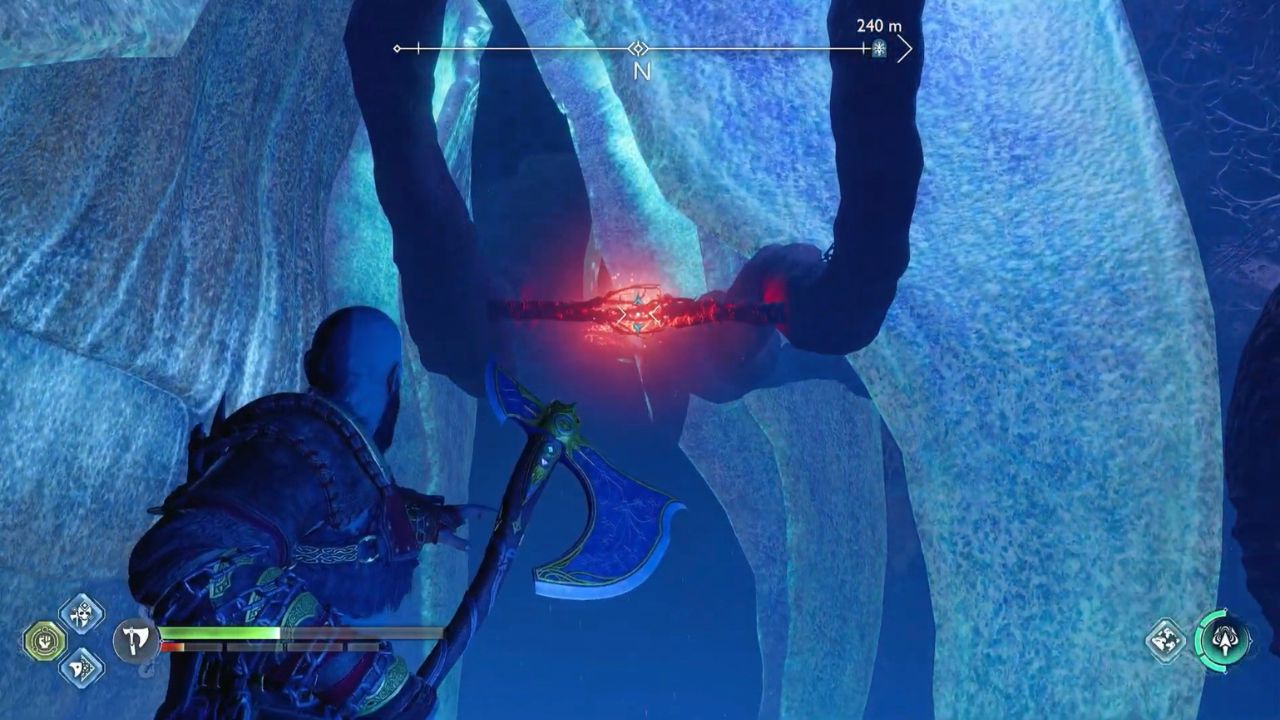
The third and fourth bindings will be easier to break as you’ll only need to throw your Axe, which will cut down the rest of them. You have now destroyed all four sets of Hafgufa’s Bindings.
Related: The fifth series of God of War might seem lengthy and prolonged. However, if you’re interested, you can check out our “God of War Ragnarok How Long To Beat” guide!
Hive Cage
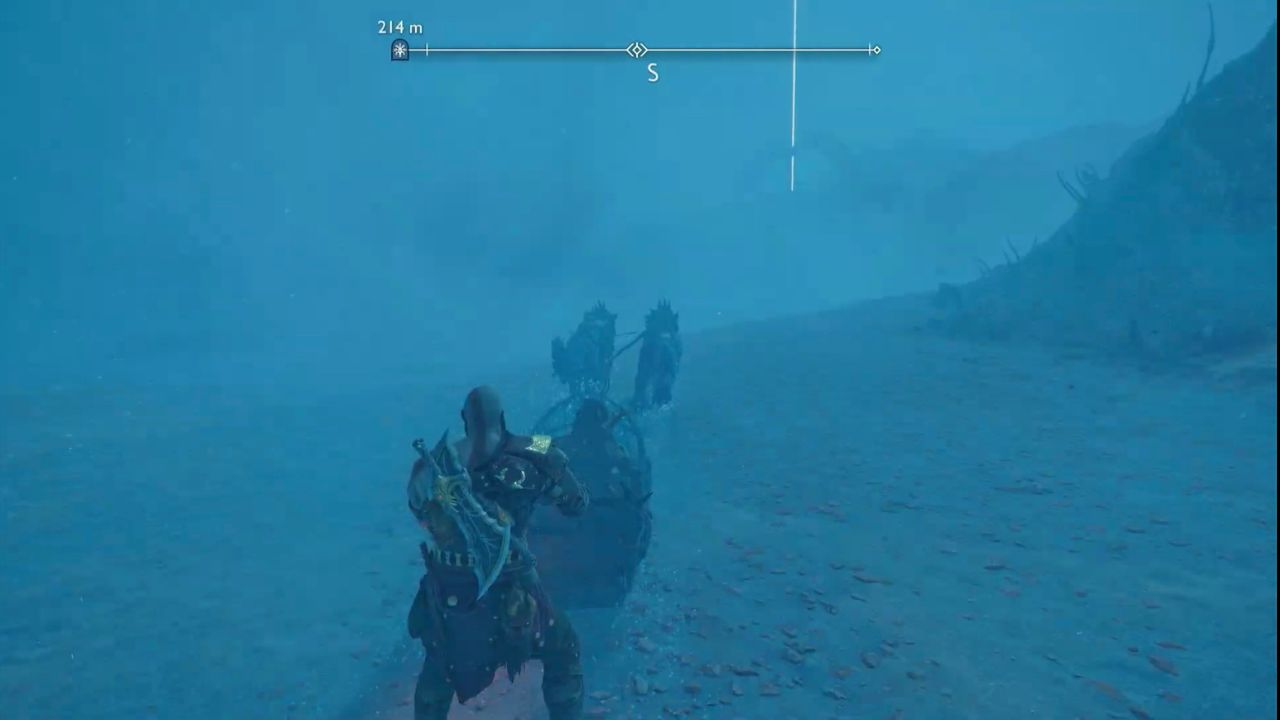
Retrace your steps and return to the surface. You’ll find more Dense Hive Matter as you make your way toward the top, and destroying them will lead you to the path.
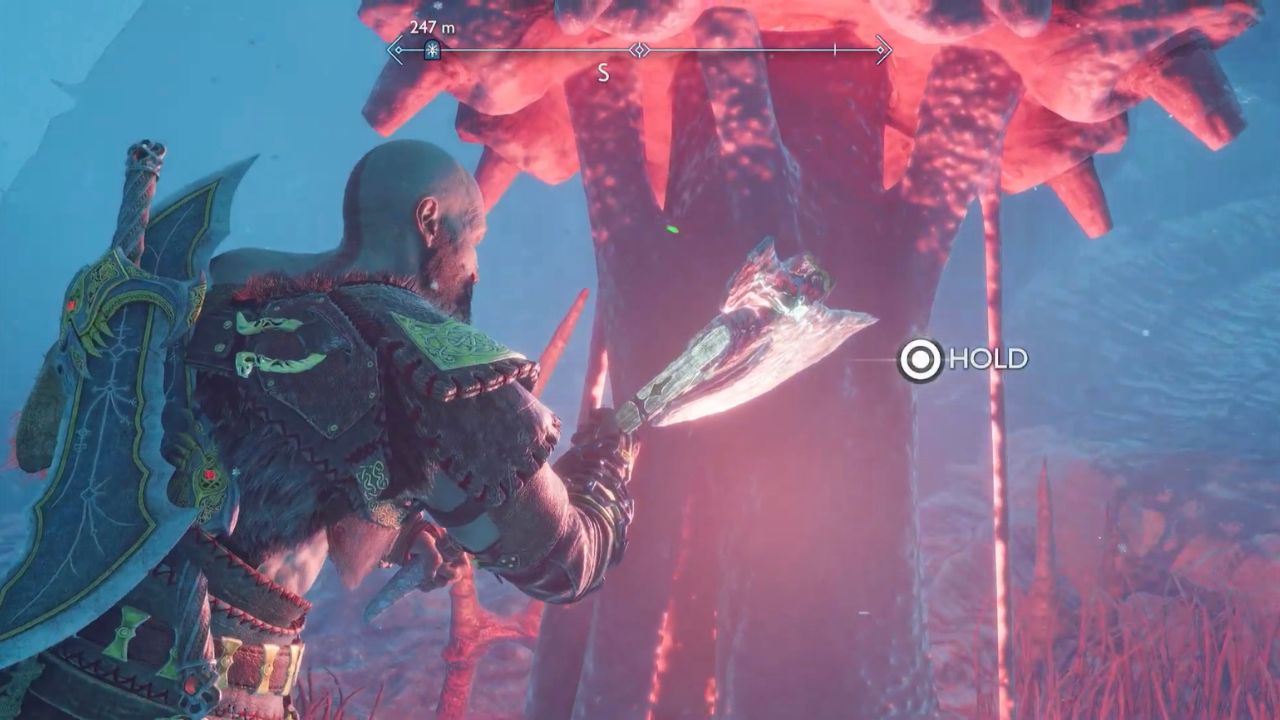
Travel toward the west side and follow the bright beam of light to locate the Hive Cage.
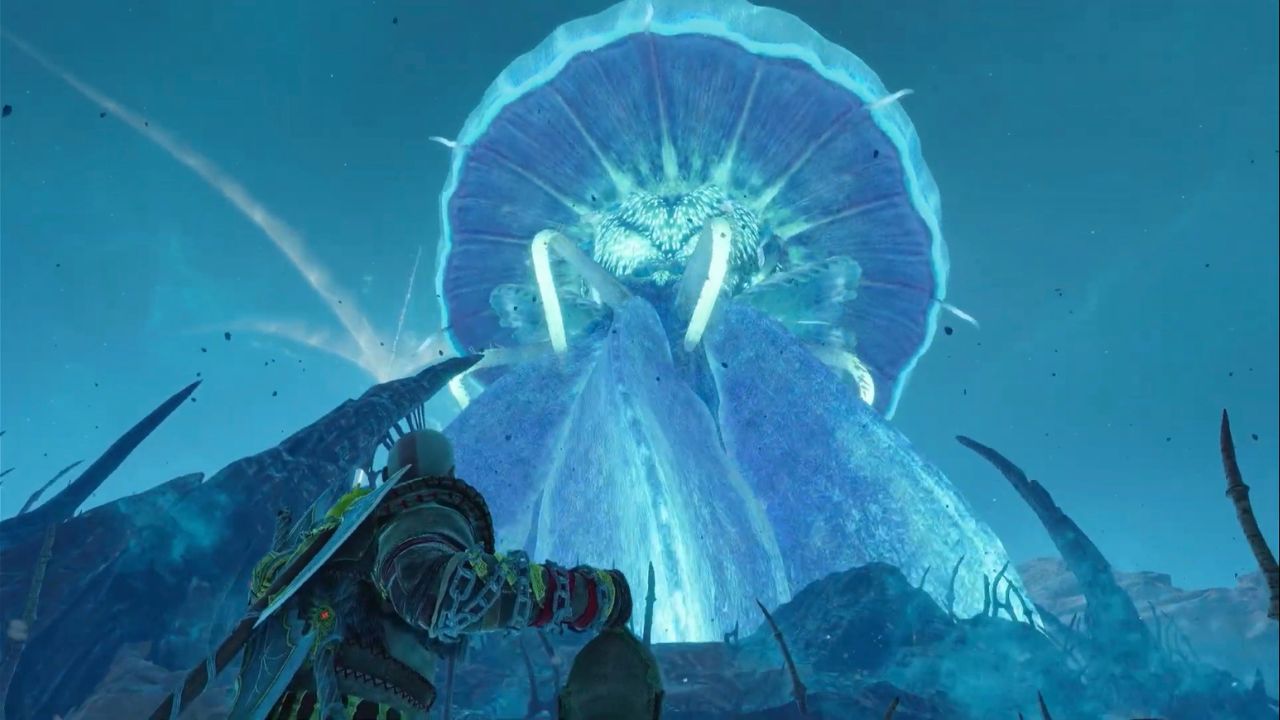
Destroy the cage, and you’ll complete the God of War Ragnarok Song of the Sands quest by freeing the beautiful Hafgufa Creatures!
Good job! Please give your positive feedback 😏
How could we improve this post? Please Help us. 💡
23-year old seasoned content writer with 5 years of expertise in gaming, tourism, and tech. Committed to VA since 2021, with prior internship experience at AK Broadcasts. Distinguished in English and highly skilled in writing. Enthusiastic gamer favoring Tekken, Apex Legends, and COD. Currently in the final year of BBA, with exceptional HR skills. Check out Reeshail’s Steam and learn more about his gaming expertise.


