Bungie has recently made several changes to The Dreaming City. One of them being that if you turn in your oracle offering, you get a chance to meet the Queen. No biggie! The other big thing that has been introduced in Destiny 2 is its very own dungeon. Yes, a dungeon! It is named the Shattered Throne dungeon, and it is in the form of a great sequence of missions and levels and boss fights that you go through one by one as you play through it.
Key Takeaways
- Access Shattered Throne Dungeon in Destiny 2 from The Dreaming City.
- Form a strong team; recommended power level is 570, enemies are 590.
- Navigate seven interconnected temples, defeat all enemies, including Labyrinth architects.
- Consider player-designed maps for navigation.
- Tips: Use tether abilities, shotguns, and other weapons effectively.
- Collect a legendary drop after defeating the final Labyrinth.
- Progress through the dungeon, face mini-boss “Asterion Set Apart.”
- Final boss is Dul Incaru with three Hive knights; stack damage buffs.
- Break a crystal if power level is low during the boss fight.
- Completion rewards “Petitioner’s Mark” for the Wish Ender exotic bow.
- Optional tower ascent offers more rewards.
- Finish the dungeon with a guide and tips for success.
The dungeon is loaded with intricate details and many skill-based boss fights. This guide tells you exactly where to go, what to do, and how to beat any enemy you have to face throughout this dungeon.
Entering The Shattered Throne Dungeon
To begin the Shattered Throne dungeon in Destiny 2, follow these steps:
-
Start in The Dreaming City: Head to The Dreaming City, the location where the dungeon is accessible.
-
Ahamkara Skulls: Begin your journey at the Ahamkara skulls.
-
Enter the Confluence: Find and take a portal to the Confluence area. There are multiple paths, so consult a detailed guide if needed.
-
Giant Portal: Once inside the Confluence, proceed left until you reach a massive room with a giant portal at the back. This portal serves as the entrance to the Shattered Throne dungeon.
It’s highly recommended to assemble a strong team for this dungeon, as it can be quite challenging. While some skilled players have soloed it, it’s generally better to tackle it with a group.
Although the recommended power level is 570, the enemies in the dungeon are at 590, so having a higher power level will greatly benefit you. Grind for Upgrade Modules if needed to enhance your gear. The Shattered Throne is a challenging activity, but with some tips and guidance, you can improve your chances of success. Let’s get started.
The Temple Of The Shattered Throne
As you jump into the dungeon by interacting with the portal, you have to move to wherever the game takes you. Jumping from rock to rock, keep moving forwards. As you get closer to your destined location, a message saying “Respawning restricted” will show up on your screen. With this, a bunch of enemies is also going to spawn in front of you. This area consists of seven interconnected temples. You have to kill all of the enemies, your main target is the yellow bar Labyrinth architect. You must have already packed the best Dreaming City weapons for such encounters!
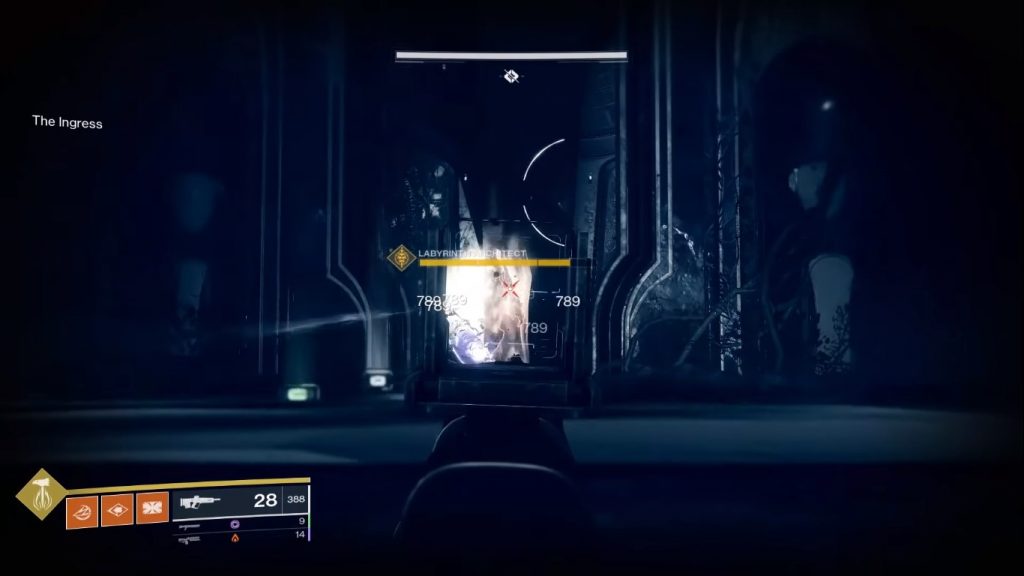
Once you defeat the Labyrinth architect, a symbol appears at the same location. This symbol guides you to the next temple. If you have the dragon-like symbol, explore the nearby area. When you find the same symbol in a temple, battle enemies, including the architect. Repeat this process in 7 different temples. The stage begins and ends at the temple marked by the diving bird symbol.

The temple area can be confusing and tests your navigation skills. While there’s no official map, players have created their own and shared them online. Attached is a rough map from the internet, which might help if you’re struggling with navigation.

On Completion
As soon as you kill the final Labyrinth, you get a legendary drop. Even though this is Dreaming city, the legendary item drops just like it drops in a raid encounter. After collecting this legendary drop, you are going to see a hole in the ground near you. As you drop down this massive hole, you get to the same place where you killed that final Labyrinth.
A Mini Boss Fight
After completing the initial part, you can follow the designated path and defeat any additional enemies (ads) for some fun. If you want to skip to the next important location, many online videos provide shortcuts. In this case, take the first two left turns to reach an open area. On your left, there’s a bridge. Climb it to face the mini-boss “Asterion Set Apart.” Take your time to defeat him and his spawns, especially the snipers. Fusion Rifles work well, along with a scout/sniper rifle.
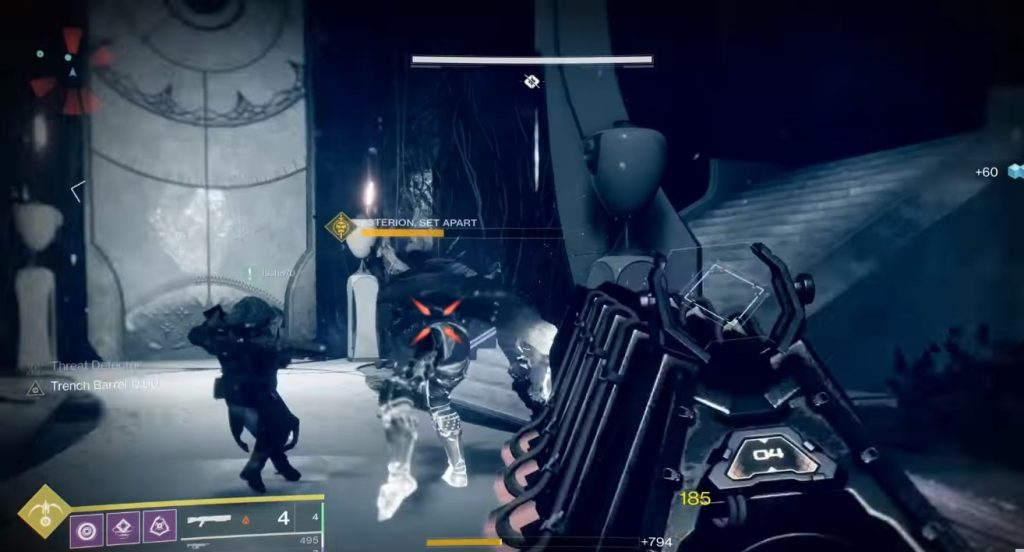
As you complete this takedown, a massive door opens in that very area, and you move through it to enter into the next one.
The Sniper Area
Before entering the gate, deal with the glass cannon snipers using your preferred weapon, like a sniper or scout rifle. This area tests both your aim and movement skills. Move left and proceed forward.
In the second part of this large area, take your time to eliminate snipers and ads. It’s not overly complex, but you should avoid getting killed in these relatively easier dungeon sections.
The Taken Ogres
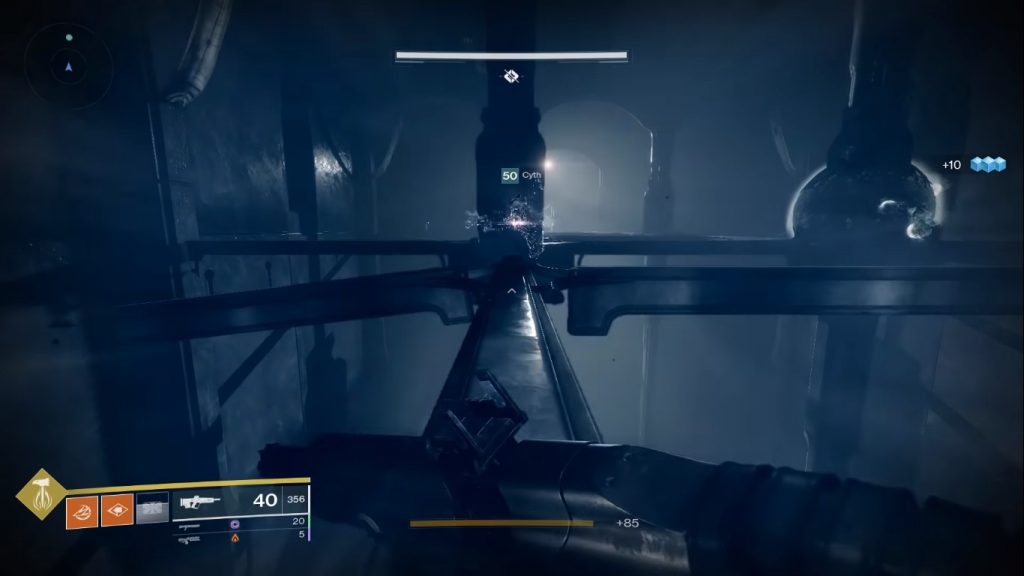
After dealing with the previous area, take another left and follow the game’s path forward. You’ll reach an area with interconnecting beams and small circular platforms. Along these beams, you’ll encounter annoying Taken Ogres. You can choose to fight them or simply bypass this area. If any Ogre becomes too bothersome, feel free to eliminate it.
The Shadow Thralls

Entering through the gooey wall.
At the end of that area, you’ll encounter a passage with a strange gooey wall. Passing through it will slow you down and disable double jumping. Shadow Thralls are abundant here, making it challenging to deal with them due to your reduced mobility. Using AoE (Area of Effect) grenades, especially Vortex grenades, is highly effective. These grenades damage or eliminate the pursuing Shadow Thralls as they walk into the area of effect.
In this area, you lose the ability to regenerate health naturally. To address this, you can use alternatives like Crimson, Wormhusk Crown, One-eyed mask, or a Healing rift—anything that aids in health regeneration.
As you approach the end of this section, you’ll encounter a wall similar to the one you entered through. Passing through it restores your normal movement.
In the next area, head left. Be cautious of the lava floor; running on it causes damage. Stay near objects like rocks to shield yourself from the lava. Towards the area’s end, there’s a high doorway where additional enemies spawn. Eliminating them is essential to open the door.
Boss Fight
Entering the large door, go left, drop down, and your screen displays a new objective: “Overcome the Keeper of Petitions.” This marks the first real boss fight in the dungeon.
The boss fight features a central Ogre with an immunity shield and numerous yellow bar wizards spawning in the arena. It’s a challenging encounter that’s about to become even trickier.
Petitioner’s Mark
In this arena, four different wizards spawn, and you must defeat each one. But there’s a twist. When you kill the first wizard, it drops an orb, and collecting it gives you a “Petitioner’s Mark” debuff with a timer on your screen. When the timer runs out, you die, unless you kill the next wizard. So, after each wizard you defeat, you receive the Petitioner’s Mark and must eliminate the next one within the allotted time.
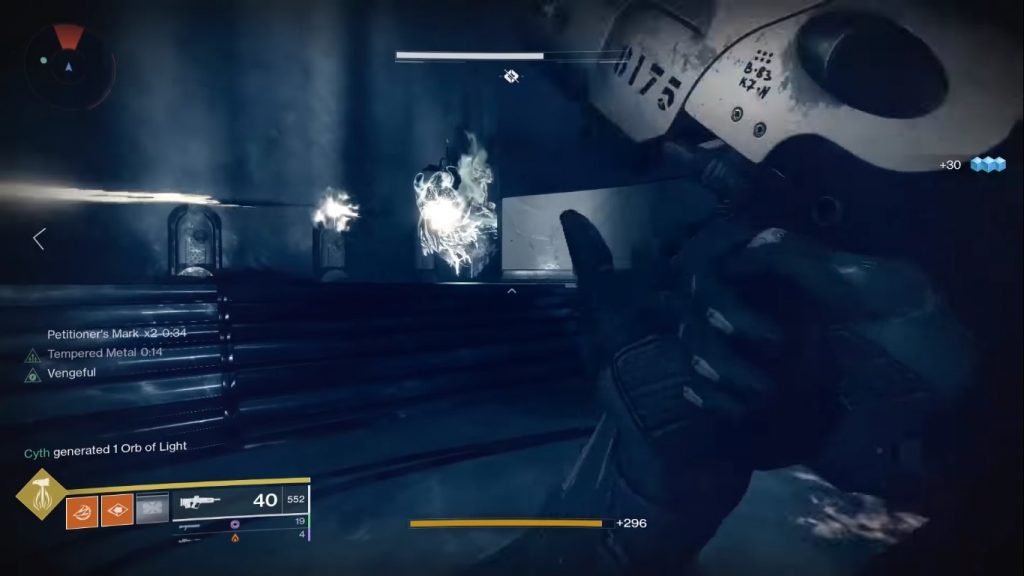
Also, when you kill the last wizard, you get “Petitioner’s Burden.” Now you have to go around the arena, find and slam and destroy an objective. This will remove the immunity shield from the Ogre, and you can shoot at him. It would be best if you tried to dodge the Ogre’s attacks as they are super powerful. There also spawns another wizard as you are trying to take down the Ogre, so you better avoid it or just kill him if you get the chance to.
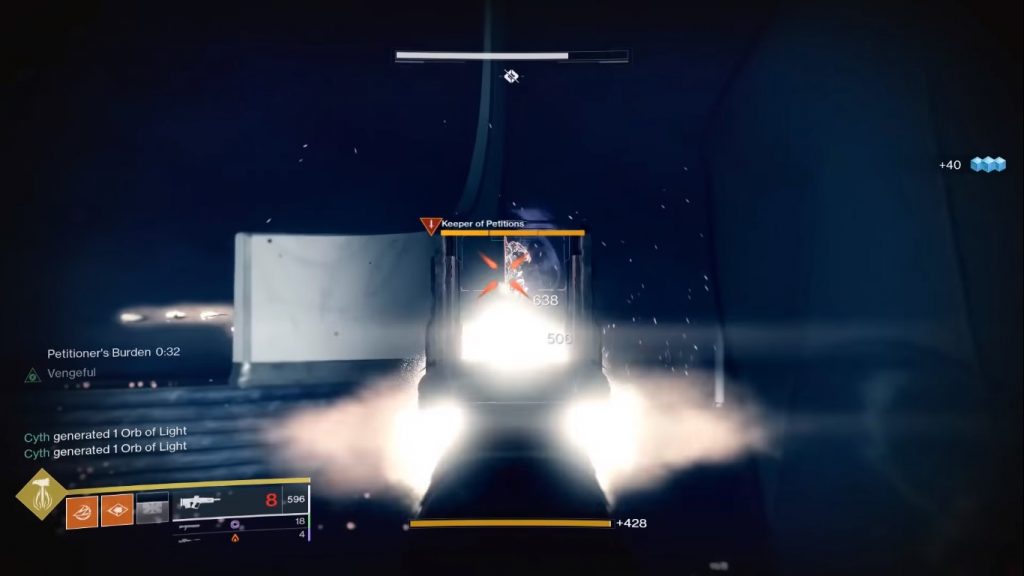
The important thing here is that if you die during the encounter, you have to start from the first wizard and do all of the same stuff all over again. Now it is good to have a team here, so try to keep one of your mates alive who can shoot at the Ogre. If not, then you have to keep doing this again and again until you finally beat this stupid boss.
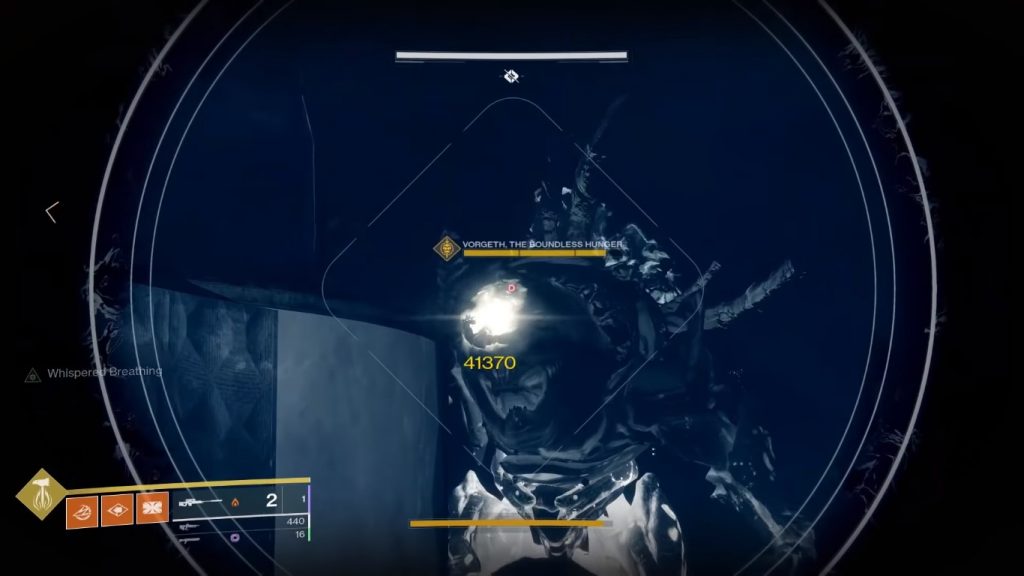
Rewards
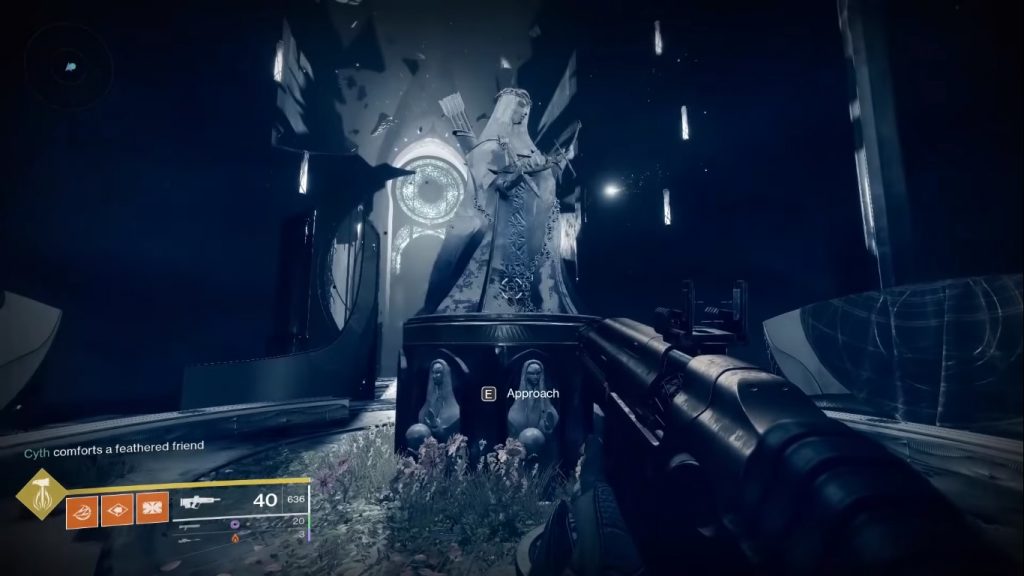
After finally beating that boss, you get some powerful gear as a reward and even if you don’t feel like you do, you deserve it! Now you head down a hallway that is pretty much presented to you by the game. As you walk down, you will promptly reach a statue on your way. You can and you have to interact with this statue. As you approach the statue, you are actually presenting your awoken talisman, the exotic object you got to unlock the Dreaming City.
Going Up The Tower
In the Shattered Throne dungeon, there’s a challenging ascent to a towering structure. Here’s how to navigate it:
-
Descent: Begin by descending to the bottom by jumping from rock to rock.
-
Elevator Encounter: At the bottom, you’ll face enemies around an elevator. Defeat them to continue.
-
Multiple Elevators: Ride the elevator and confront more foes. Repeat this process until you reach the top.
-
Summit: At the summit, deal with additional enemies. You’ll find a narrow path along a wall. Be cautious of Taken explosions on the vertical wall, designed to push you off. Exercise patience, wait for the explosions to subside, and then proceed when it’s safe.
-
Final Elevator: Continue along the path to another elevator. Riding it takes you to the last encounter in the Shattered Throne dungeon.
Dul Incaru – The Final Boss
In the Shattered Throne dungeon in Destiny 2, the final boss fight against Dul Incaru involves several key mechanics:
-
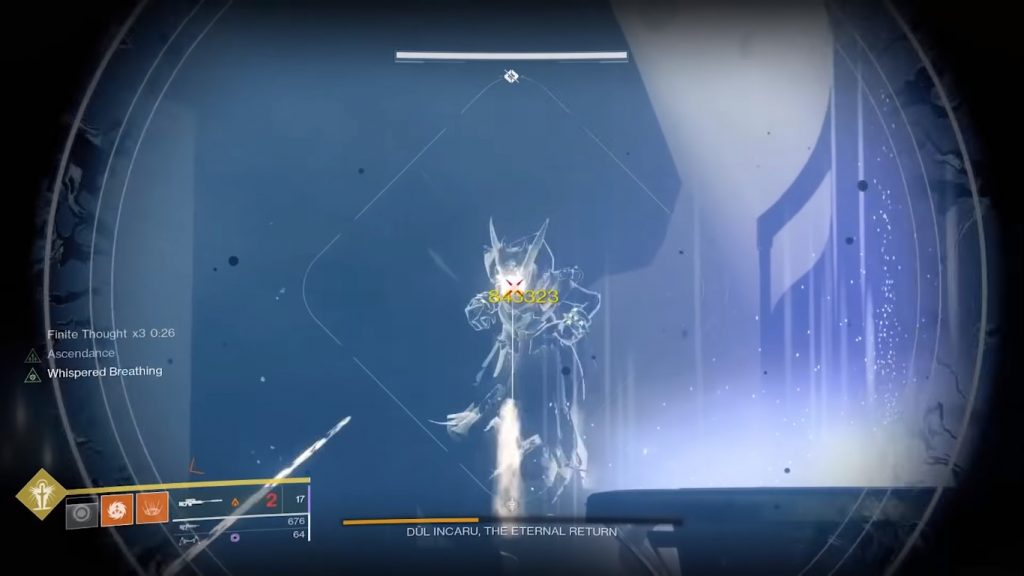
Hive Knights: You encounter three challenging Hive knights before reaching the main boss. Defeating any one of these knights makes the boss accessible. It’s advisable to eliminate all three knights simultaneously to avoid dealing with the boss and two knights simultaneously.
-
Finite Thought Buff: When a knight is defeated, it drops an orb granting the “Finite Thought” buff, providing a significant damage boost. With all three knights defeated, you can collect three orbs and have a triple damage buff. This helps you deal higher DPS to take down the boss more quickly, especially when coordinating with your team.
-
Boss Damage Phase: While the boss isn’t overly difficult to defeat, players with lower power levels may struggle to down her in a single damage phase. In such cases, a crystal spawns behind the boss that needs to be broken; otherwise, it results in a team wipe. After breaking the crystal, the knights respawn, and you get another opportunity to confront the boss.
Completing The Shattered Throne Dungeon
On completing this final boss encounter, you have also completed the dungeon. This dungeon is not an easy challenge and is harder done than said. There will definitely be a lot of difficulties that you will face while playing it as it tends to get very hectic in some of the fights. It also takes quite some time to complete. Following this guide and our tips will certainly make things a little easier for you. For more of such content on Destiny 2 Guides, click here. Your feedback in the comments down below is much appreciated.
Good job! Please give your positive feedback 😏
How could we improve this post? Please Help us. 💡
Starting at a very young age, Ayaz grew up with the love of gaming in his heart. Despite playing all sorts of games as a kid, he has now developed himself as an avid fan of the FPS genre Counter Strike and Valorant being his favorites. Still, he does not shy away from an RPG every once in a while. What he loves to play, he loves to write about it too!


